Beginning of 2016 there was already a lot of talk about how real-time rendering will be the future.
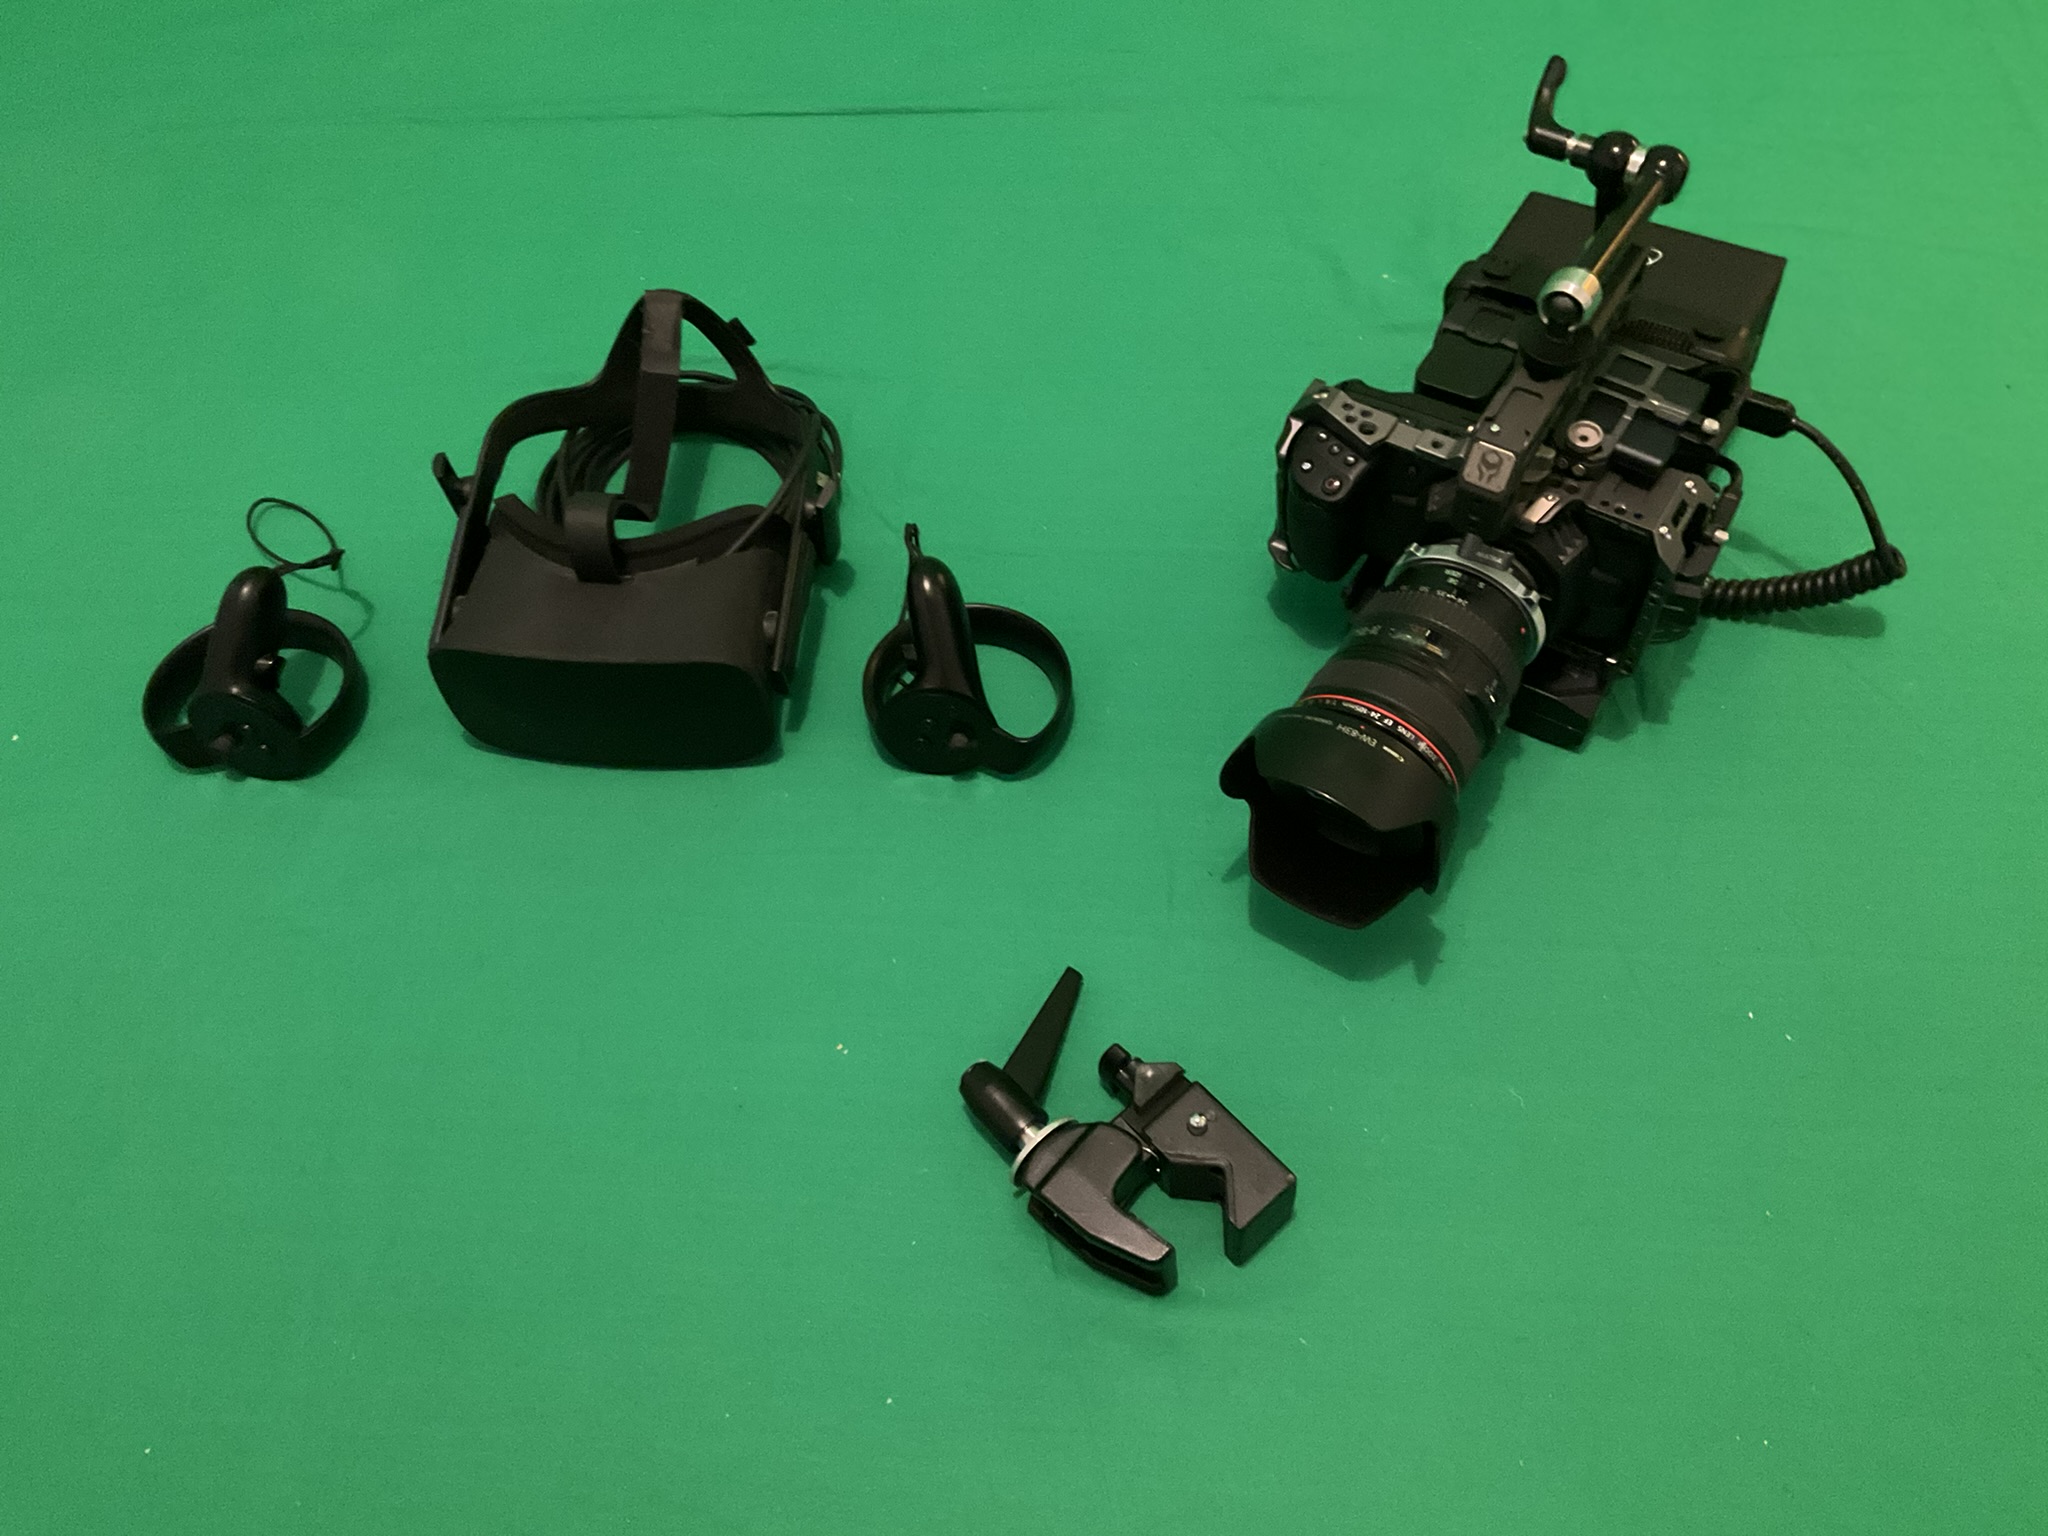
The future is now, virtual production stepped up it's game since the last few years. Companies across the globe are moving their production into virtual. And like anyone else who is crazy enough to start from nothing and move into virtual production, I myself started collecting my equipment.
The costs of such a venture is pretty high, but as I am a 3D guy that gives me enough time to practise, practise and some more practise.
What is Virtual Production?
Virtual Production is litterally the film production going digital. For years the industry had worked to put high-end production visual effects on top of footage.
With the rise of Virtual Production the visual effects are being caught in camera for most of the job. Ofcourse traditional Visual Effects is still needed for seams or unwanted artifacts, but with everyone joining the adventure the technology is challanged and artists find clever ways to make unneccesary work redundant.
To show some examples of how Virtual Production works, here are some GIF's.

LED Wall
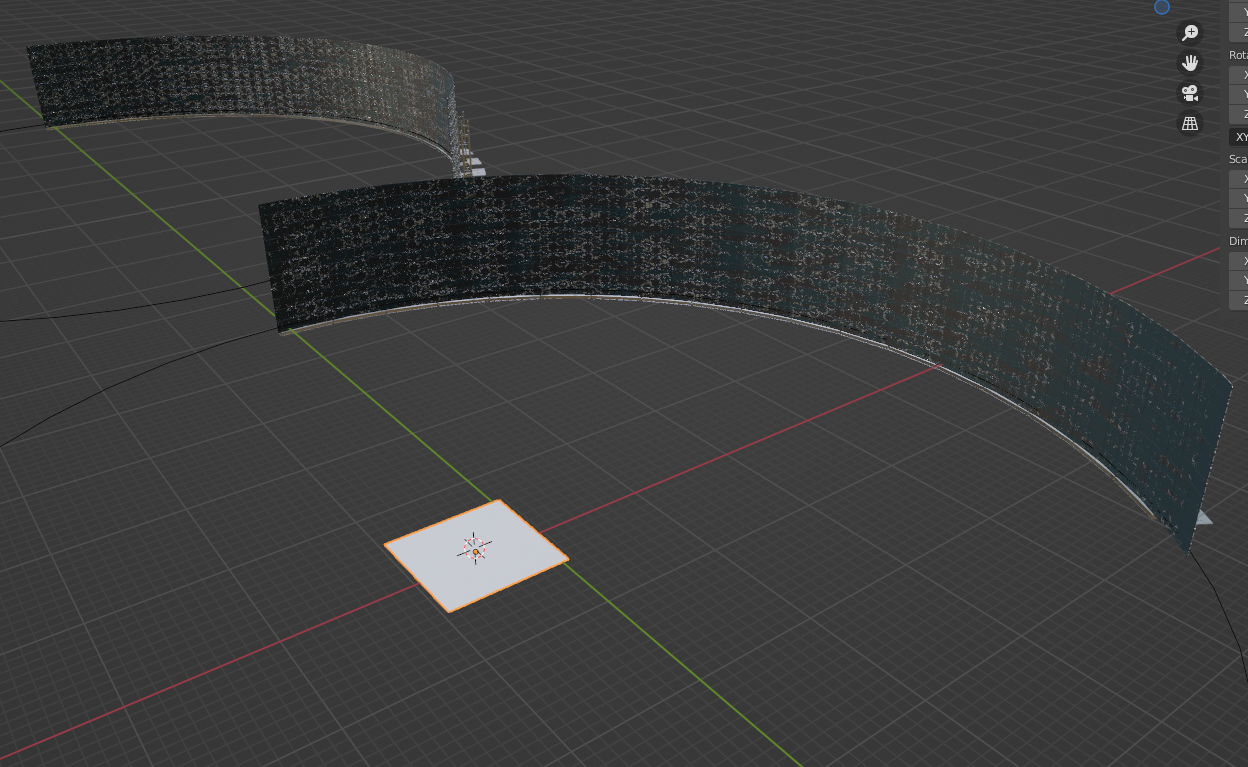
Unfortunately I myself am not capable of buying such a large LED wall for my practises, so I will have to do it Indie Style. Nonetheless, I can still plan a techviz for a day of shooting on a real LED Volume.
Mastering Fundamentals
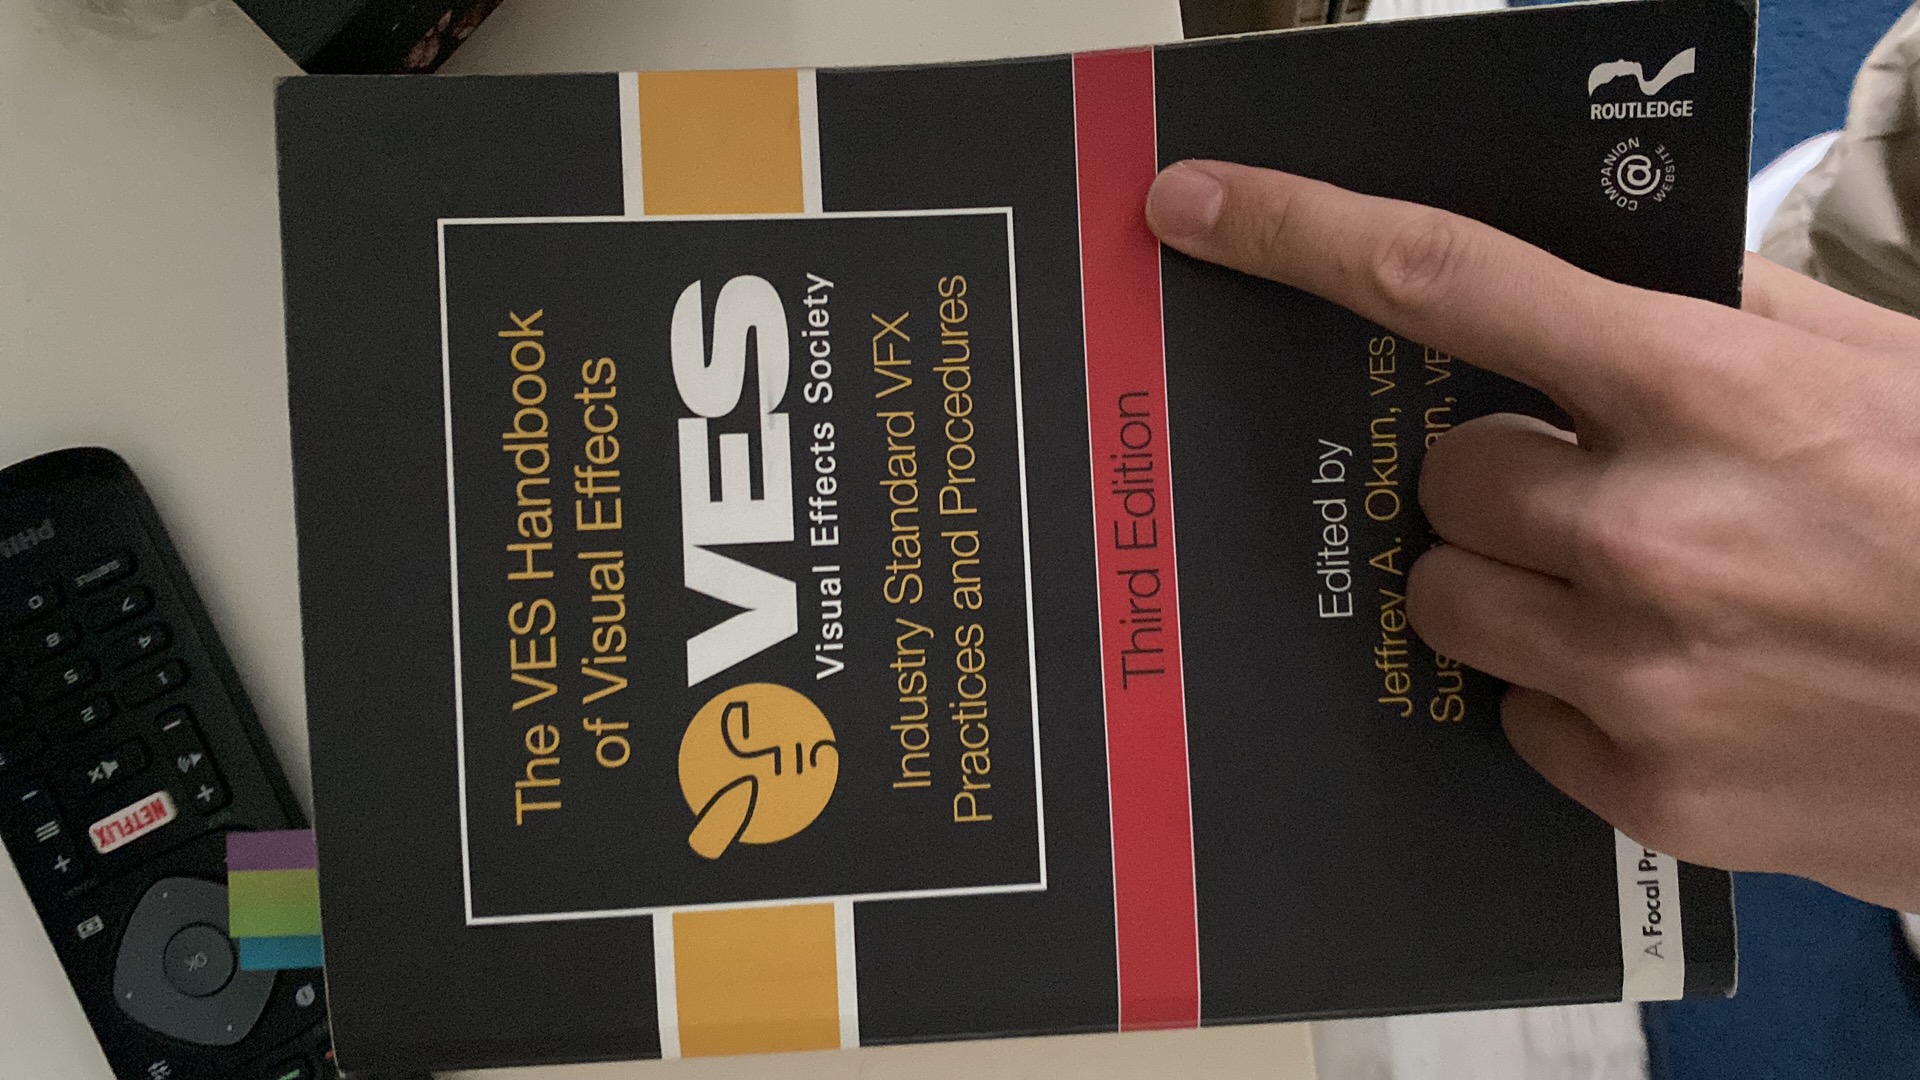
I had been waiting to purchase this book from VES, third-edition that contains virtual-production, which i see as the Bible of VFX basically.
Needed for Virtual Production
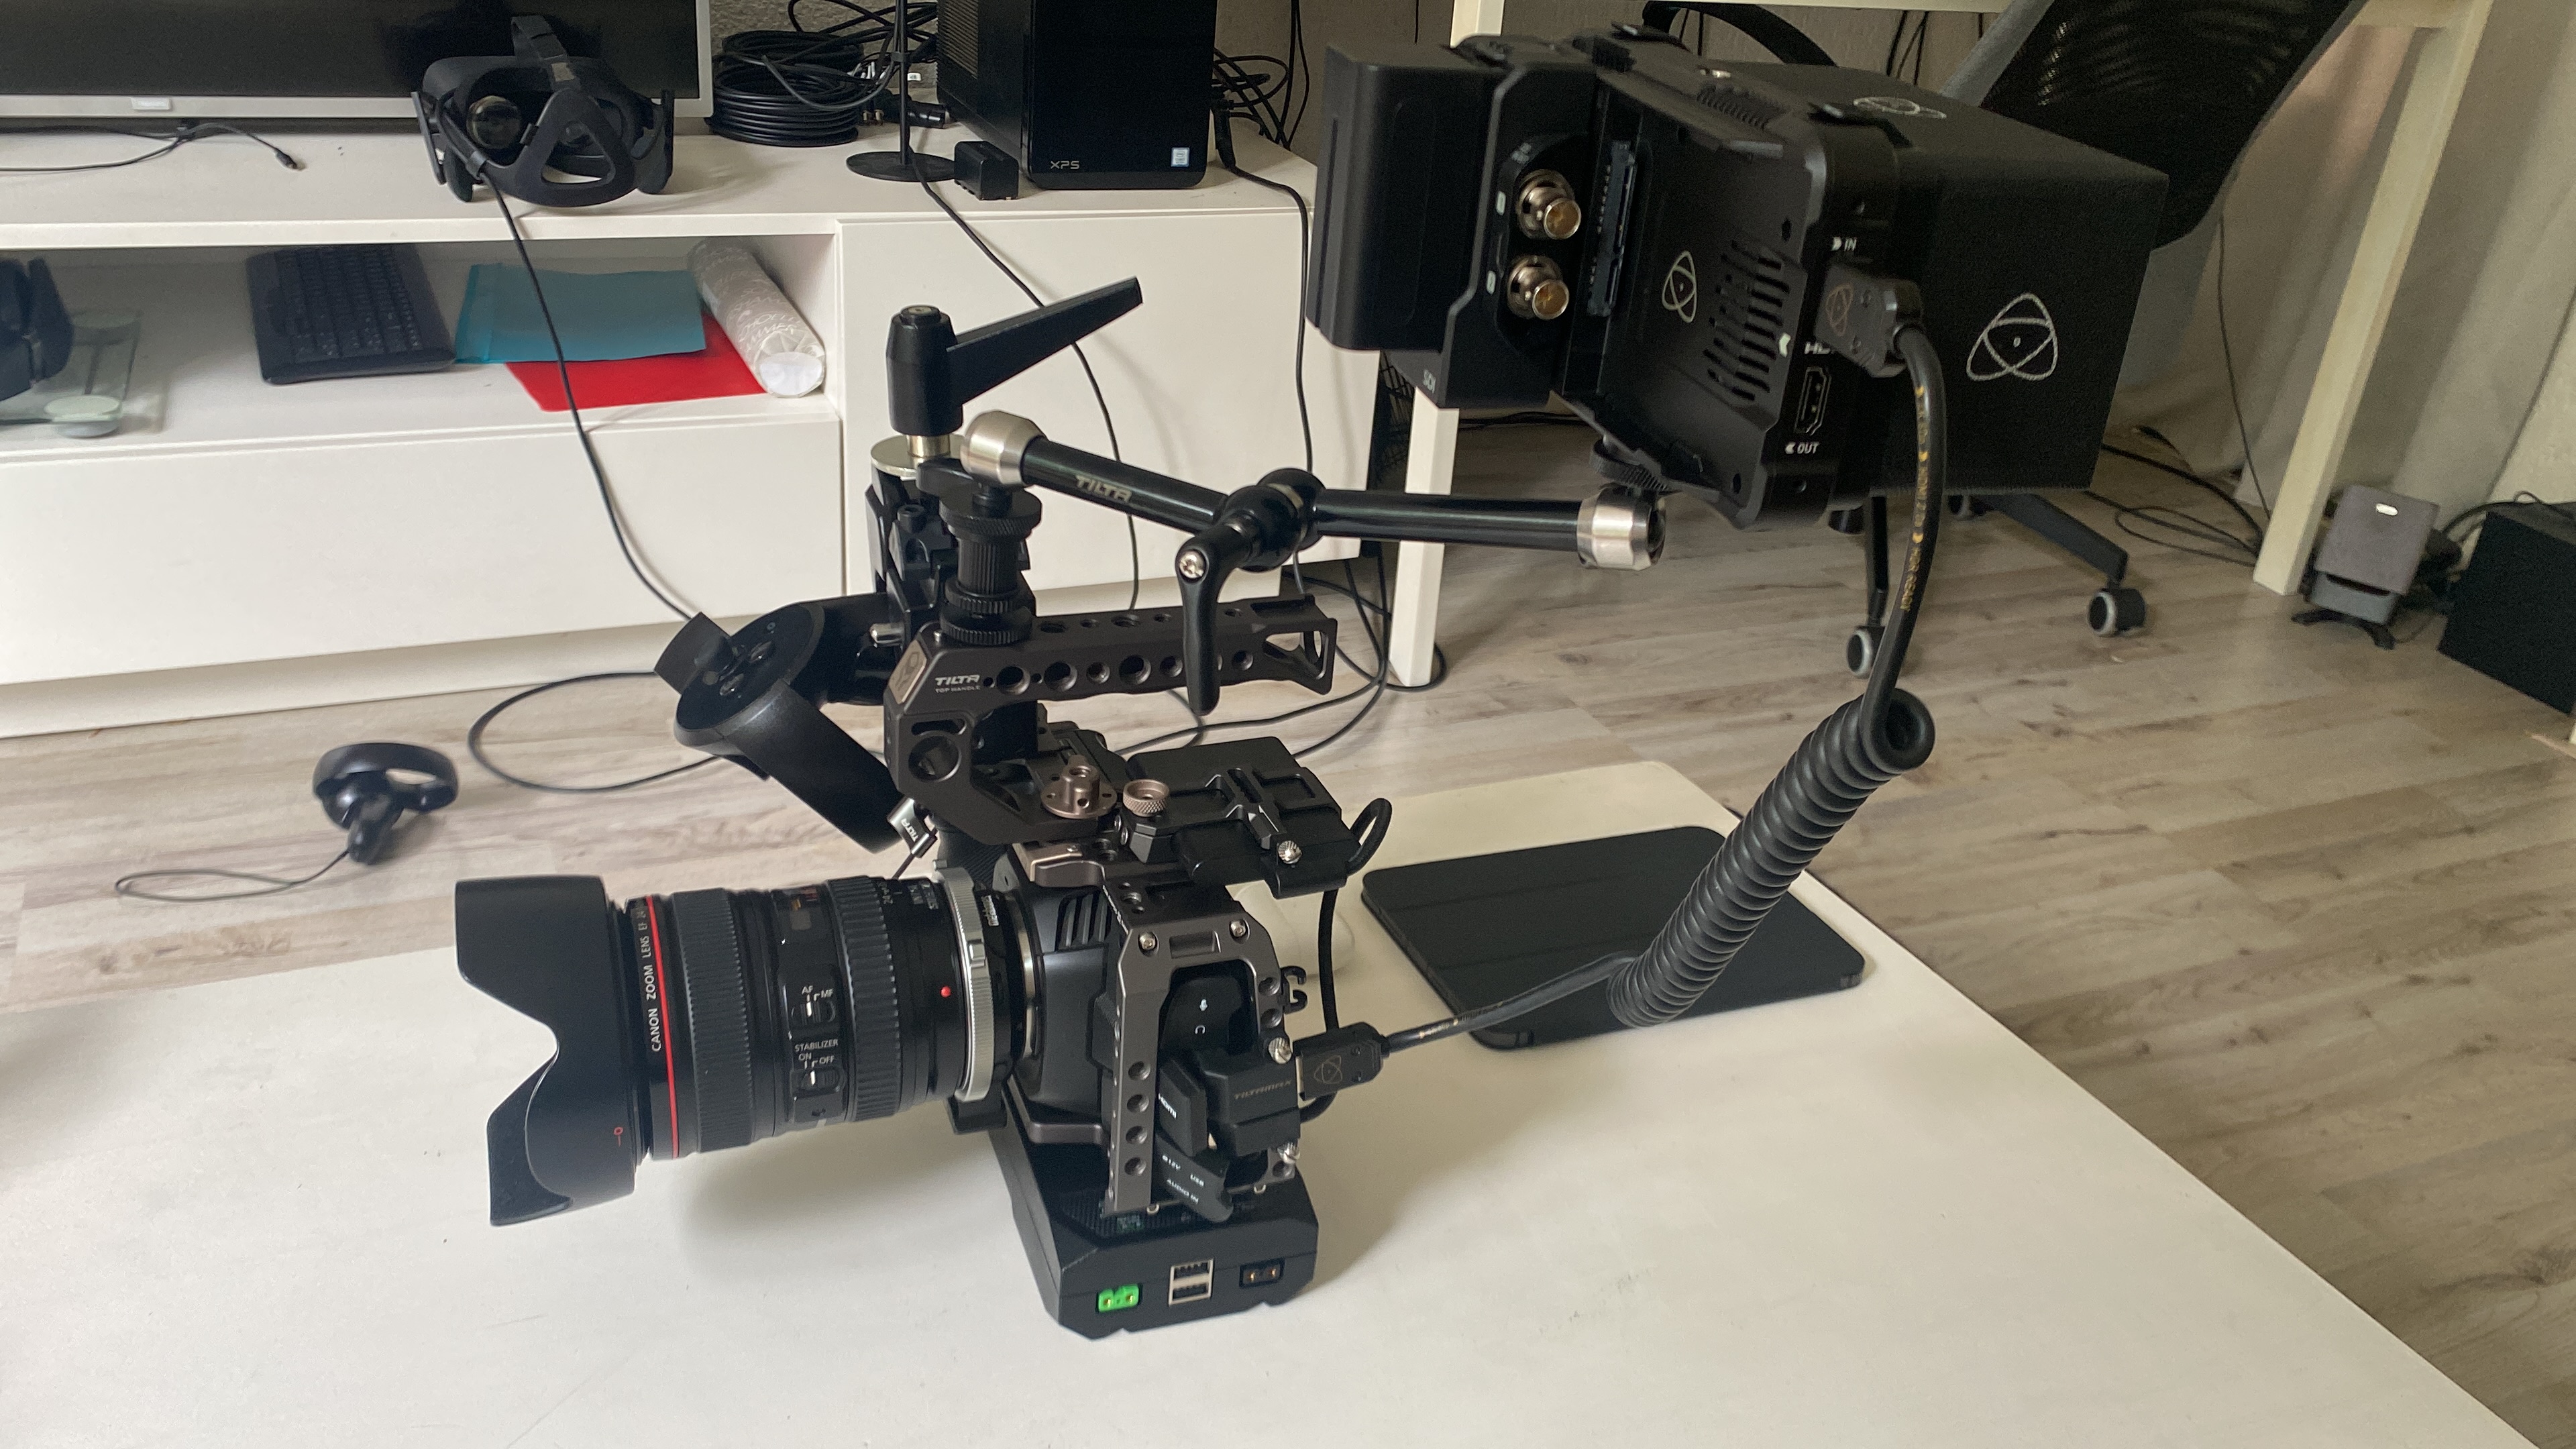
Ofcourse Virtual Production begins with a camera and monitors. You also need the right cables for HDMI to connect to your external monitor.
Next thing you should think about is a graphics record card called Deck-Link to be able to have input into Unreal Engine.

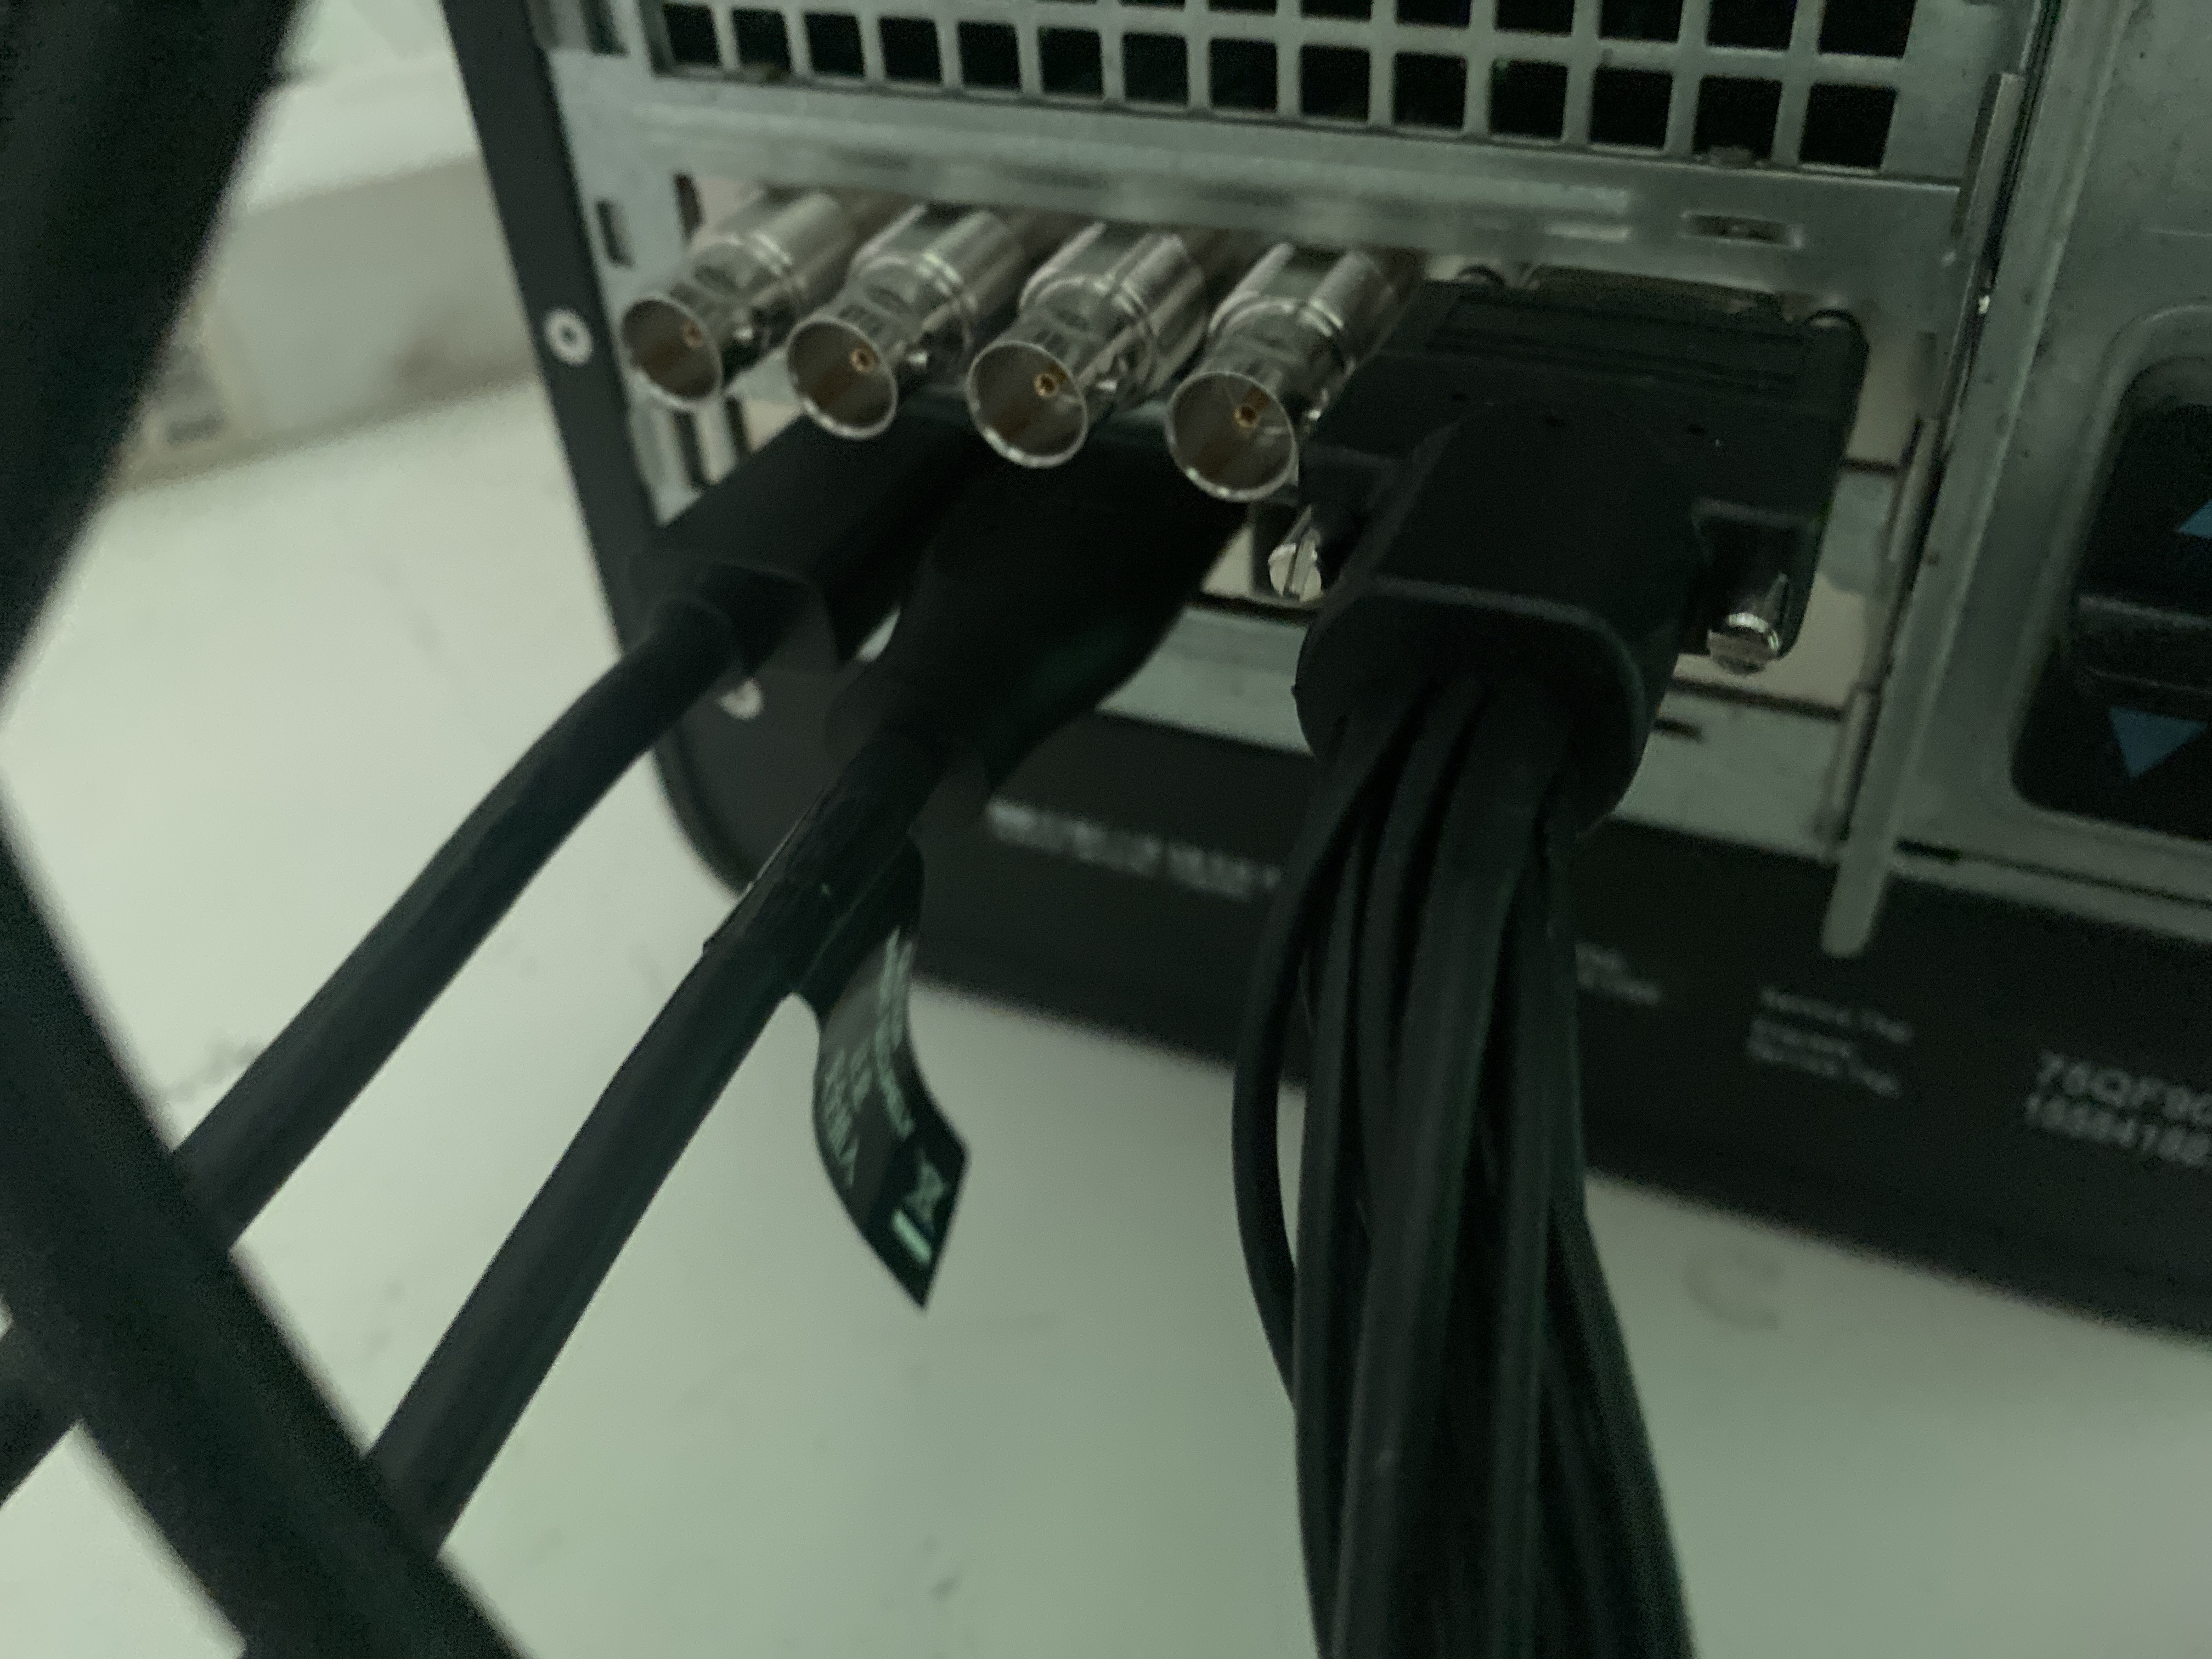
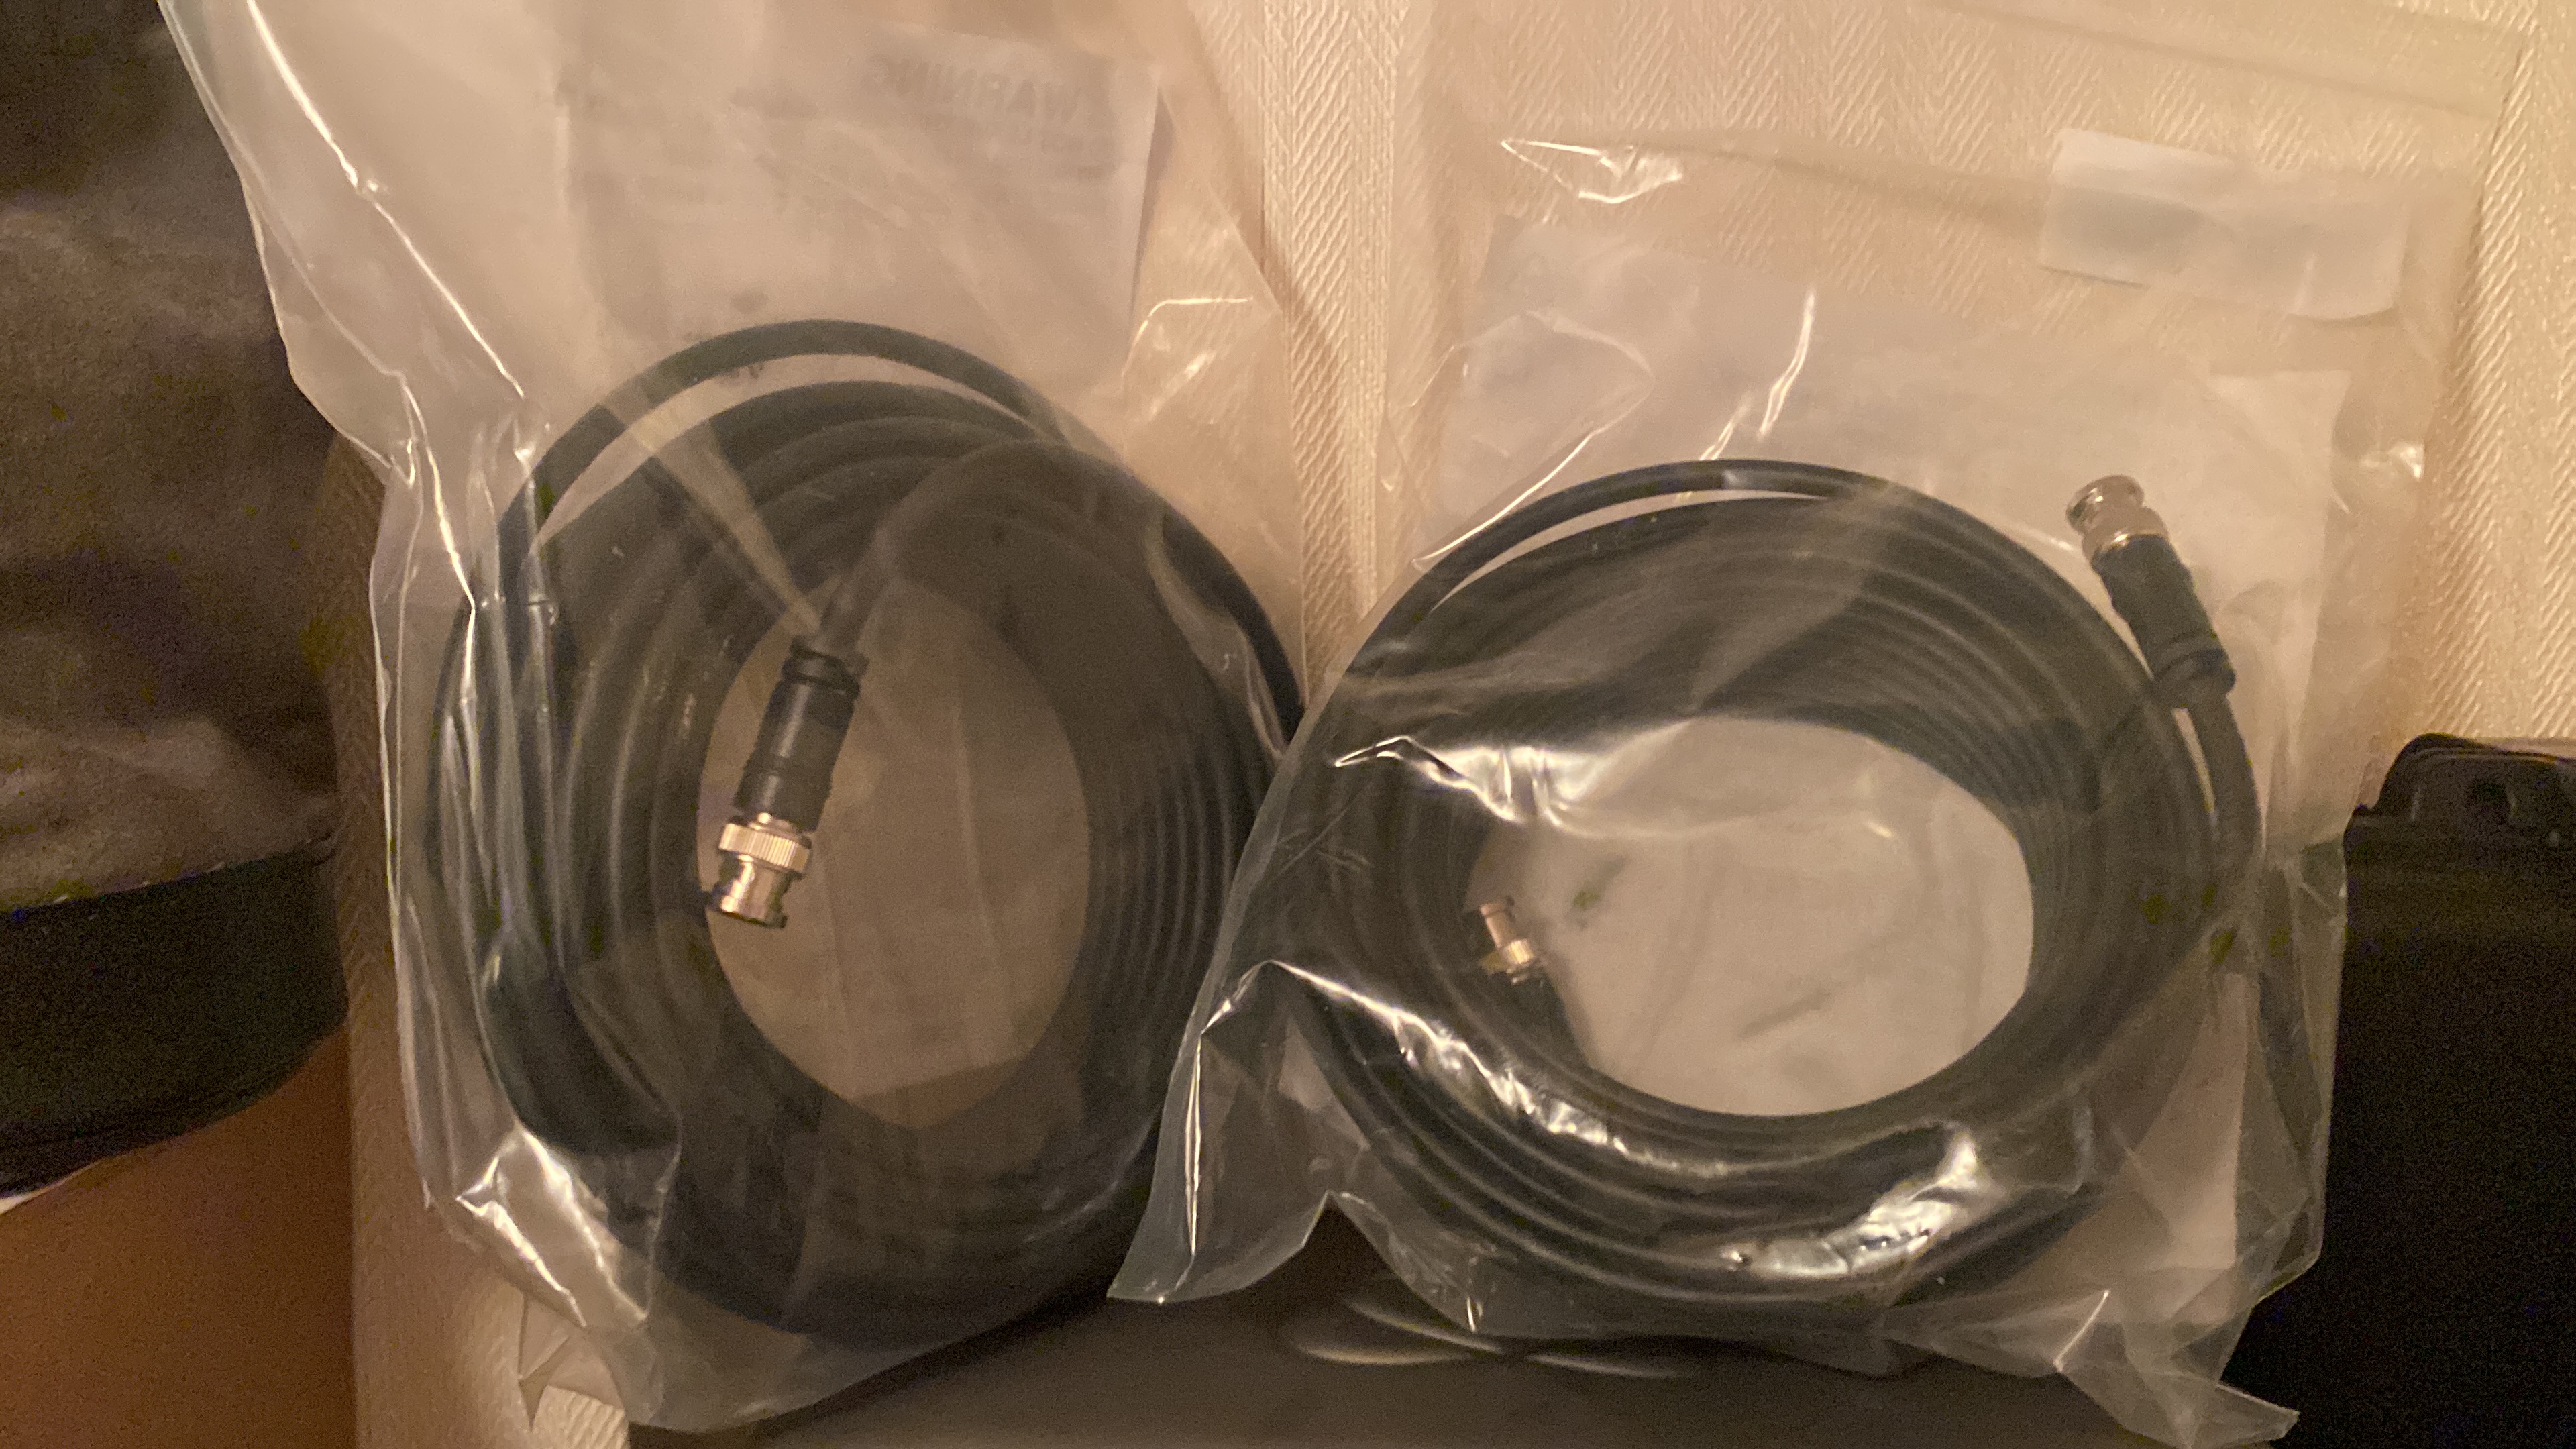
And to be able to connect it you should have some SDI cables.
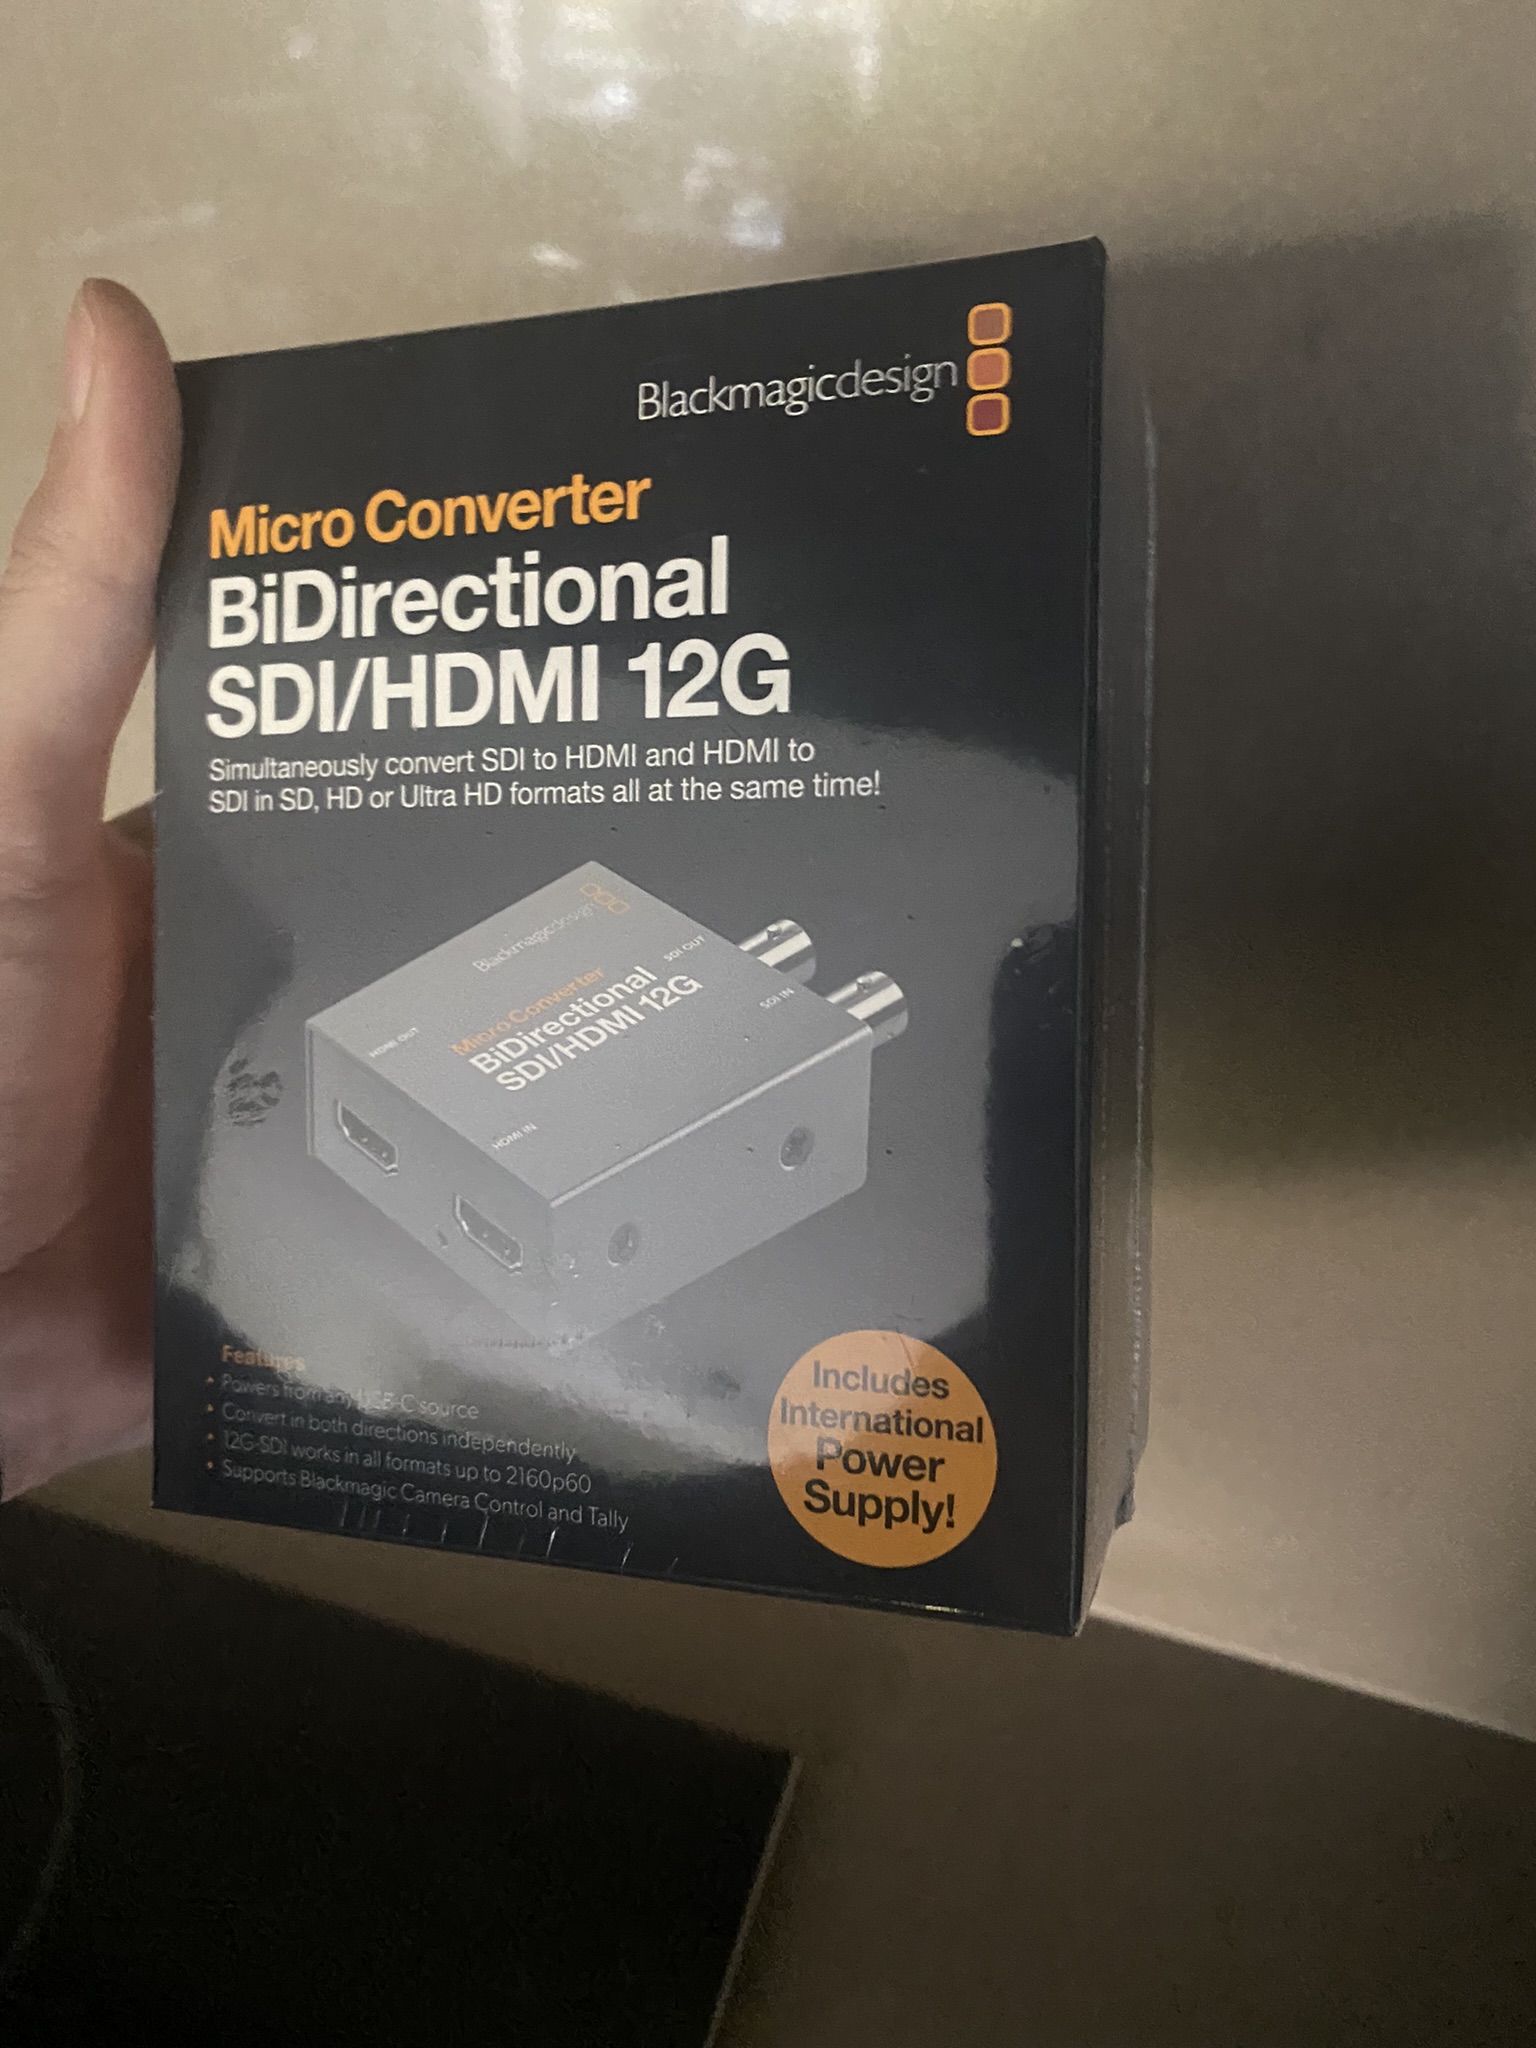
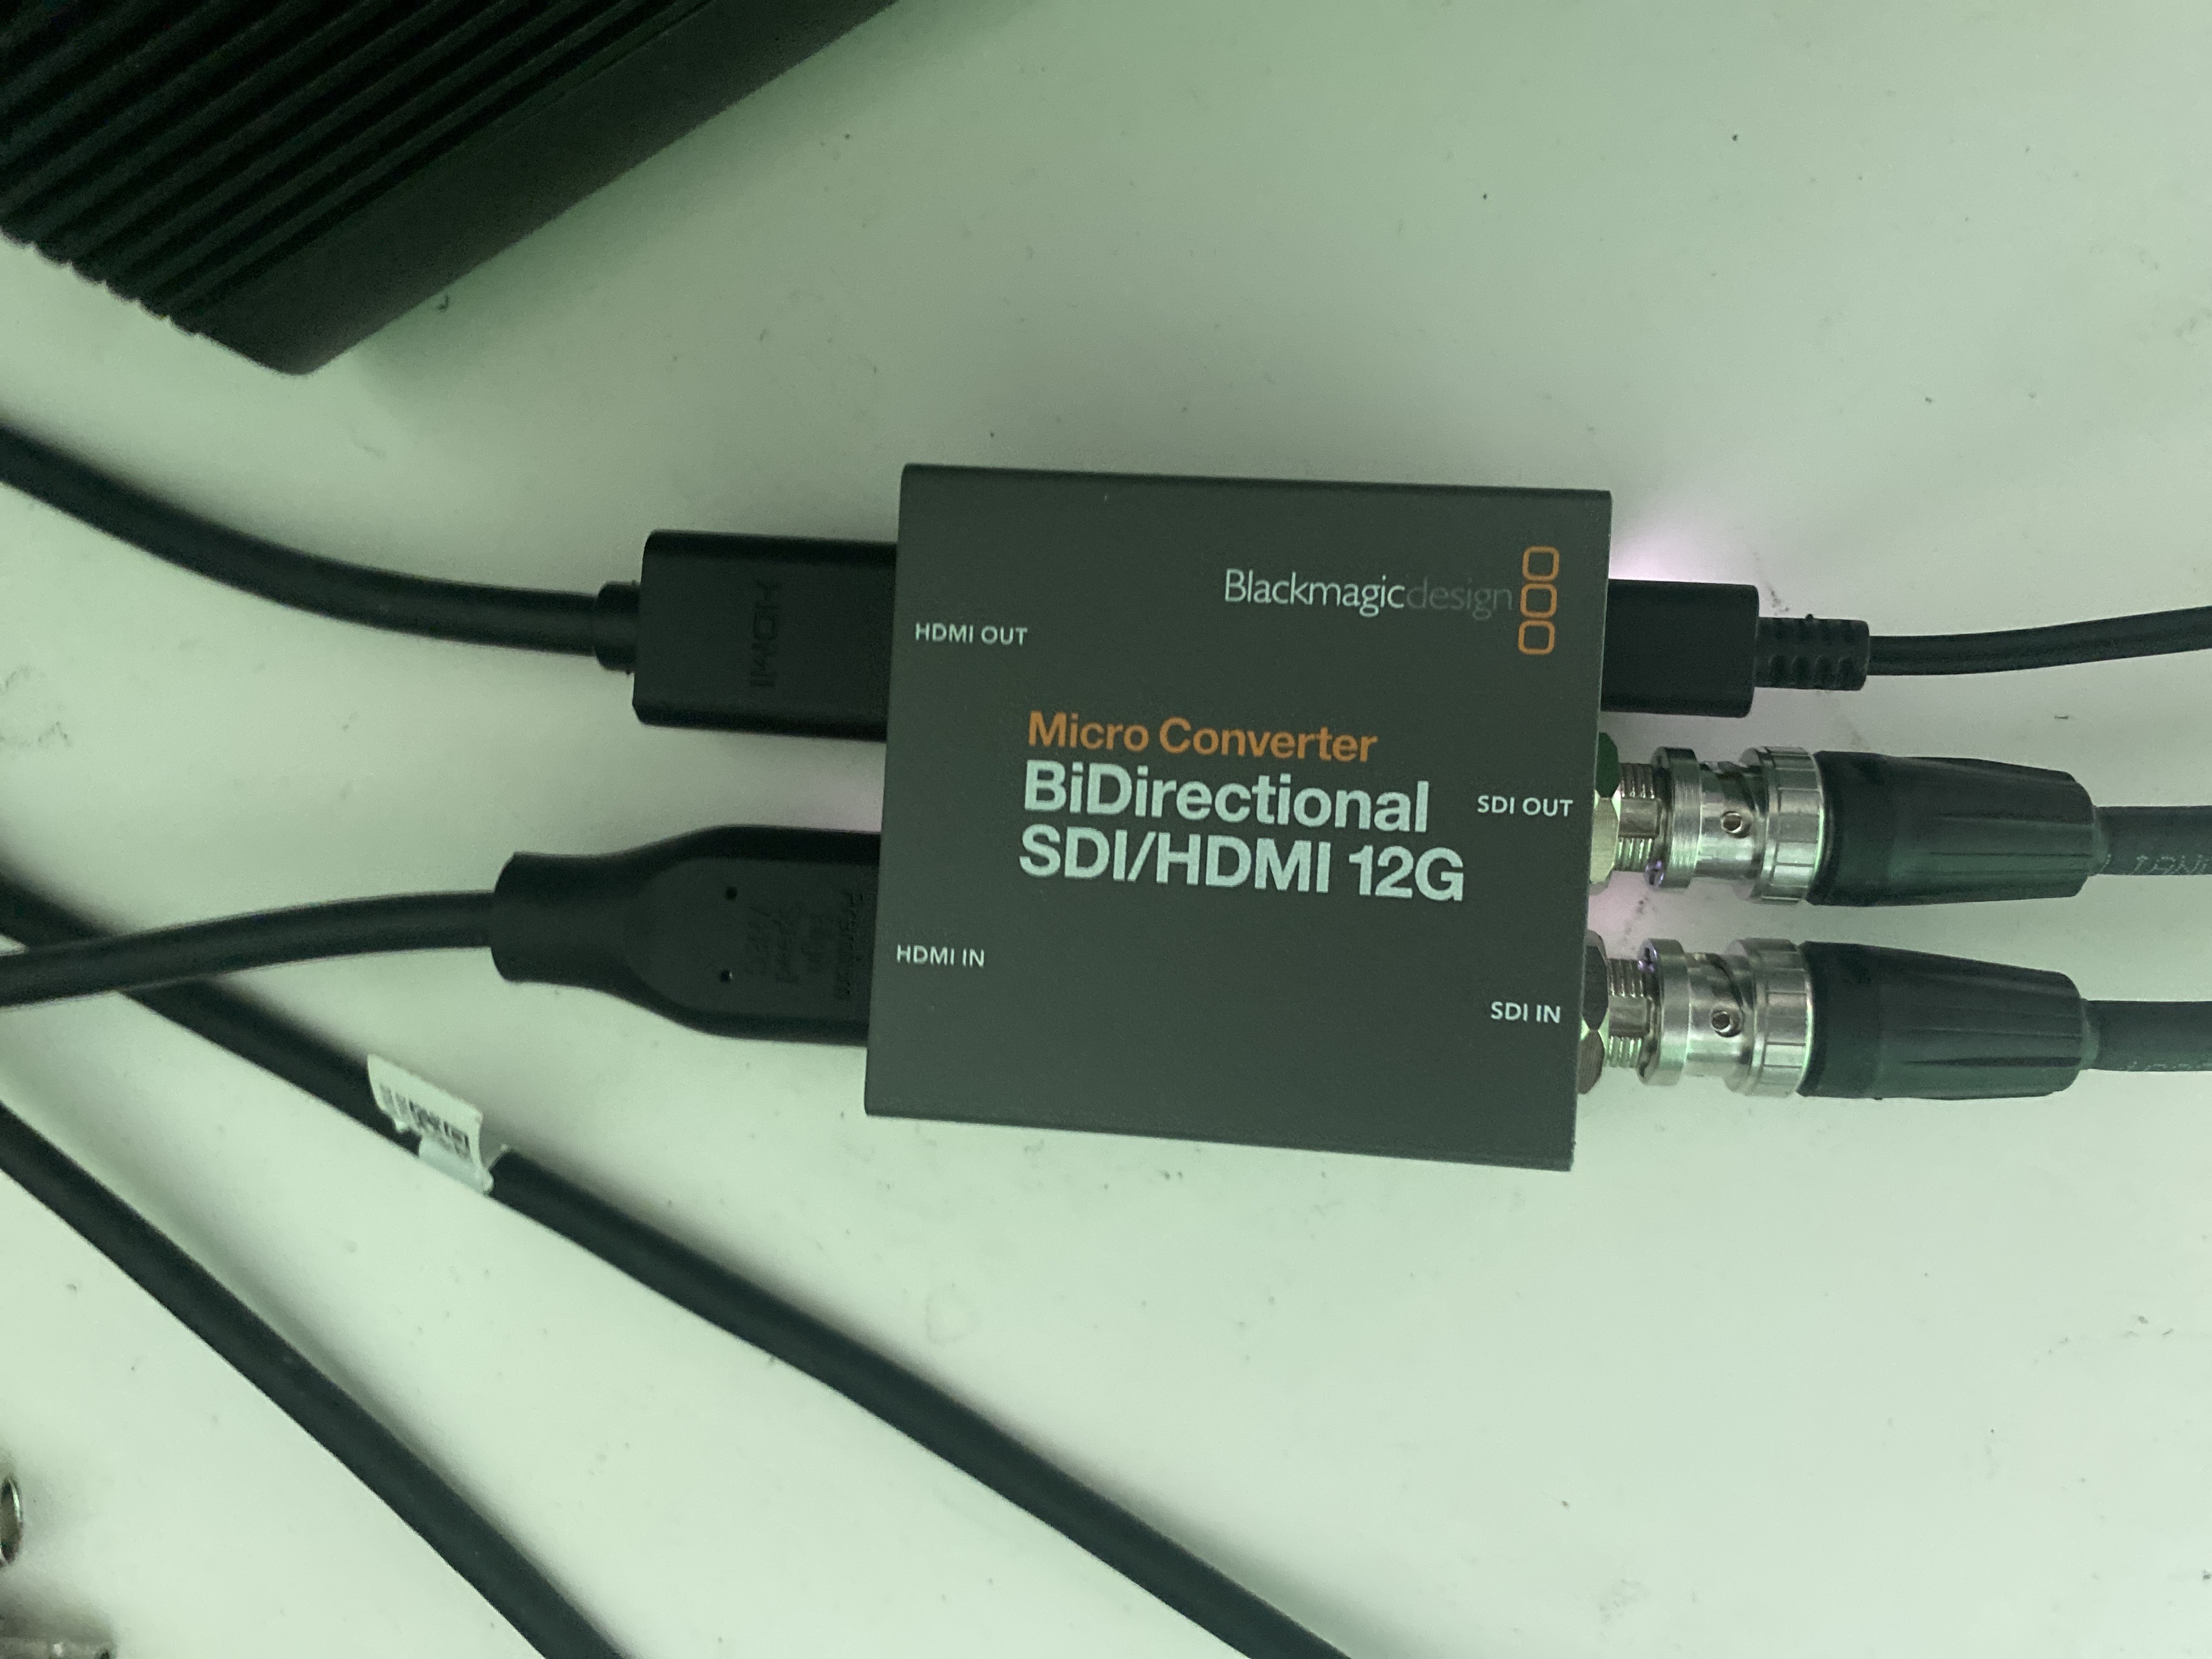
Also useful to have is a bi-directional micro converter. Not really sure when I will know for real if i need this, but the features will definitely help the progress.
At first I thought I would also need a way to have a stable tracker holder, but afterwards I figured I would only need a superclamp.
Storage Expansion
So, there will be a lot of file storage needed for future projects and to be able to work with a lot of assets varying from low to high poly.
A friend of mine still had a let-over NAS that he was happily giving it to me to help me with my growth into Virtual Production.
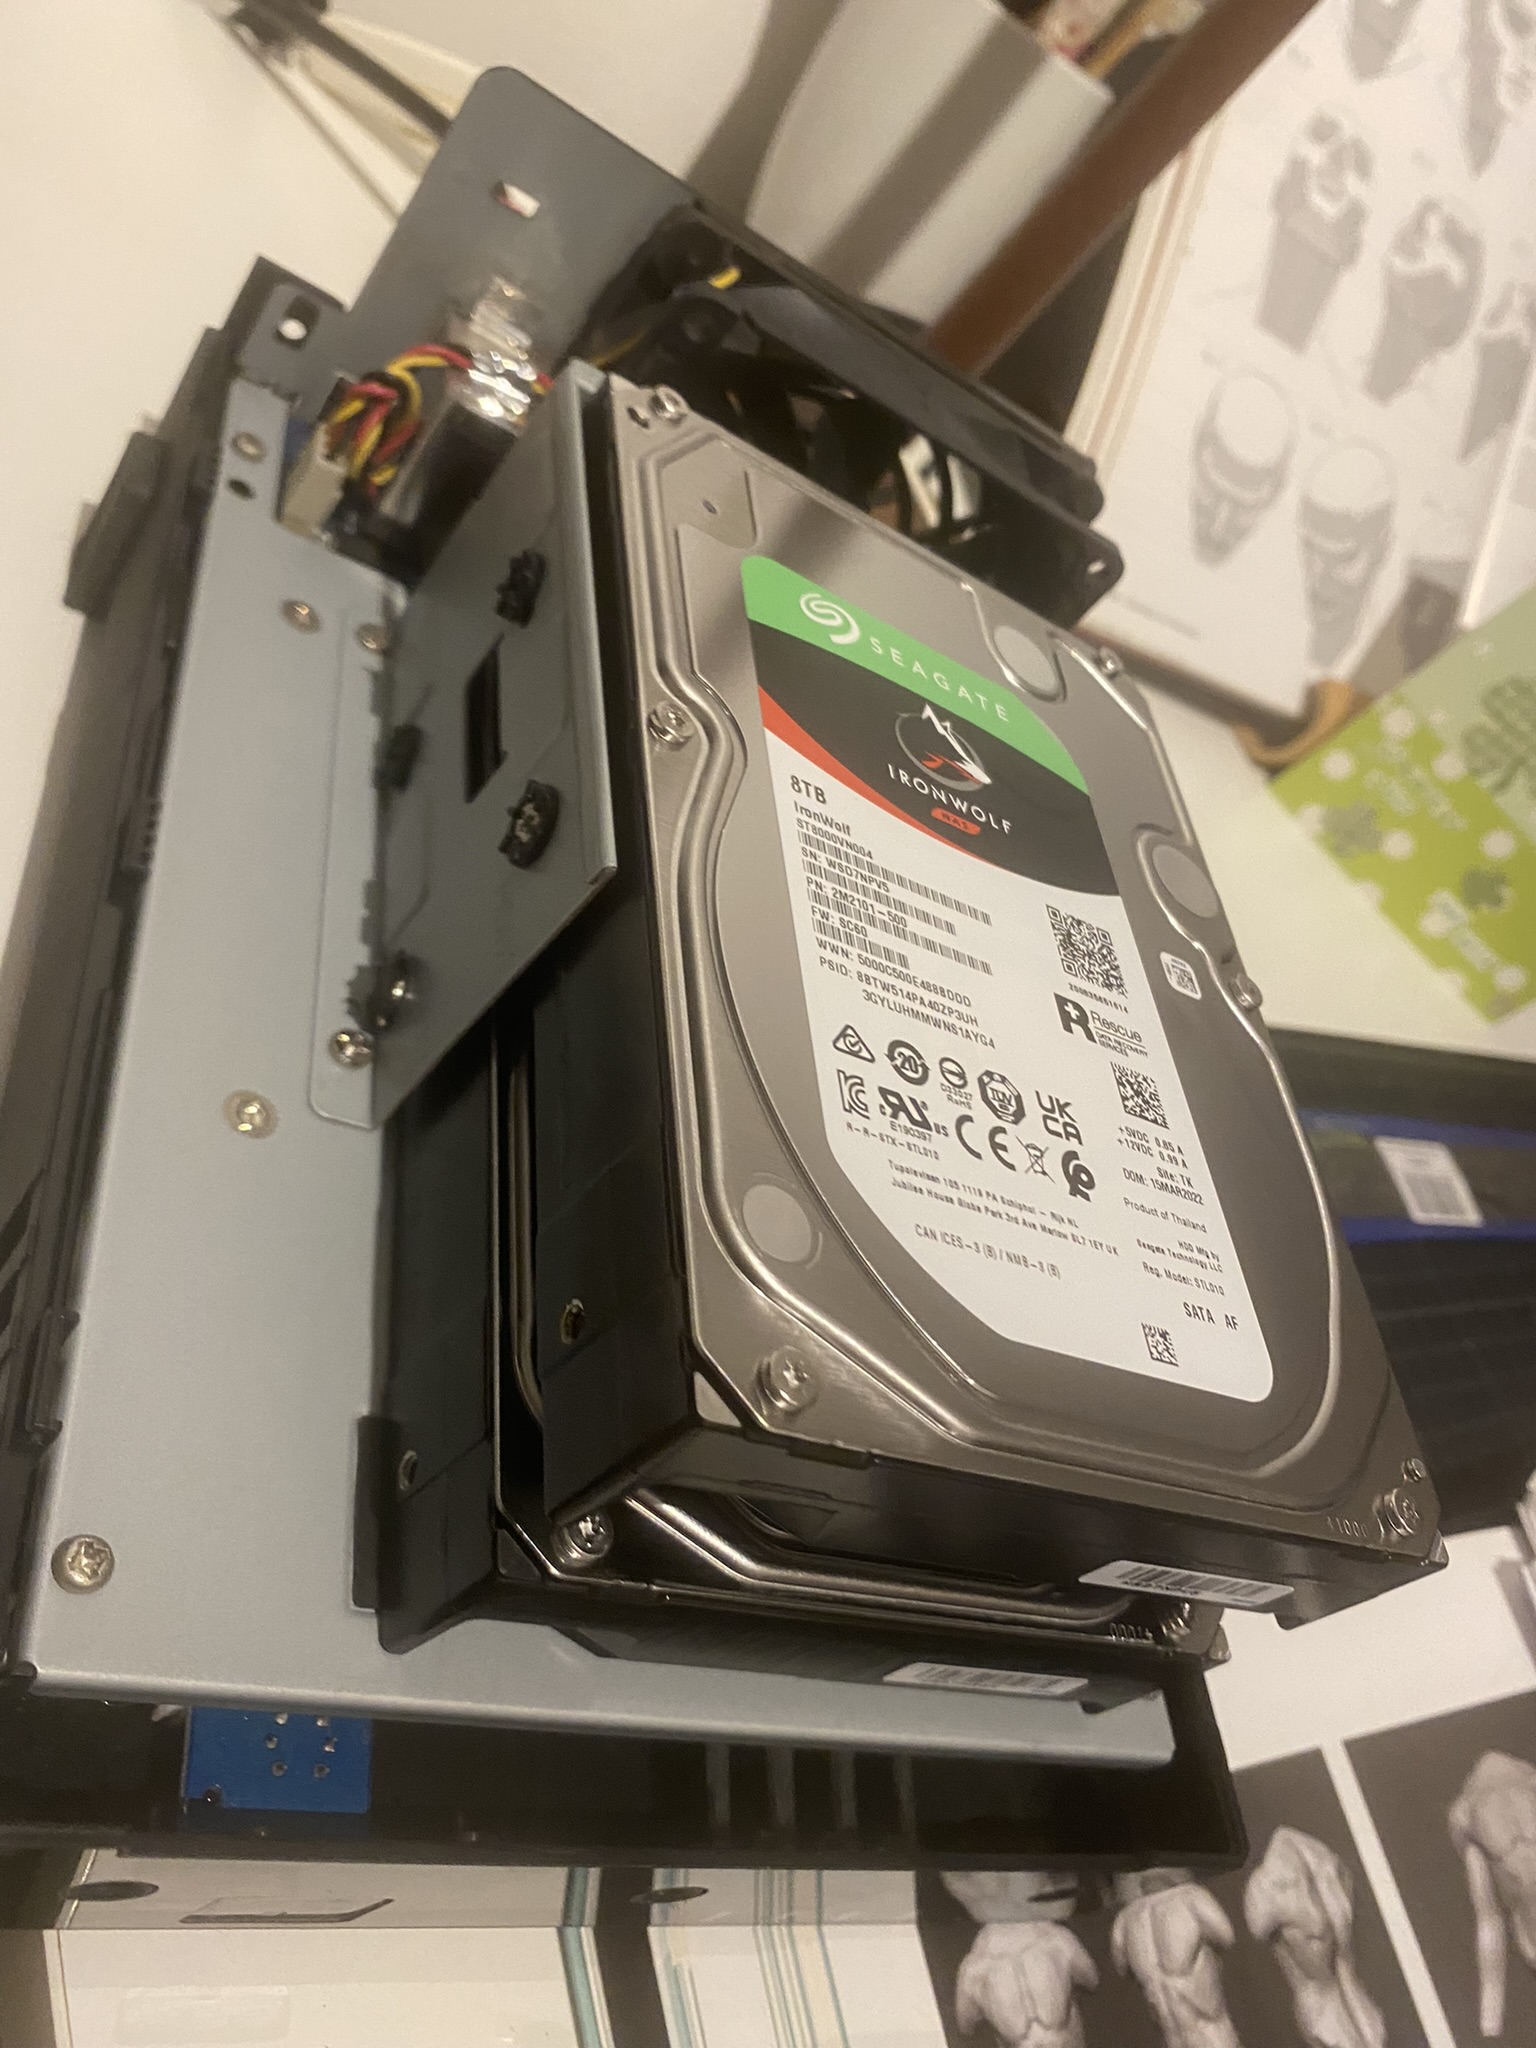
For all of the textures, shaders, materials and other effects that could make use of librariesor other depending files should have a good space to set it in. So I have bought myself a couple of NAS Hard Drives.
The Set
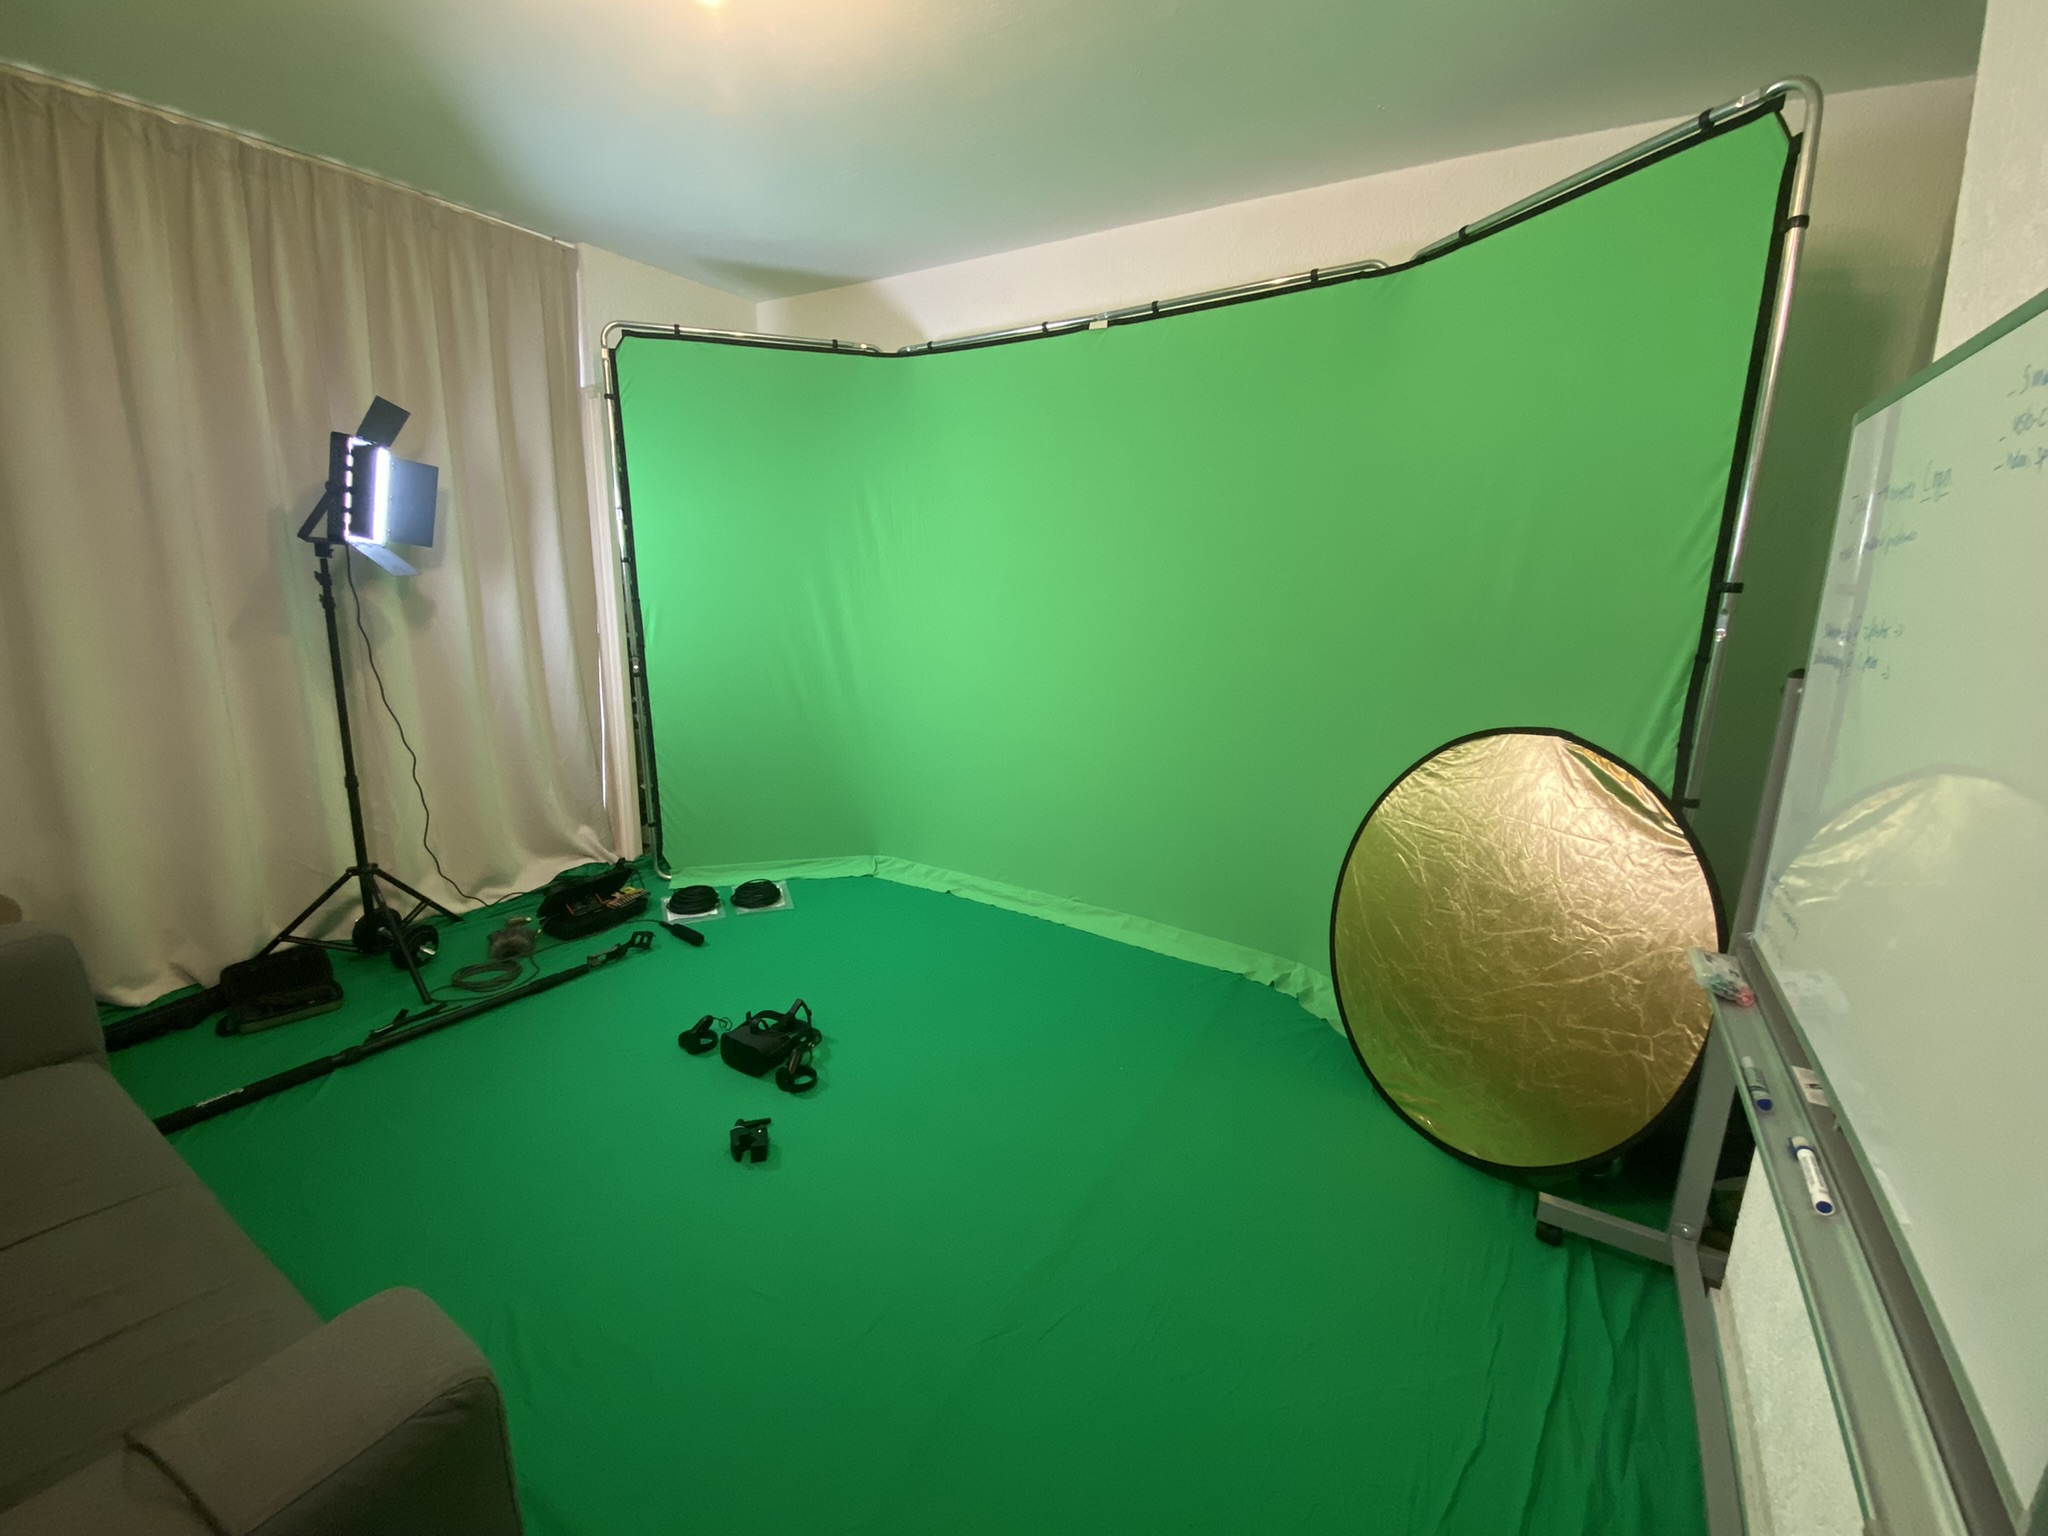
For this Indie way to work you'll need a green screen set up with some lights, just know the more lights you have the better for full control of how your scene will look.
What's next?
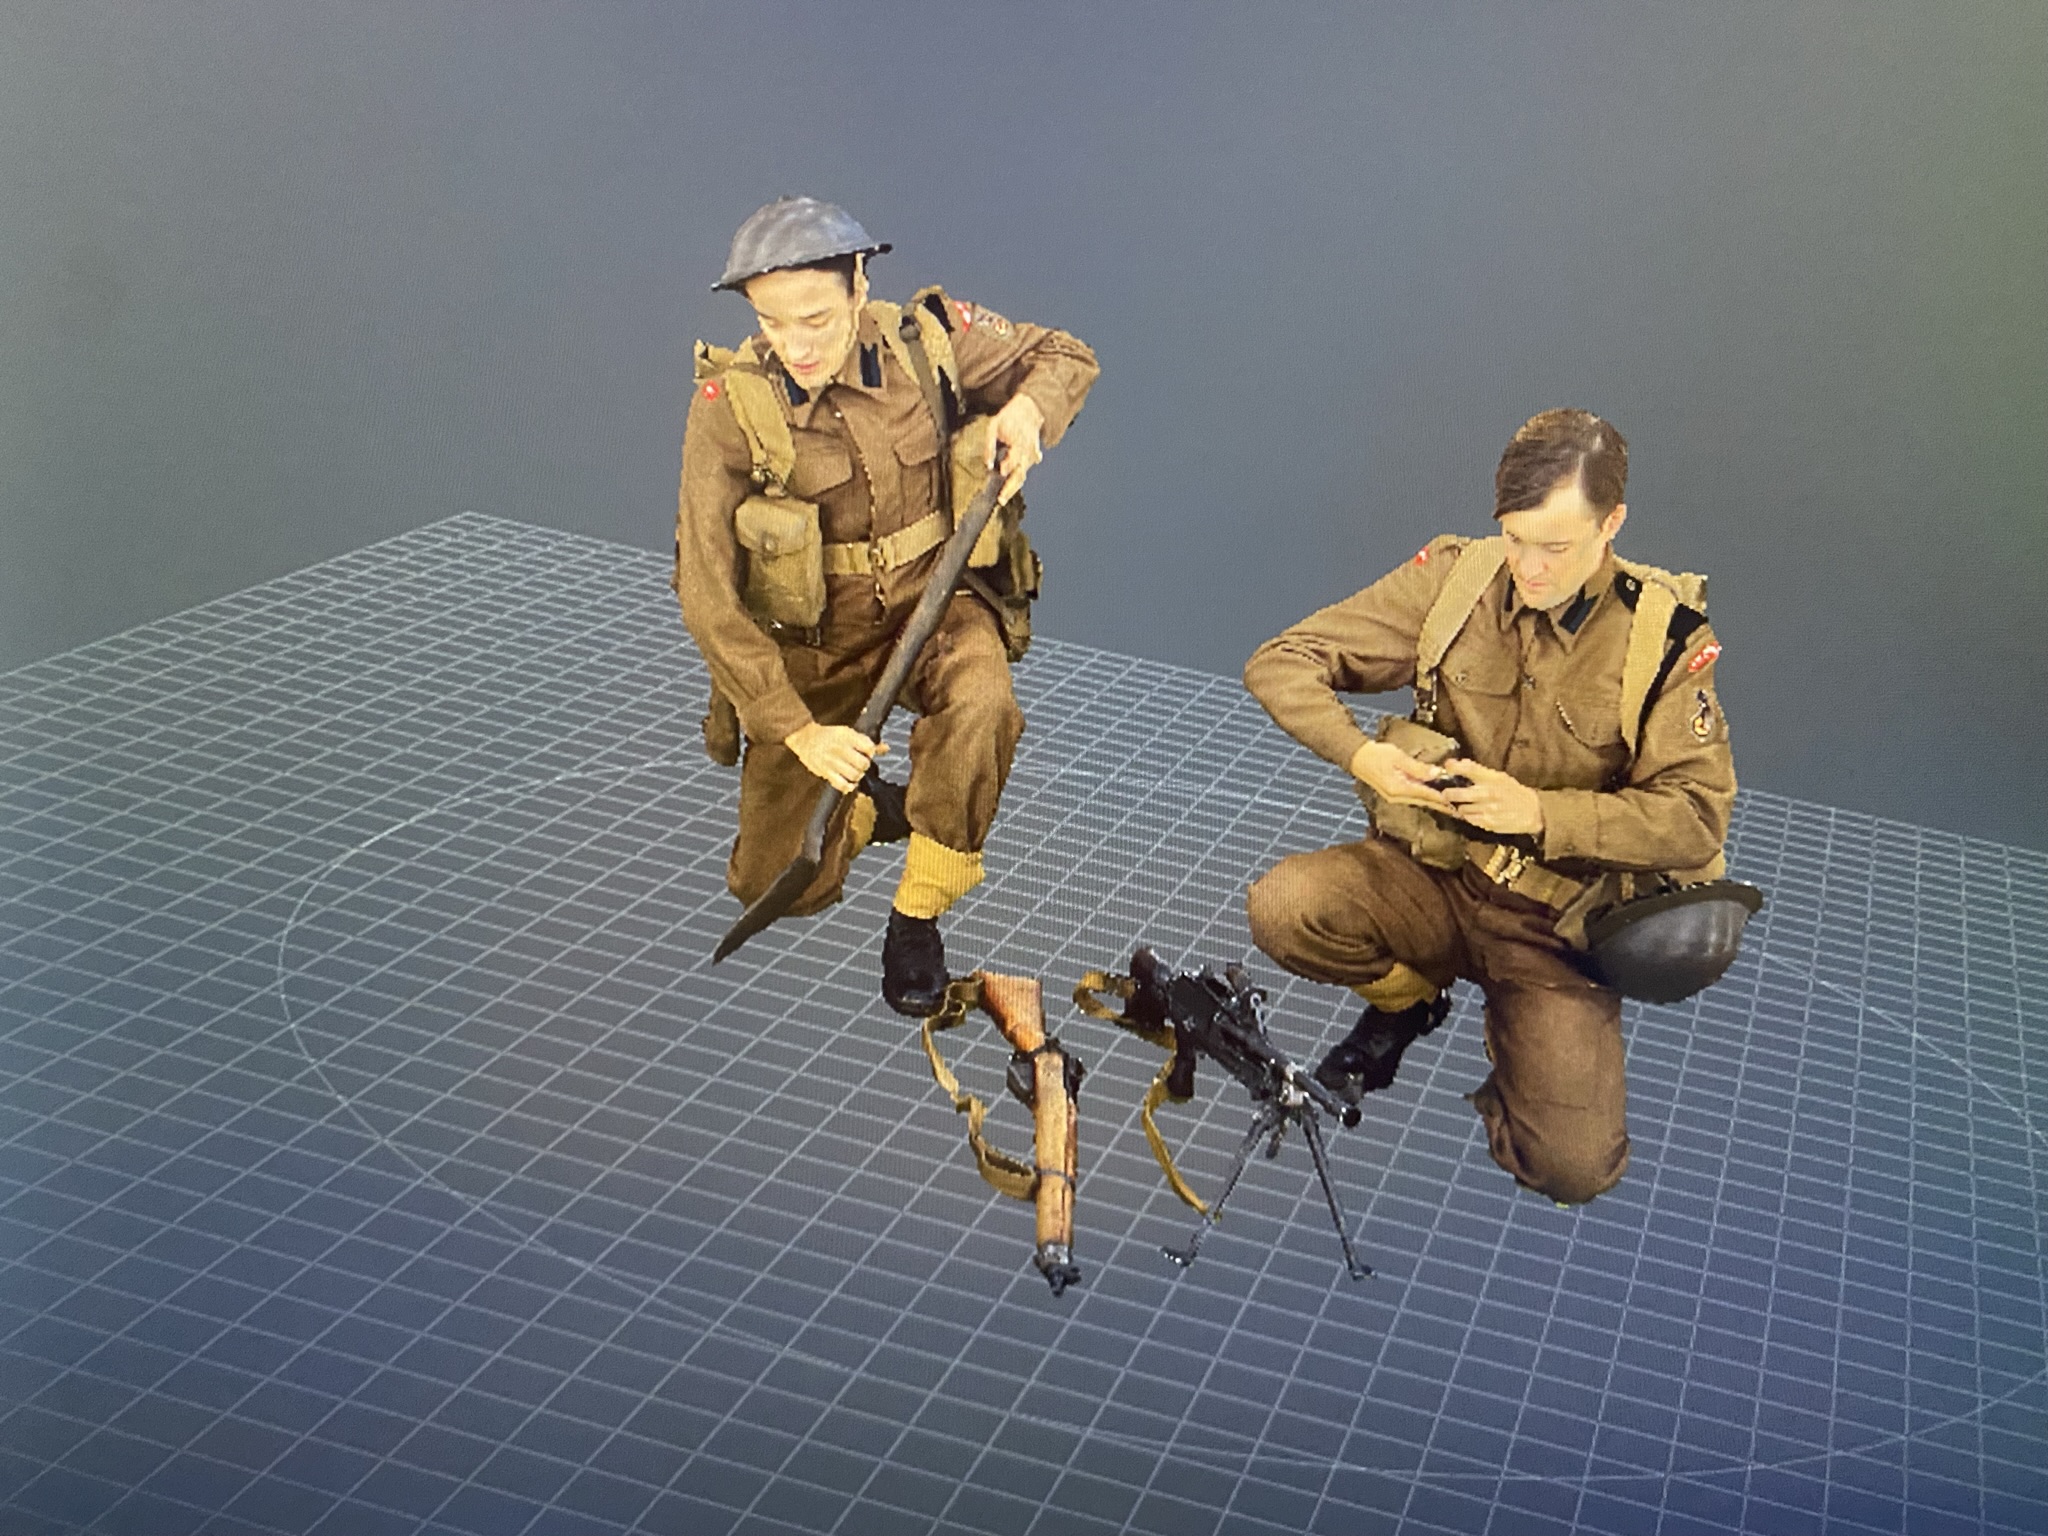
Well a lot of companies have taken their position with their own systems. One example is Dutch Rose Media with their volume capture capability.

They can have actors in the middle of their set and the camera's surrounding the set will capture the 3d volume of the characters. Very impressive!
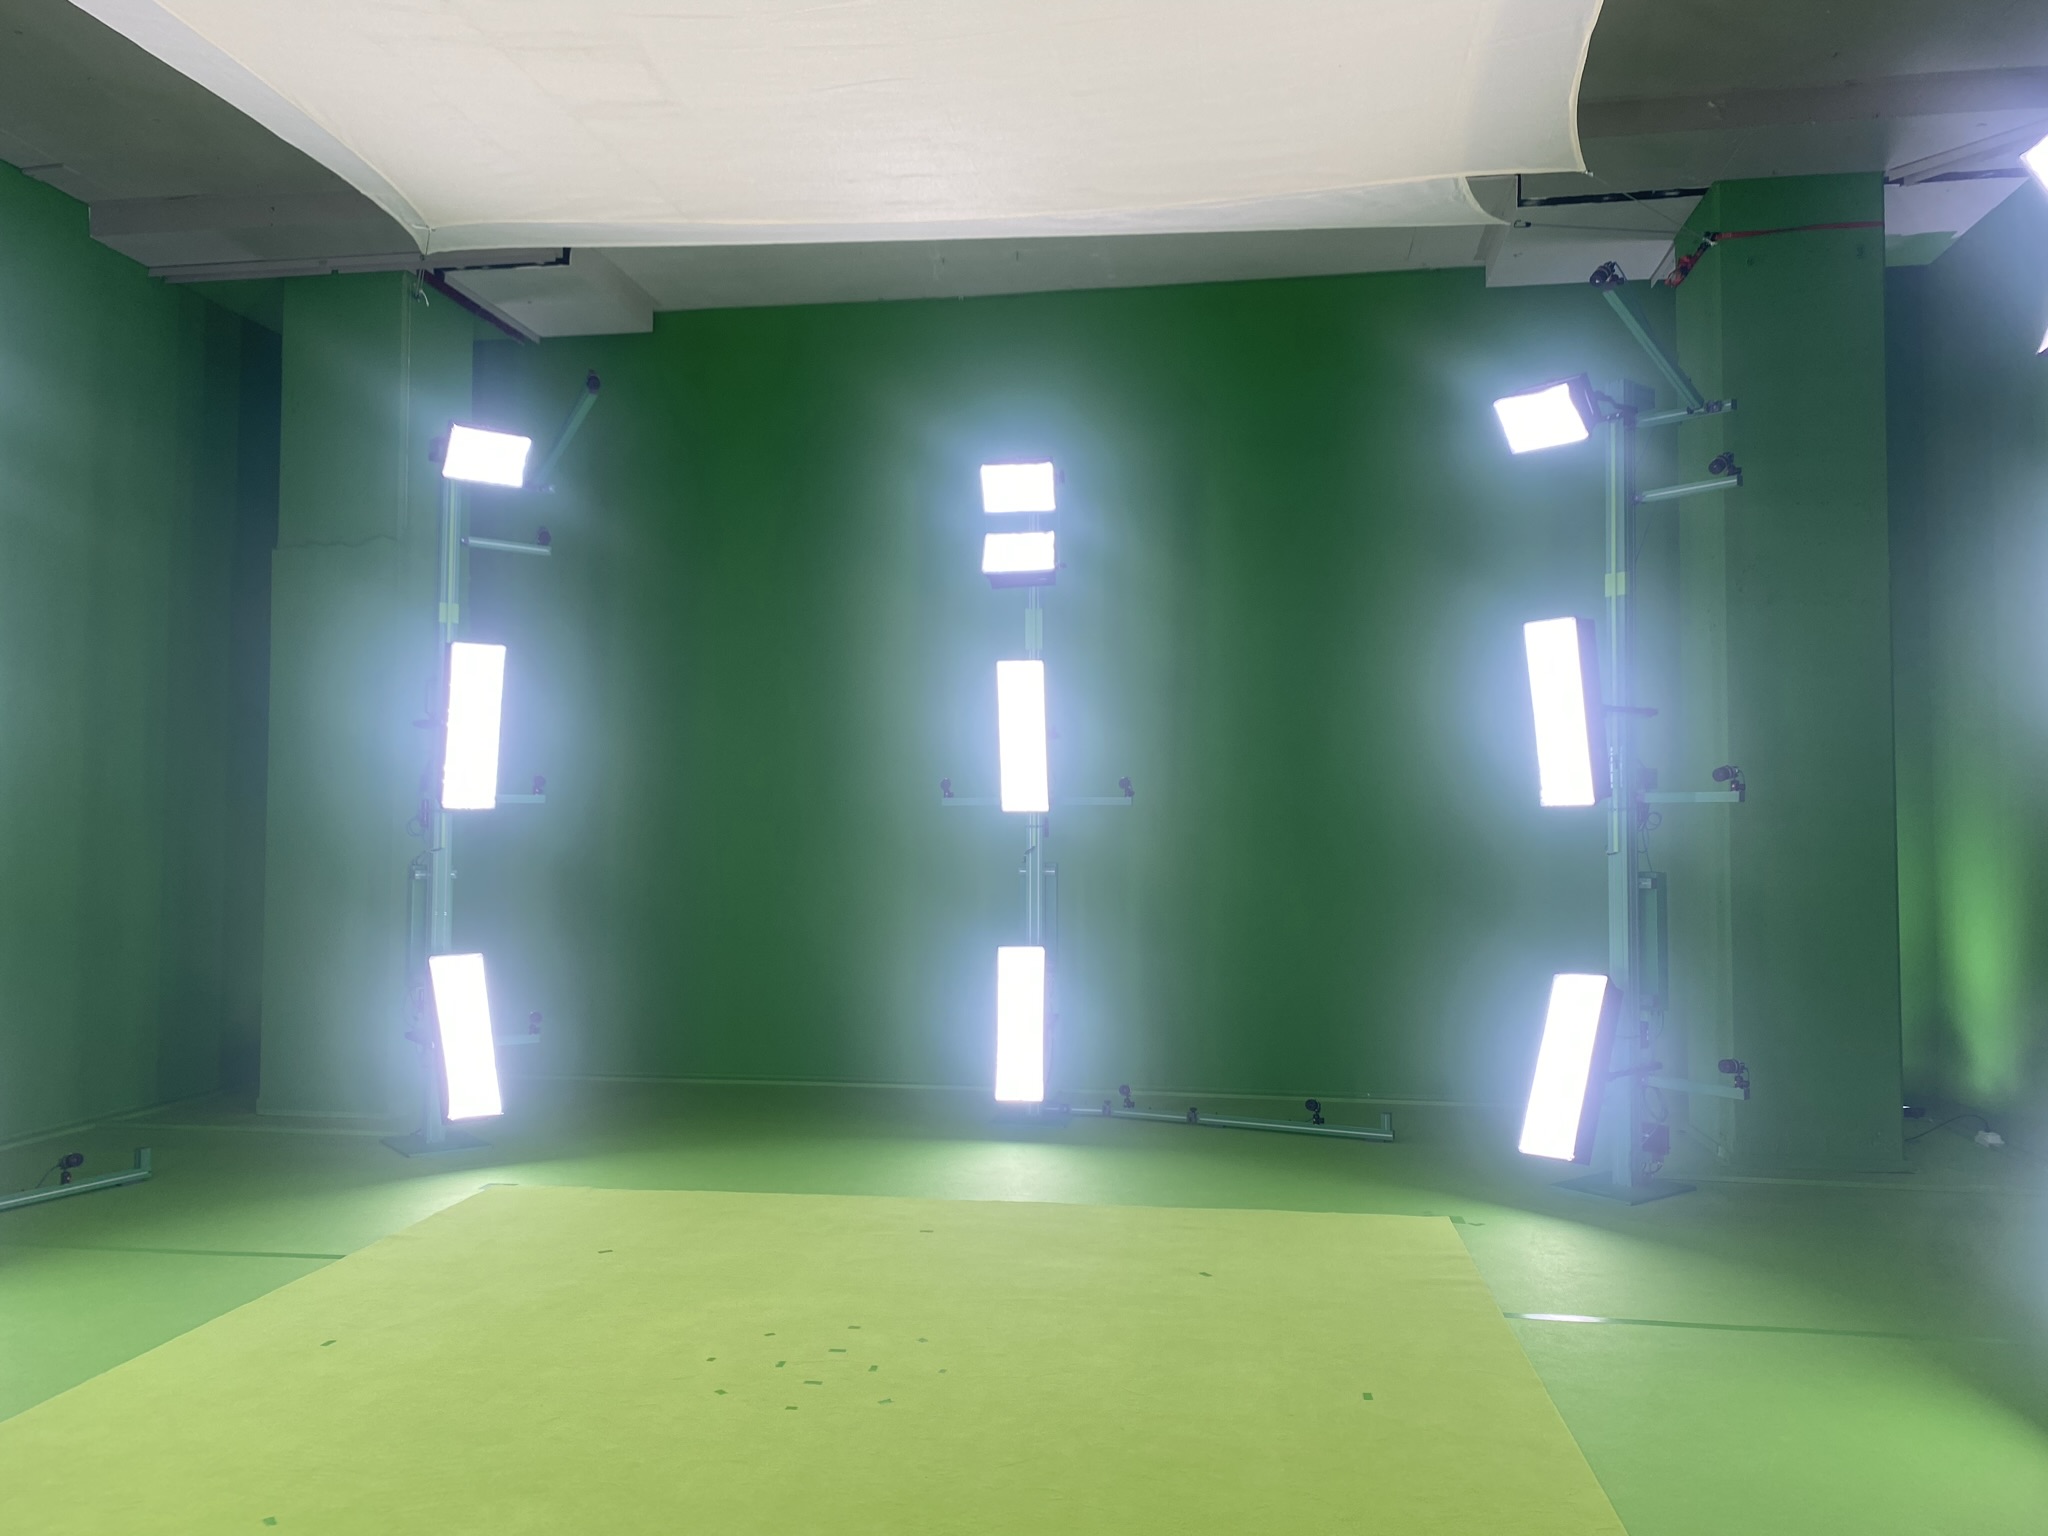
The usage can vary from history, to retail, to e-commerce and even sports.
Inside Unreal Engine
Now that the set up is as good as a Go, I can focus on getting familiar with the software and set up the VCam there.
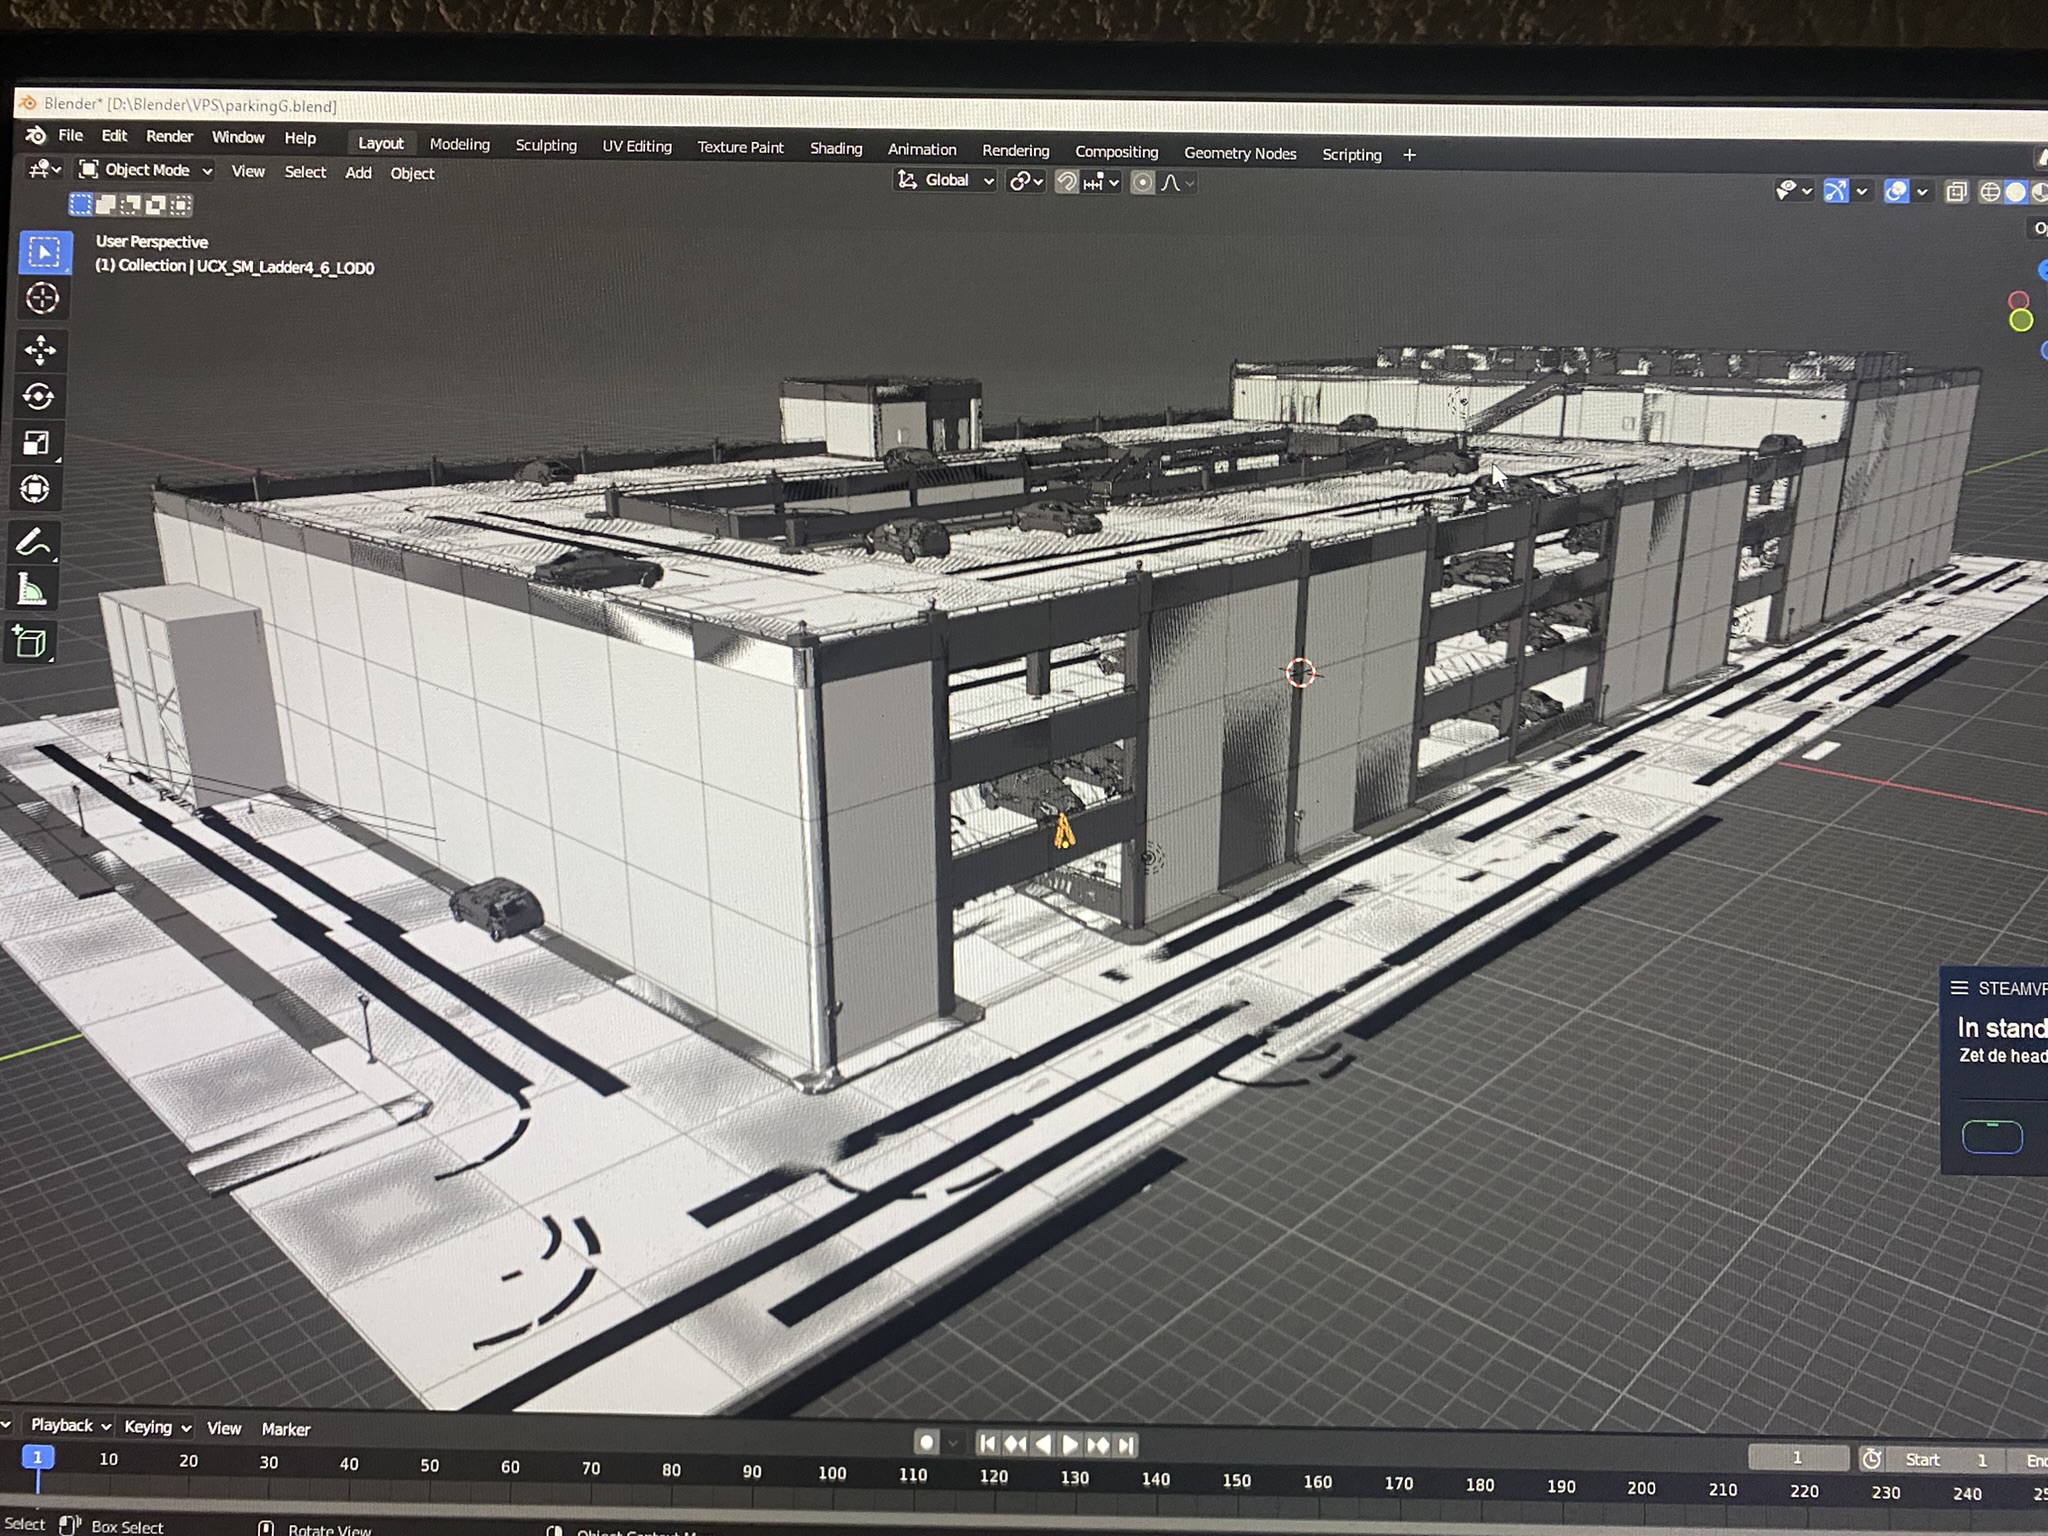
Now that there is an environment with multiple LOD levels It is time to set up the VCam
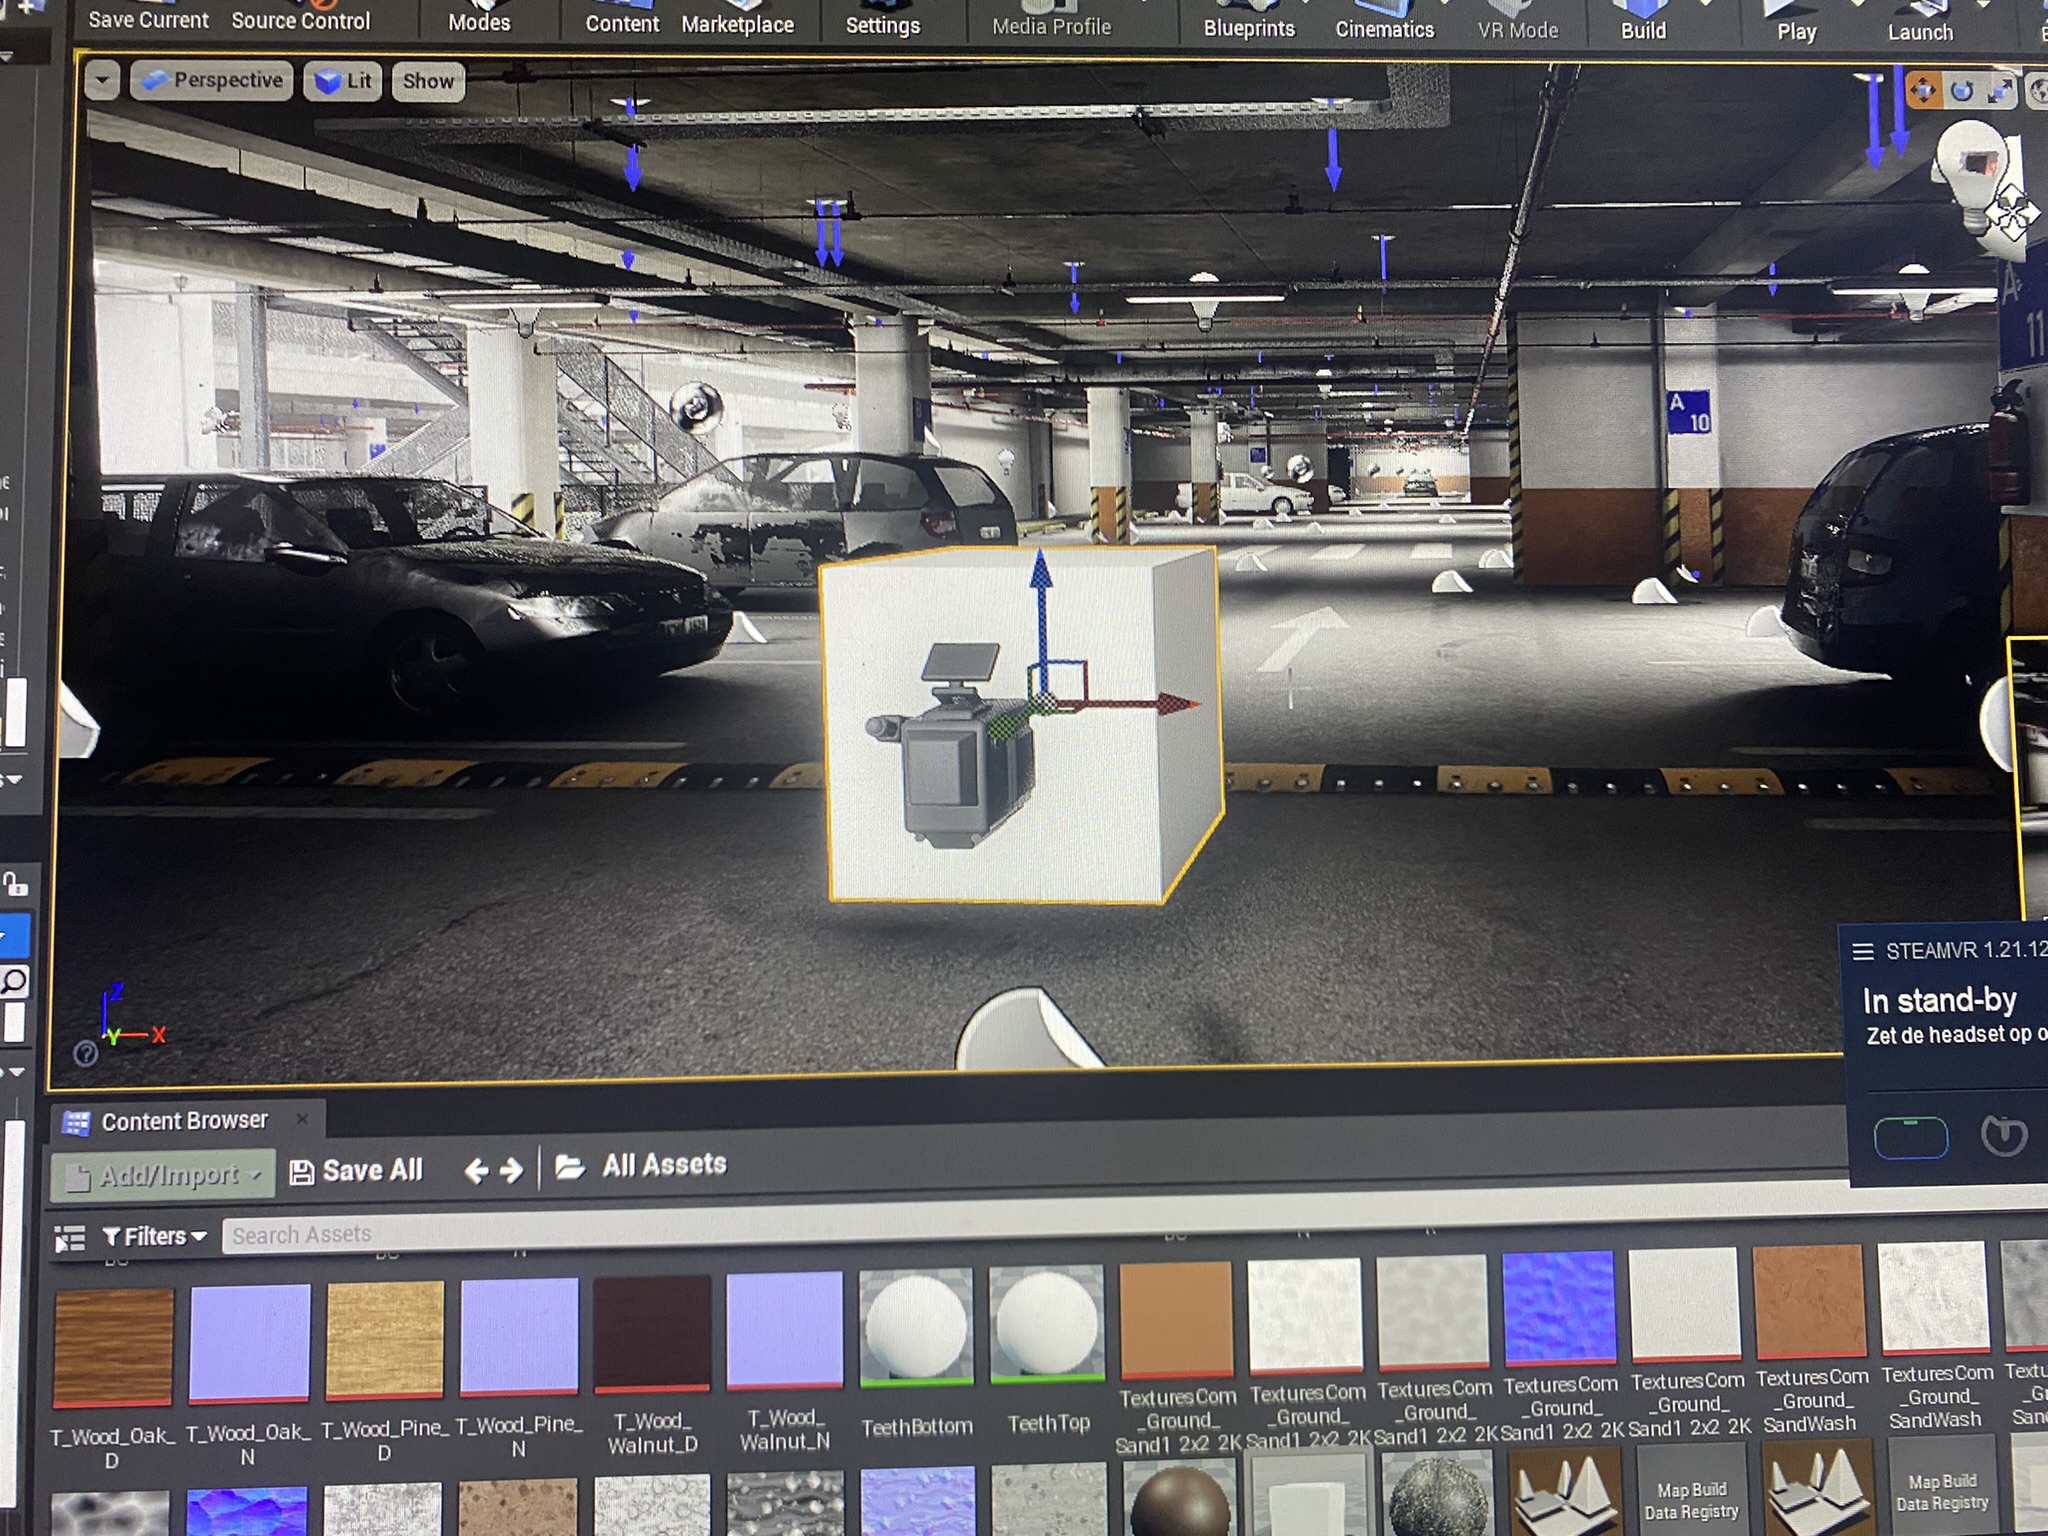
I have already noticed that Unreal Engine goes really deep in how assets and materials, lighting etc. should work and behave. At the moment I am looking for great classes or courses to dive deep in Unreal Engine's power.
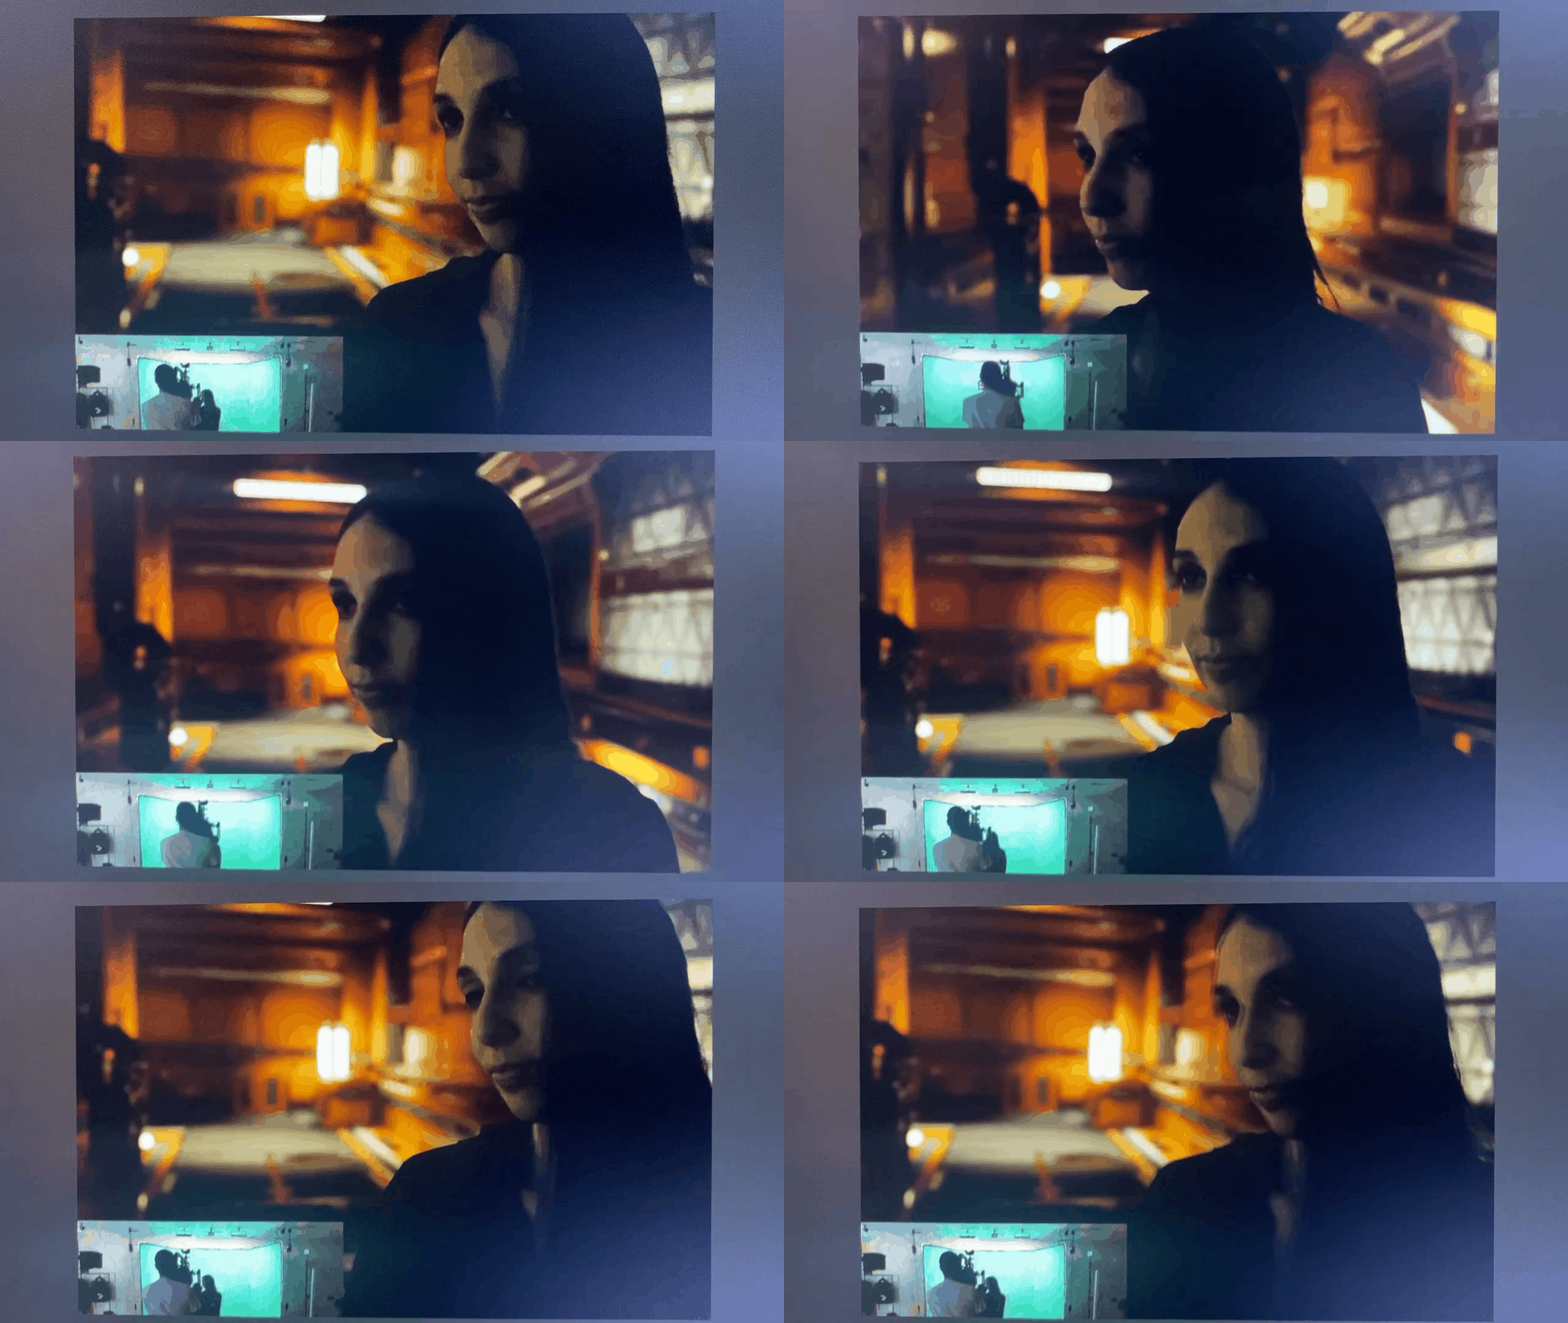
Hoping to achieve great results this year that will make you feel like you are actually there.
(gif is from Matt Workman.)
Green Screen Treadmill
I knew for a long time that I needed to have a solution for the relatively small space that I have for production at home. So that is why I was seeking for a treadmill to be able to move on the spot without compromising my production space. Luckily a close friend of mine had a treadmill which had a malfunction, a broken plate incurred by running on it A Lot.
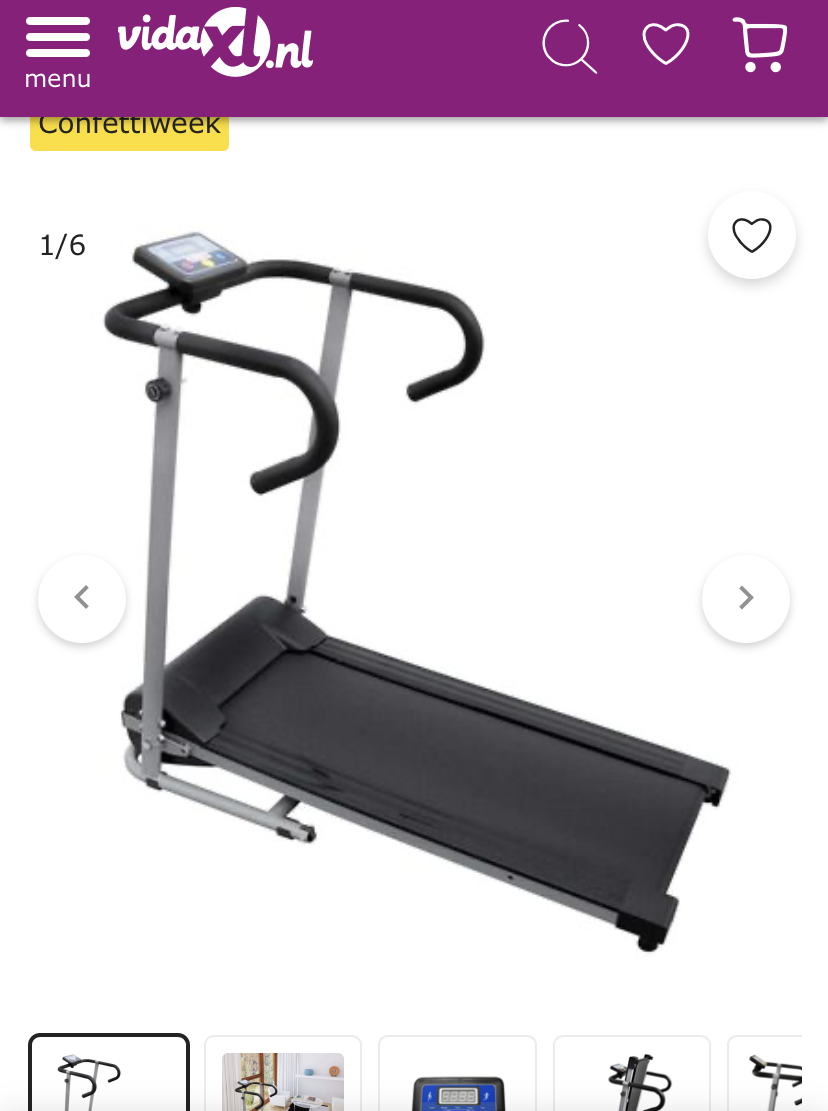
So when I got the treadmill home again I needed to experience myself and indeed the treadmill was not in the right condition to use safely for production. So I knew for certain I had to fortify the area of threadmill to walk on.
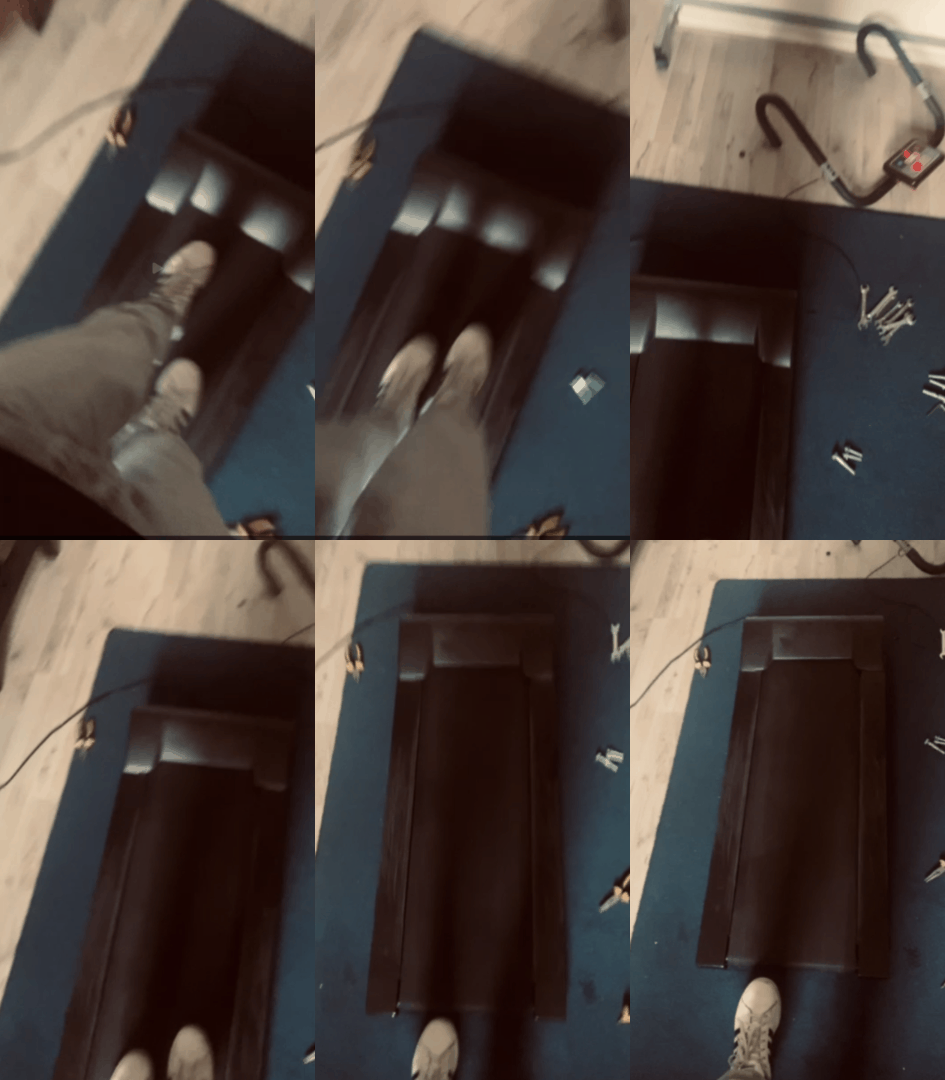
For this treadmill to work I first had to find out what was the problem that needs to be fixed.
Usually in cases like this one where you deal with a machine that you probably know nothing about, you need to reverse engineer to 1. understand the mechanism and 2. to be able to do maintenance.
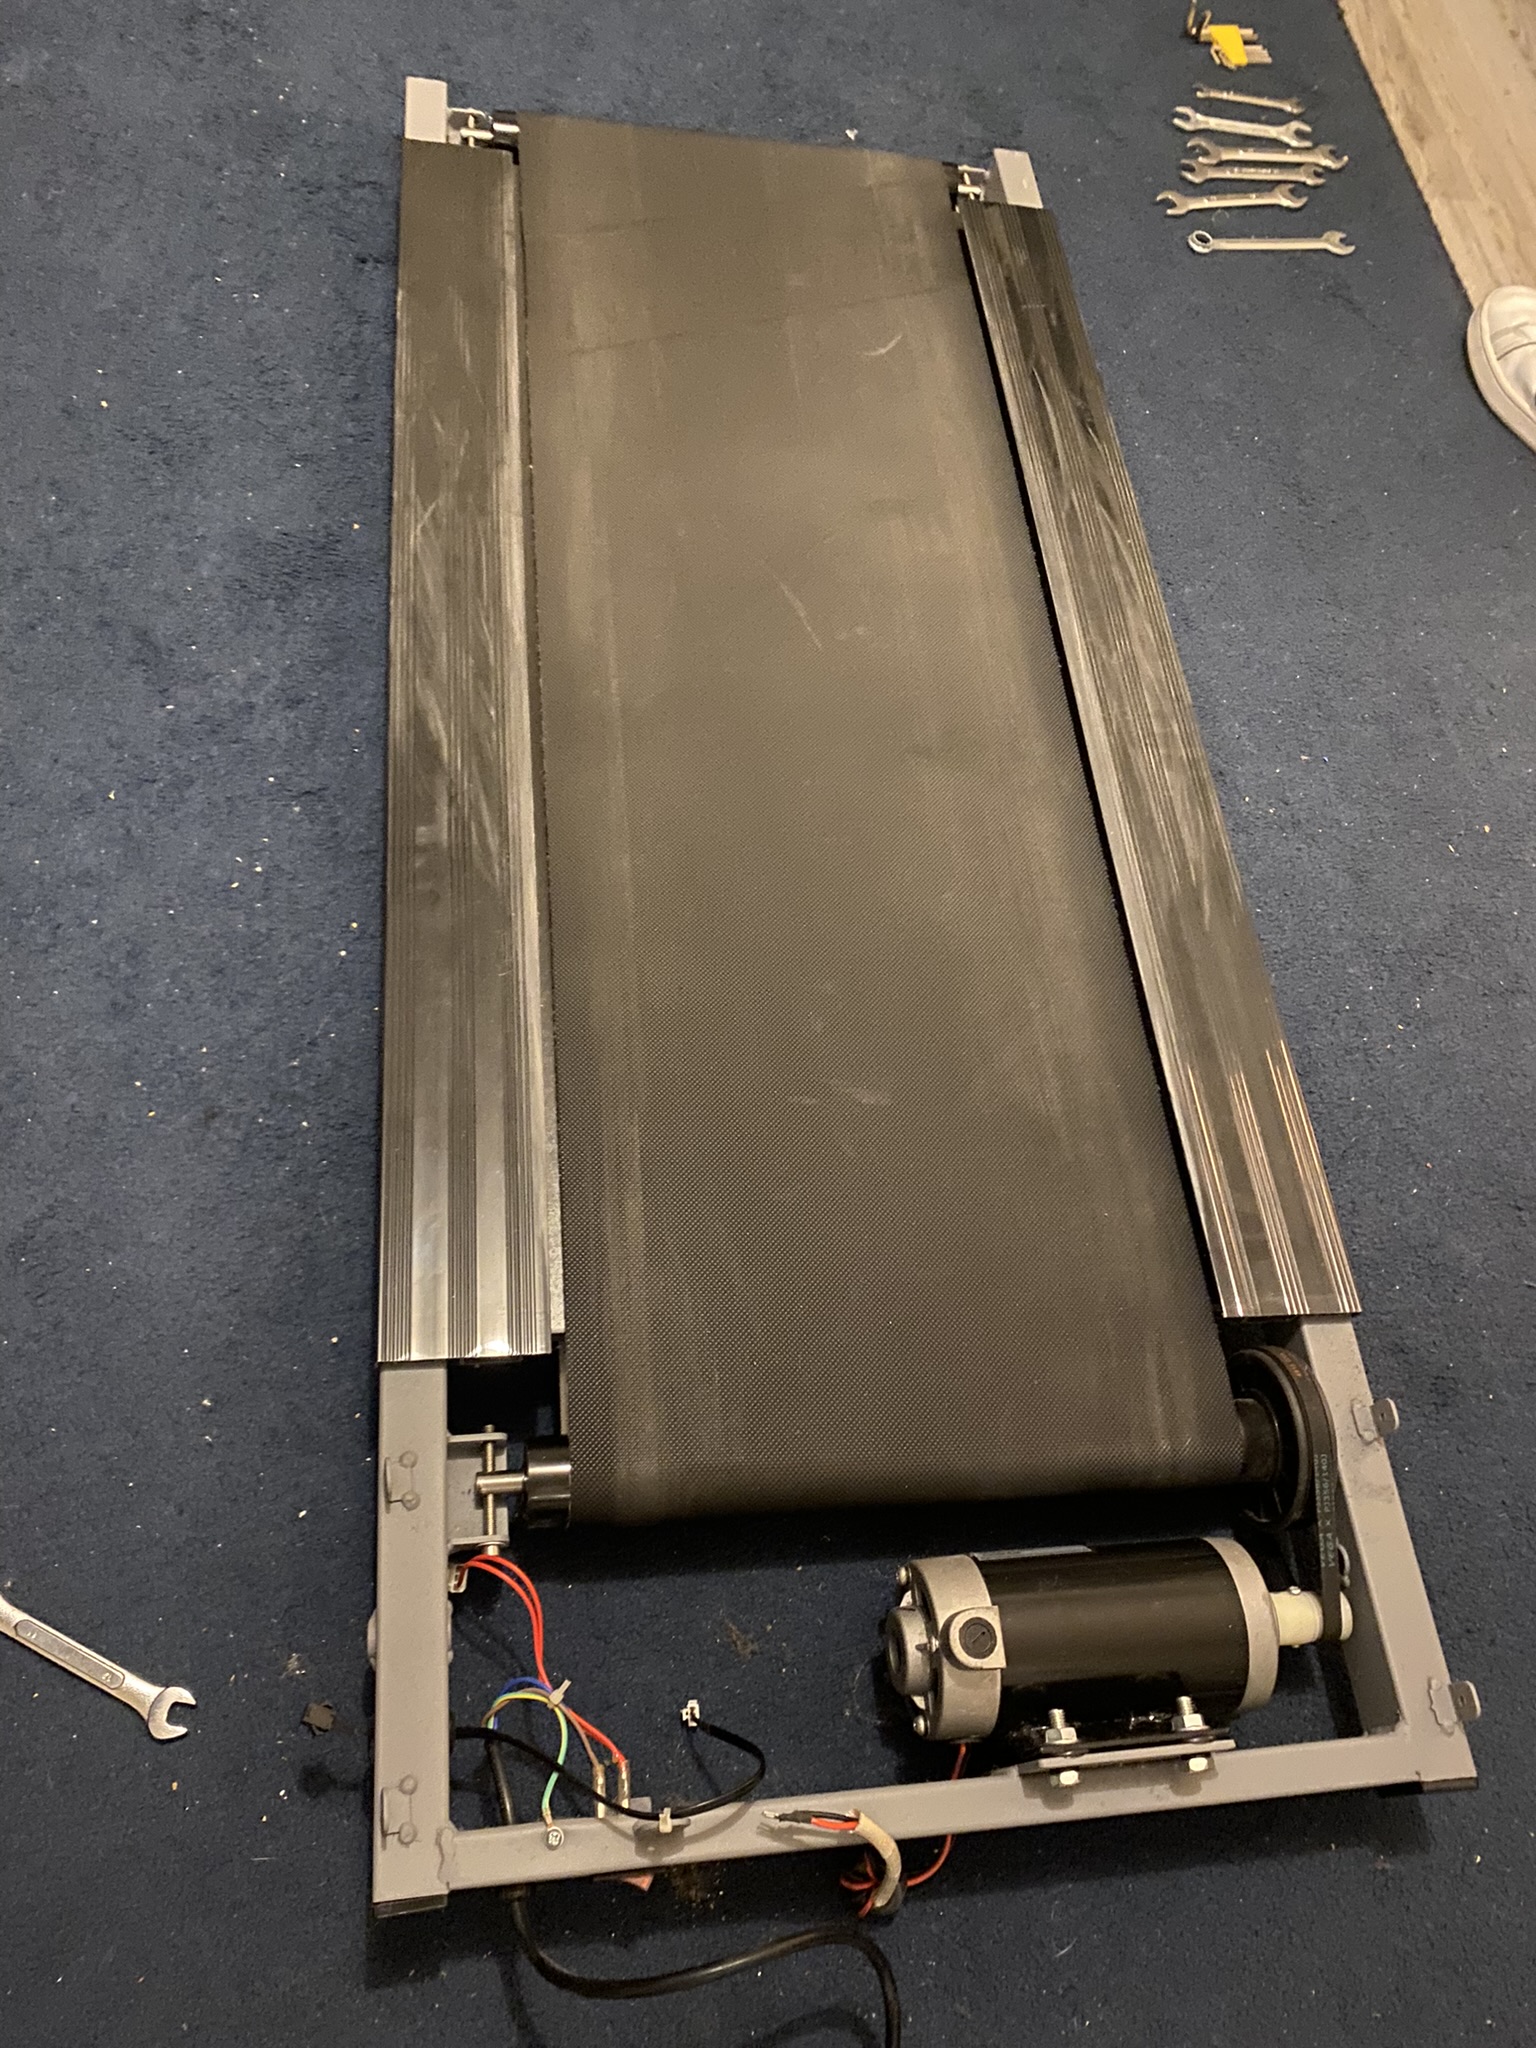
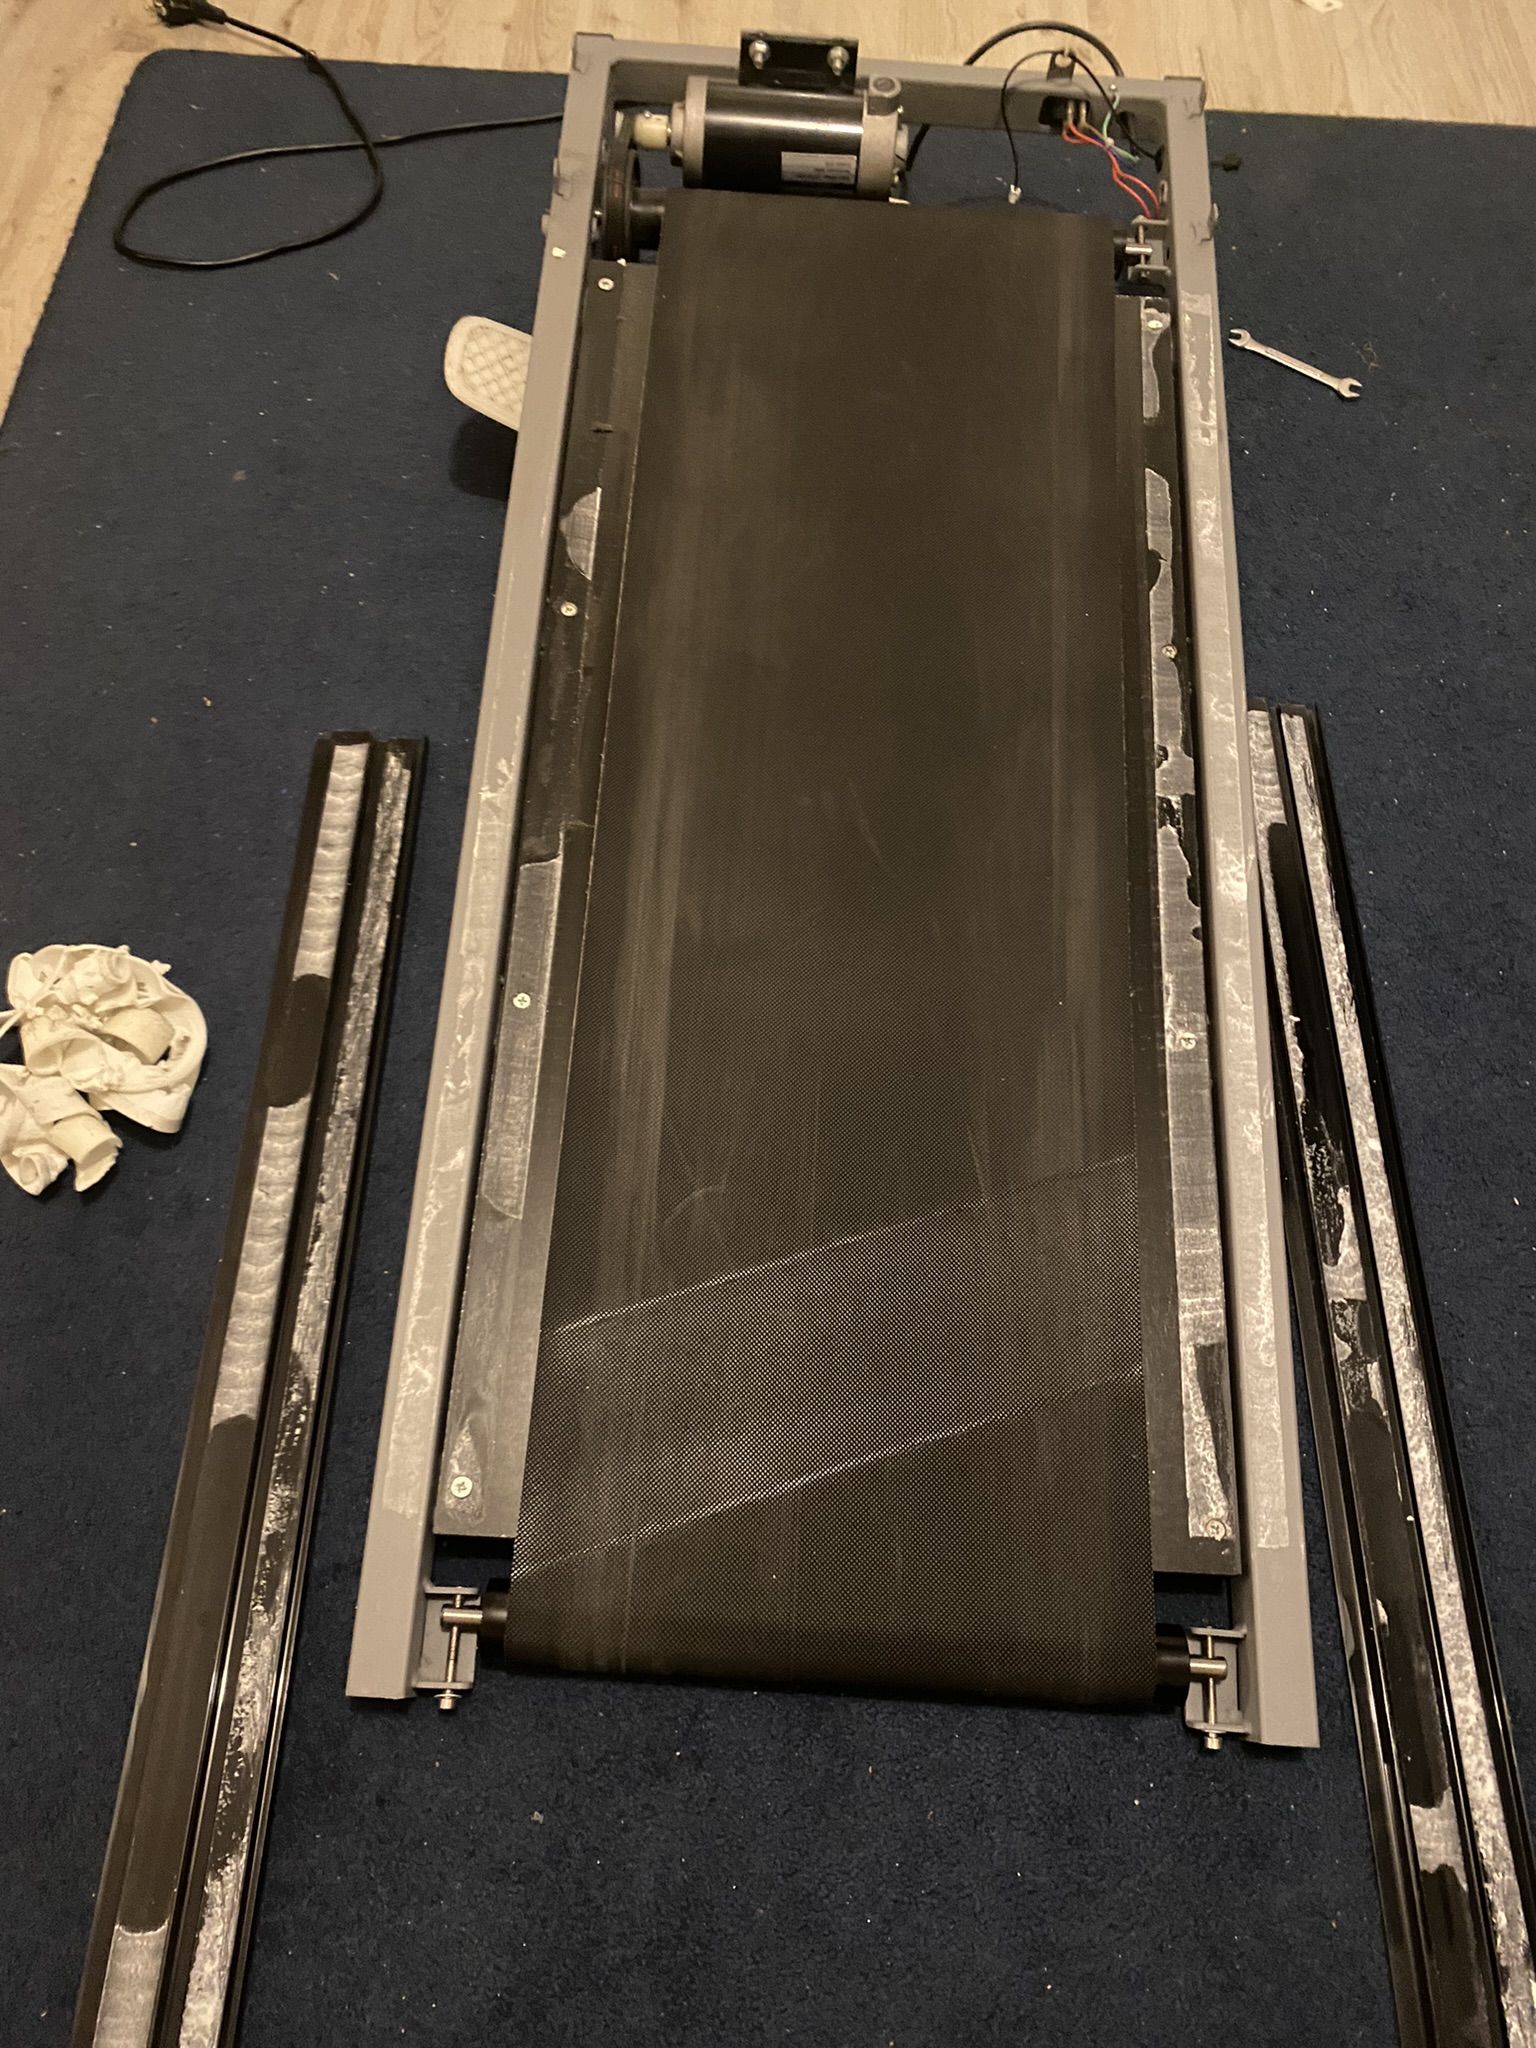
While it was taken apart to it's fundamental mechanisms I decided to test it once more and noticed a hard sounding beep whenever you push the buttons on the user panel and so I went by my parents because my dad has a soldering iron and I simply removed the speaker from the PCB plate. No more beep sound.
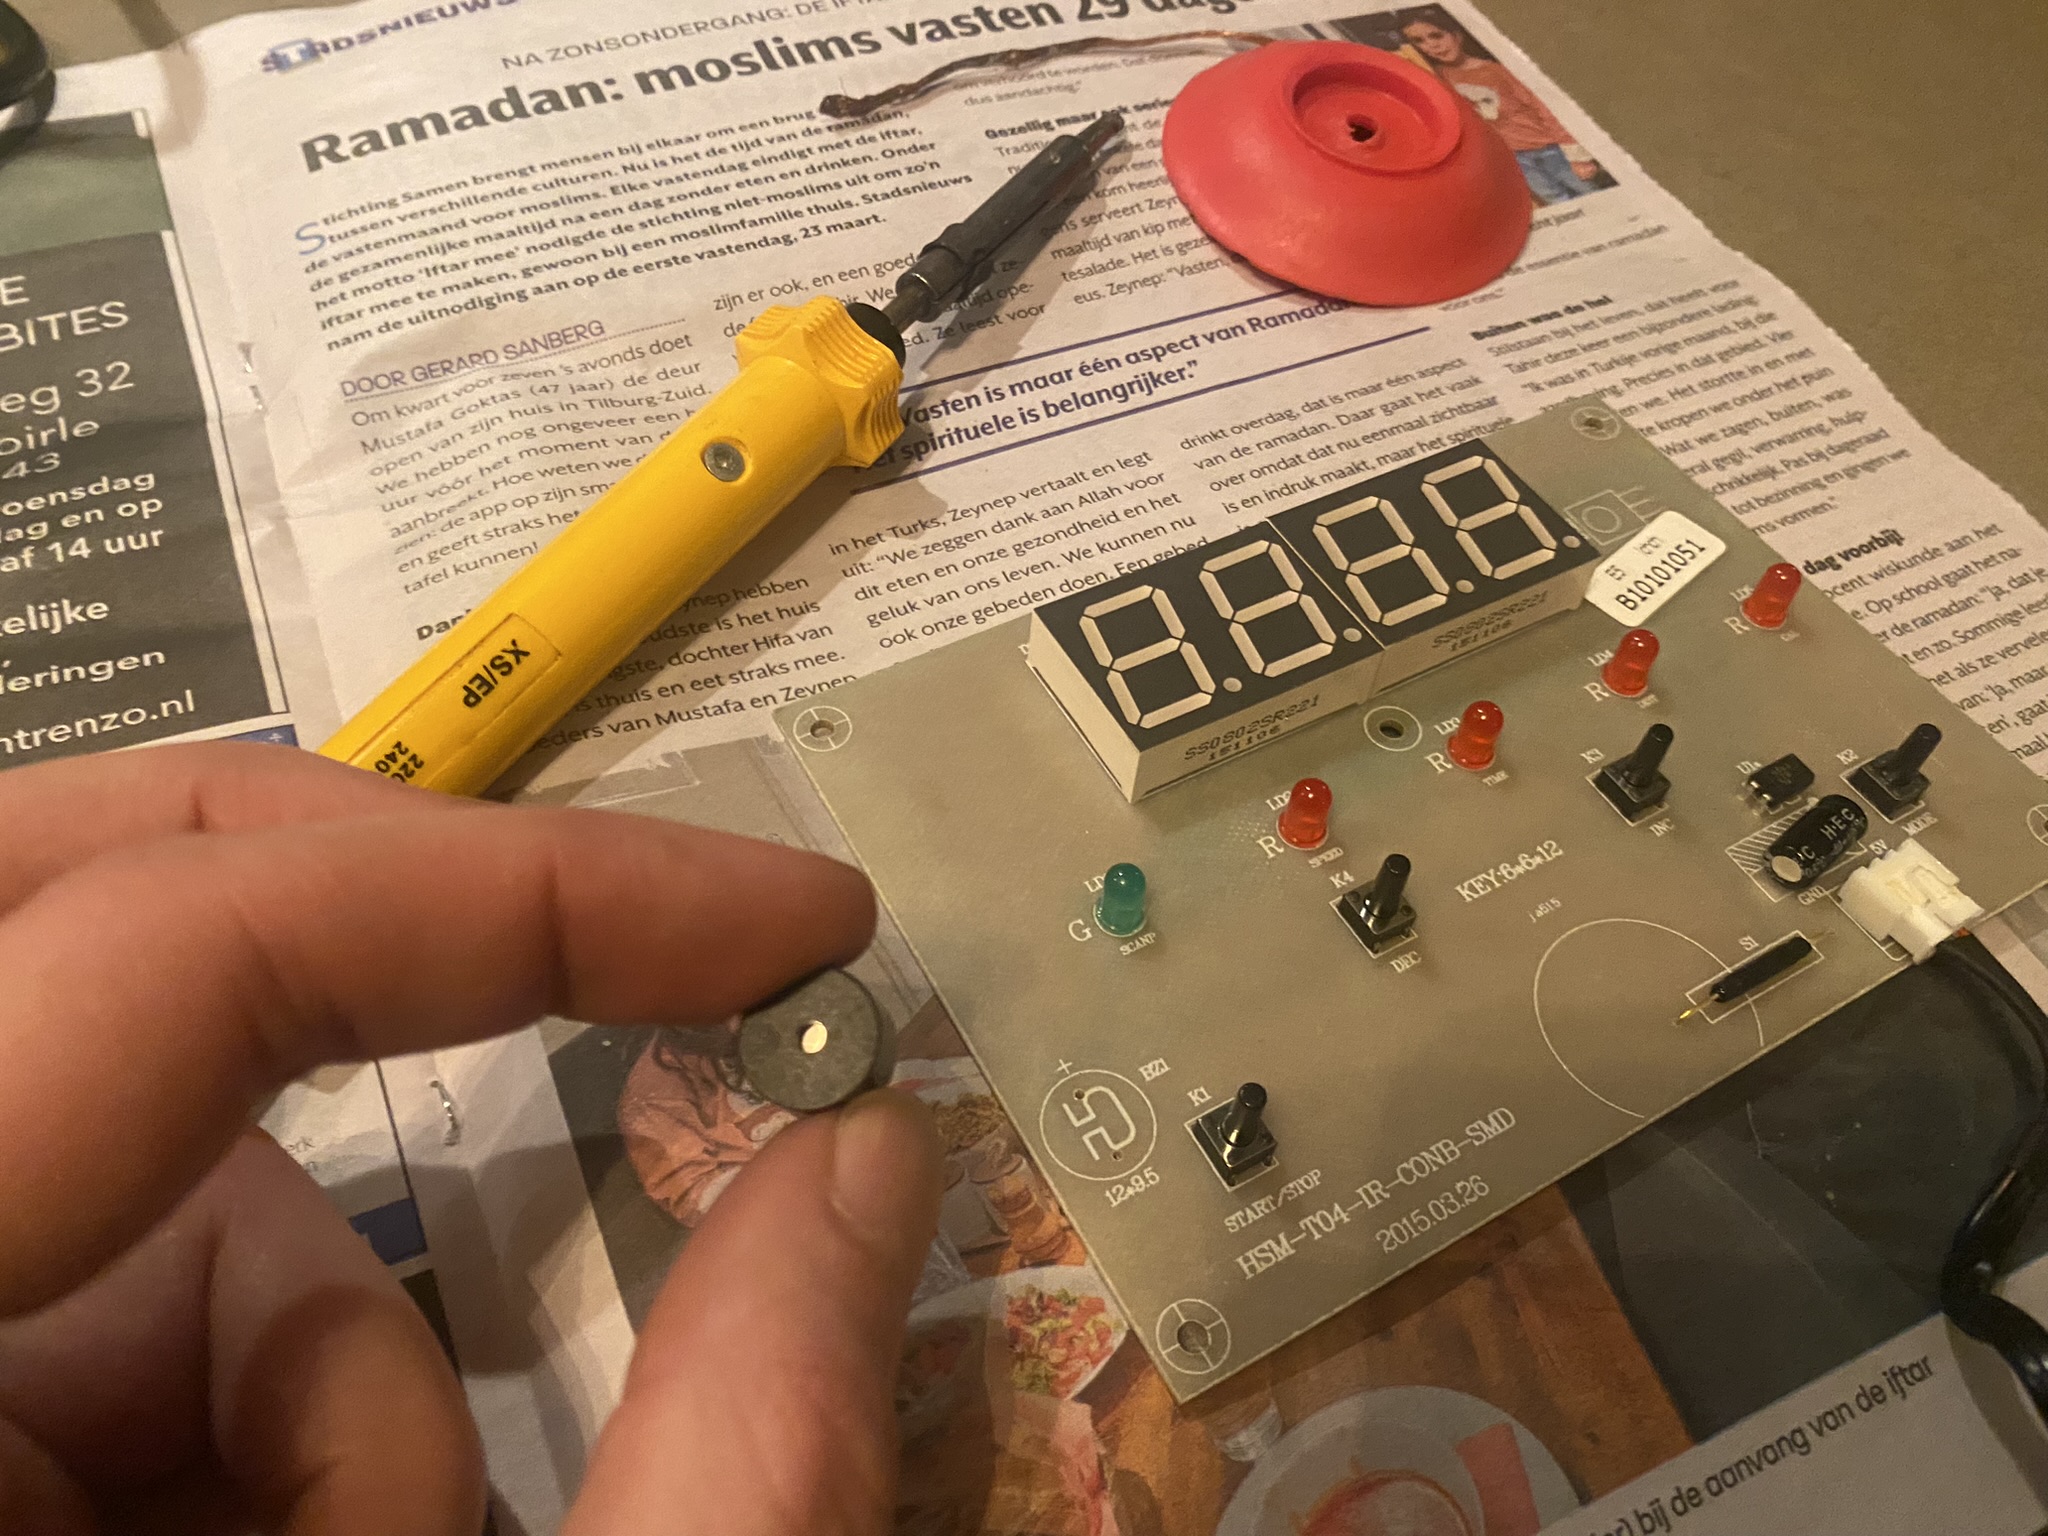
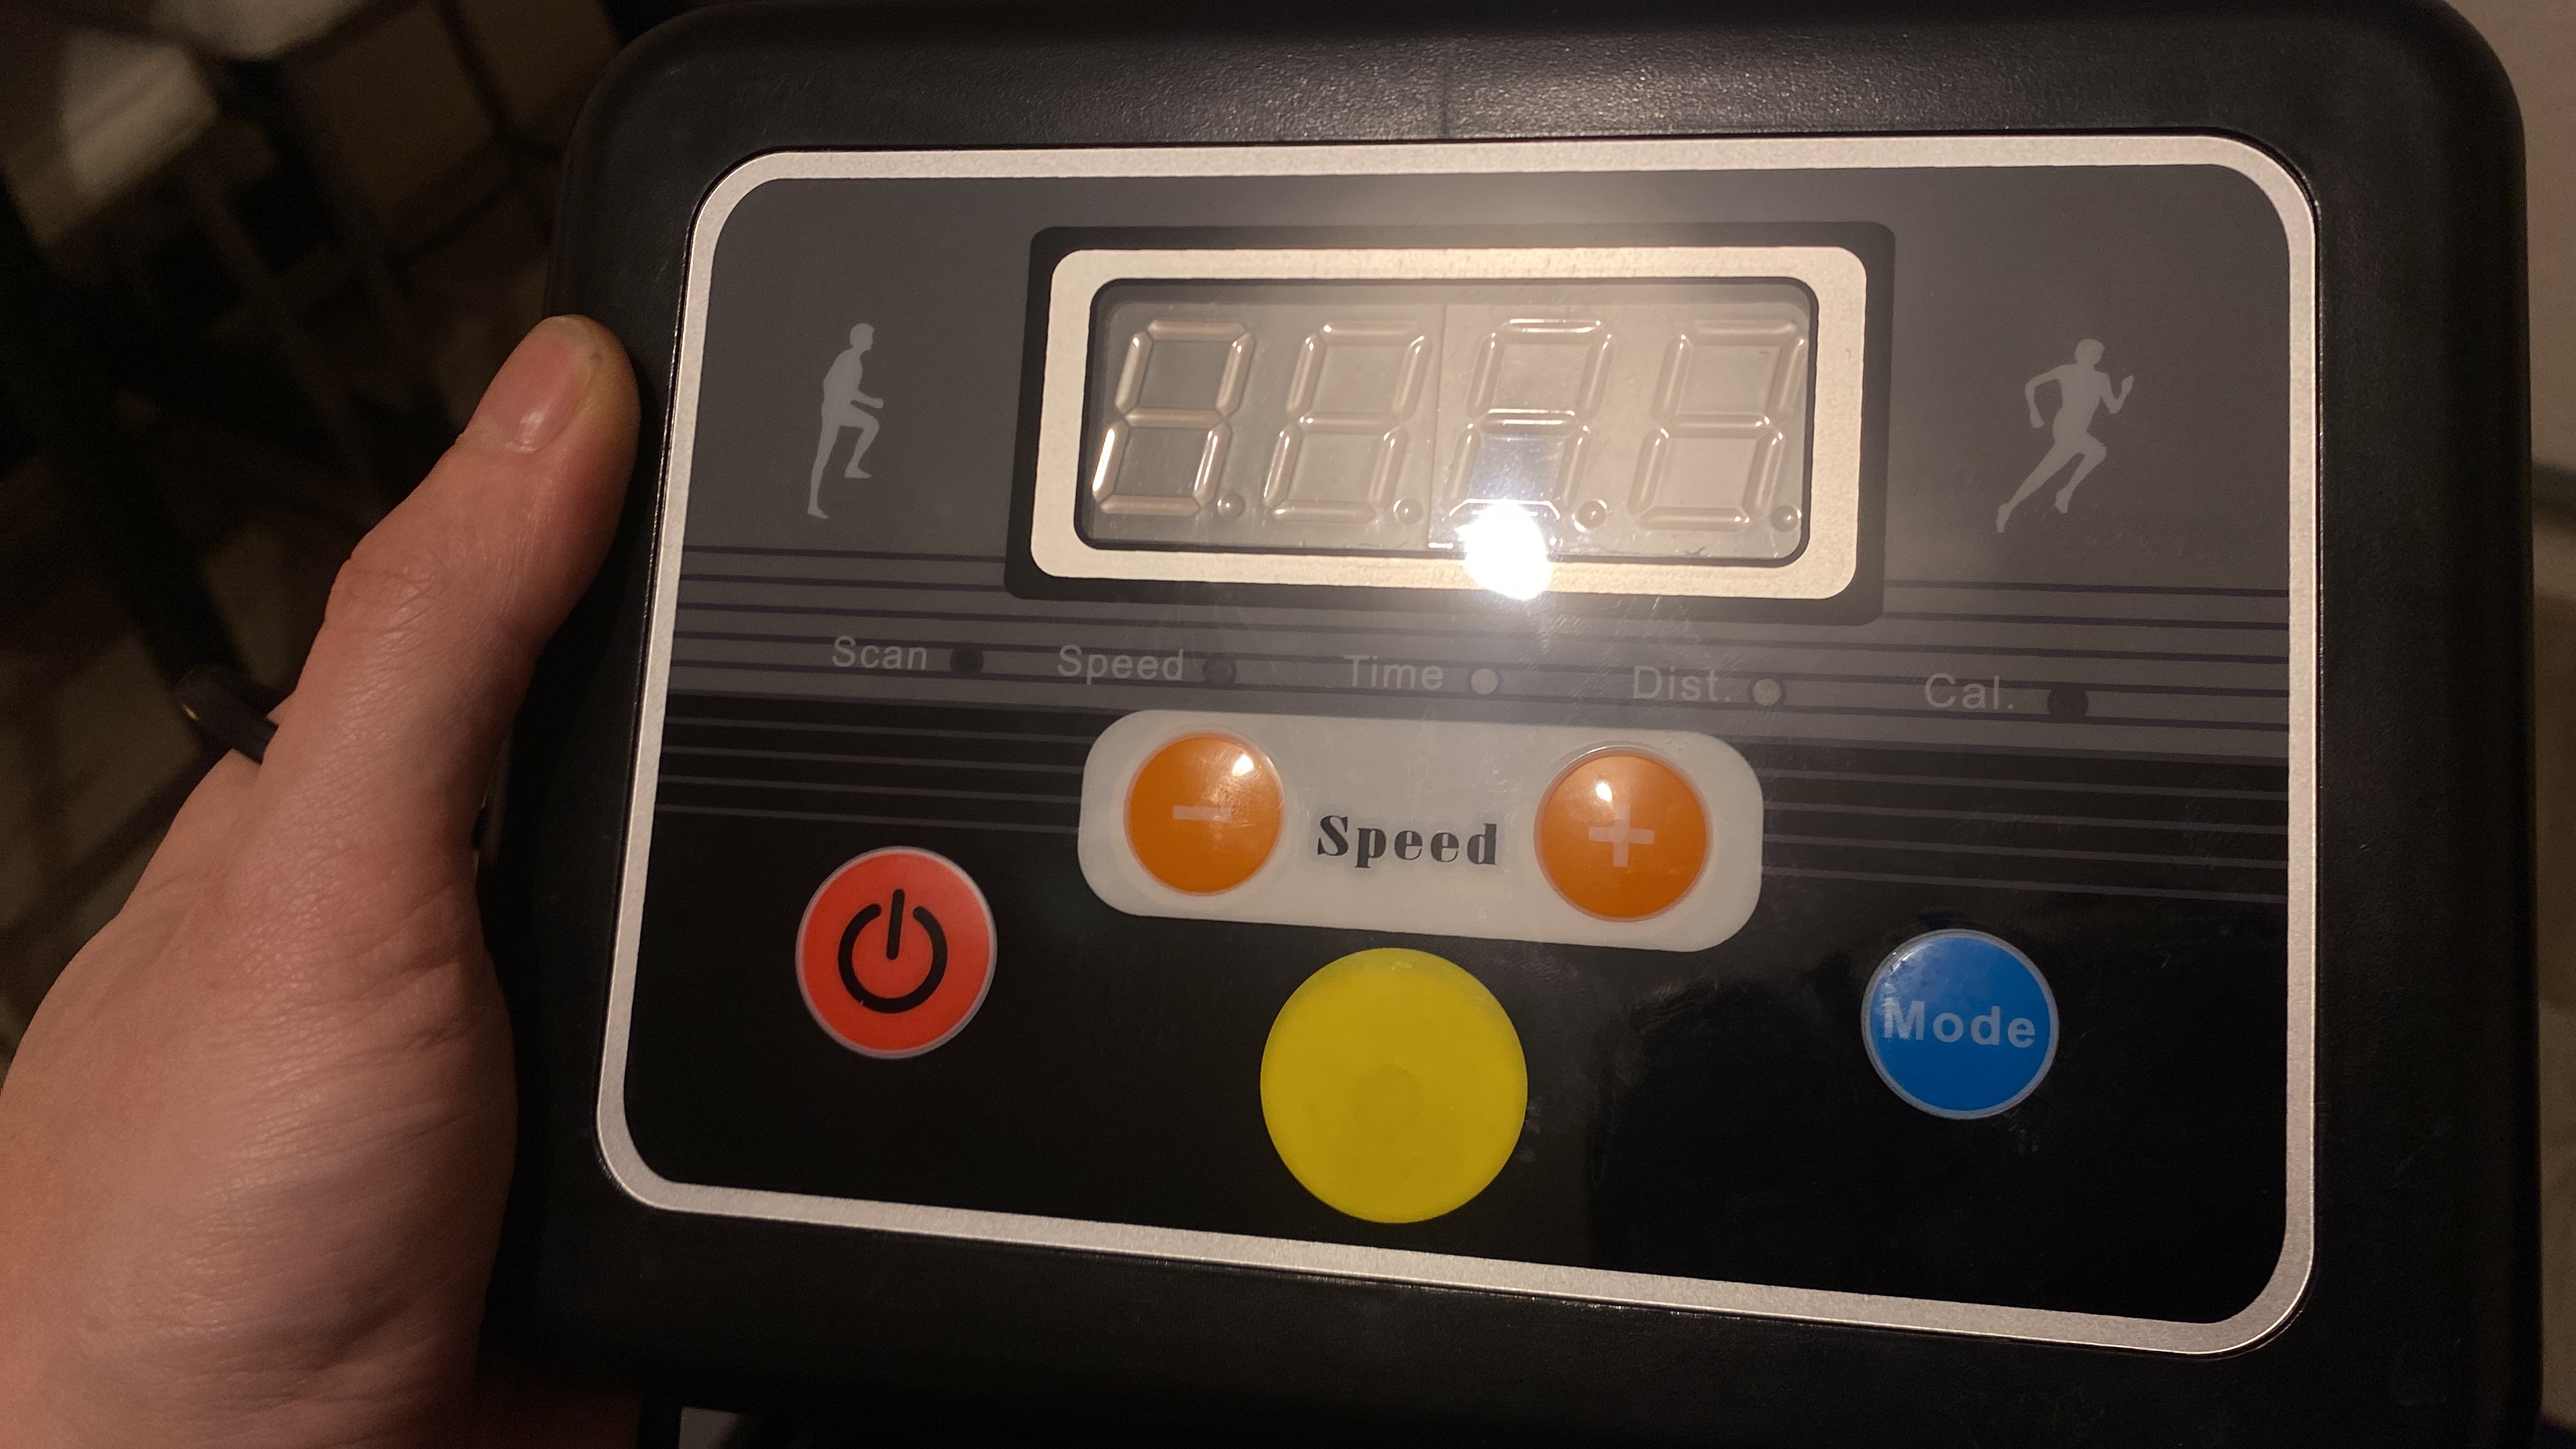
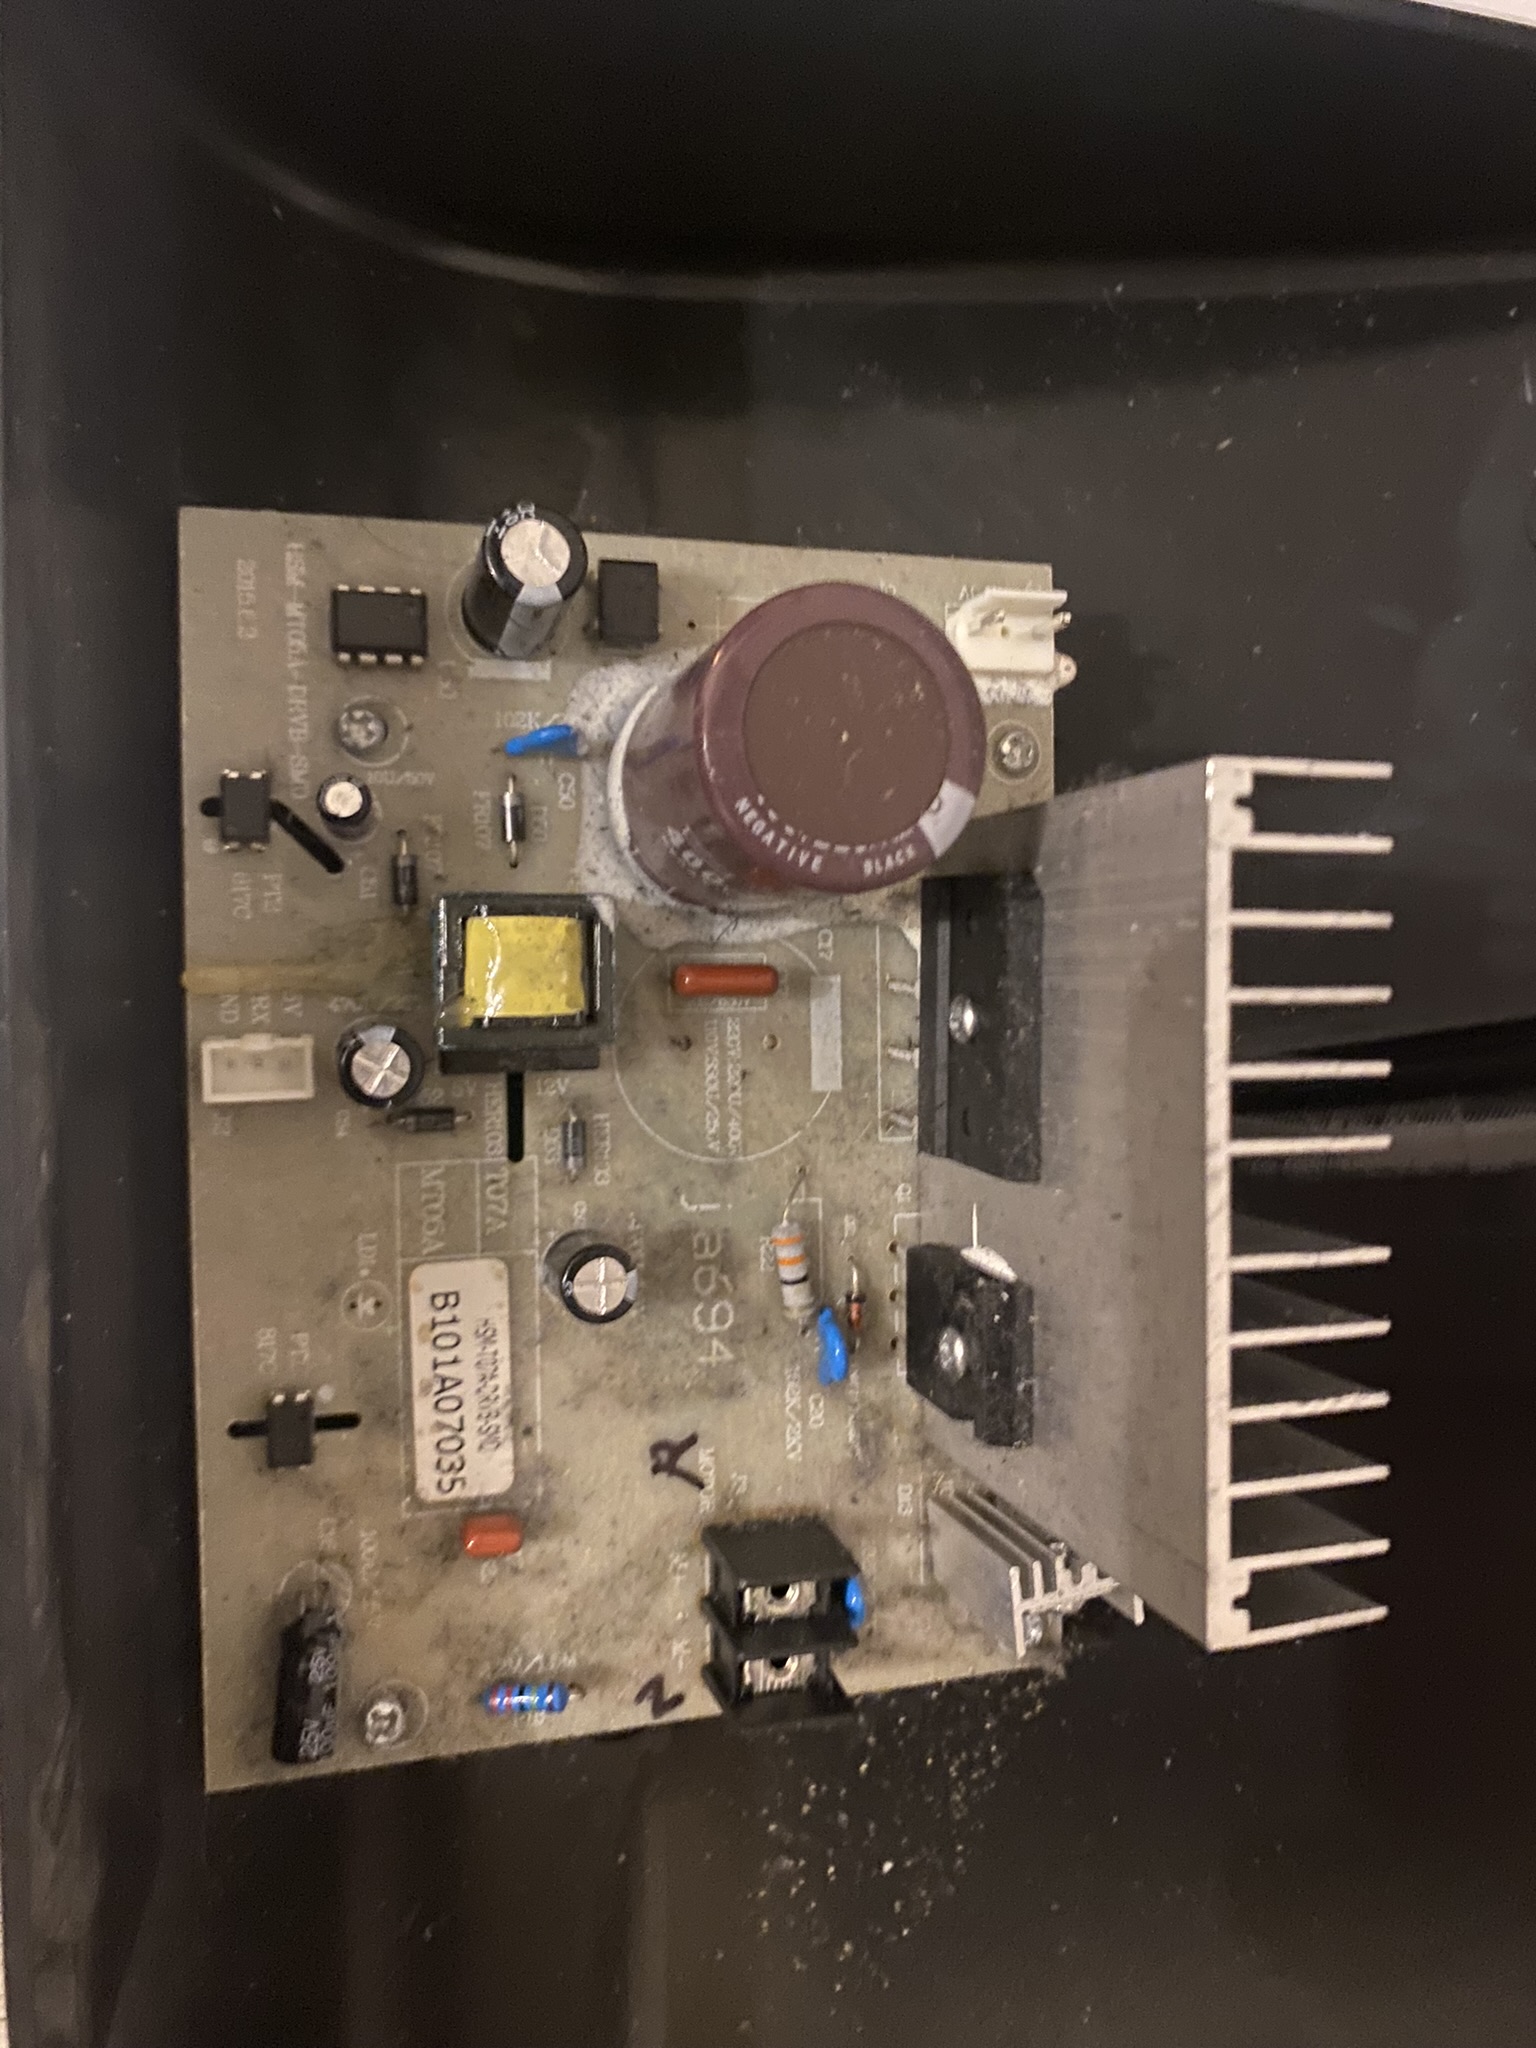
I also noticed how dusty the components were and just cleaned them up before proceeding.
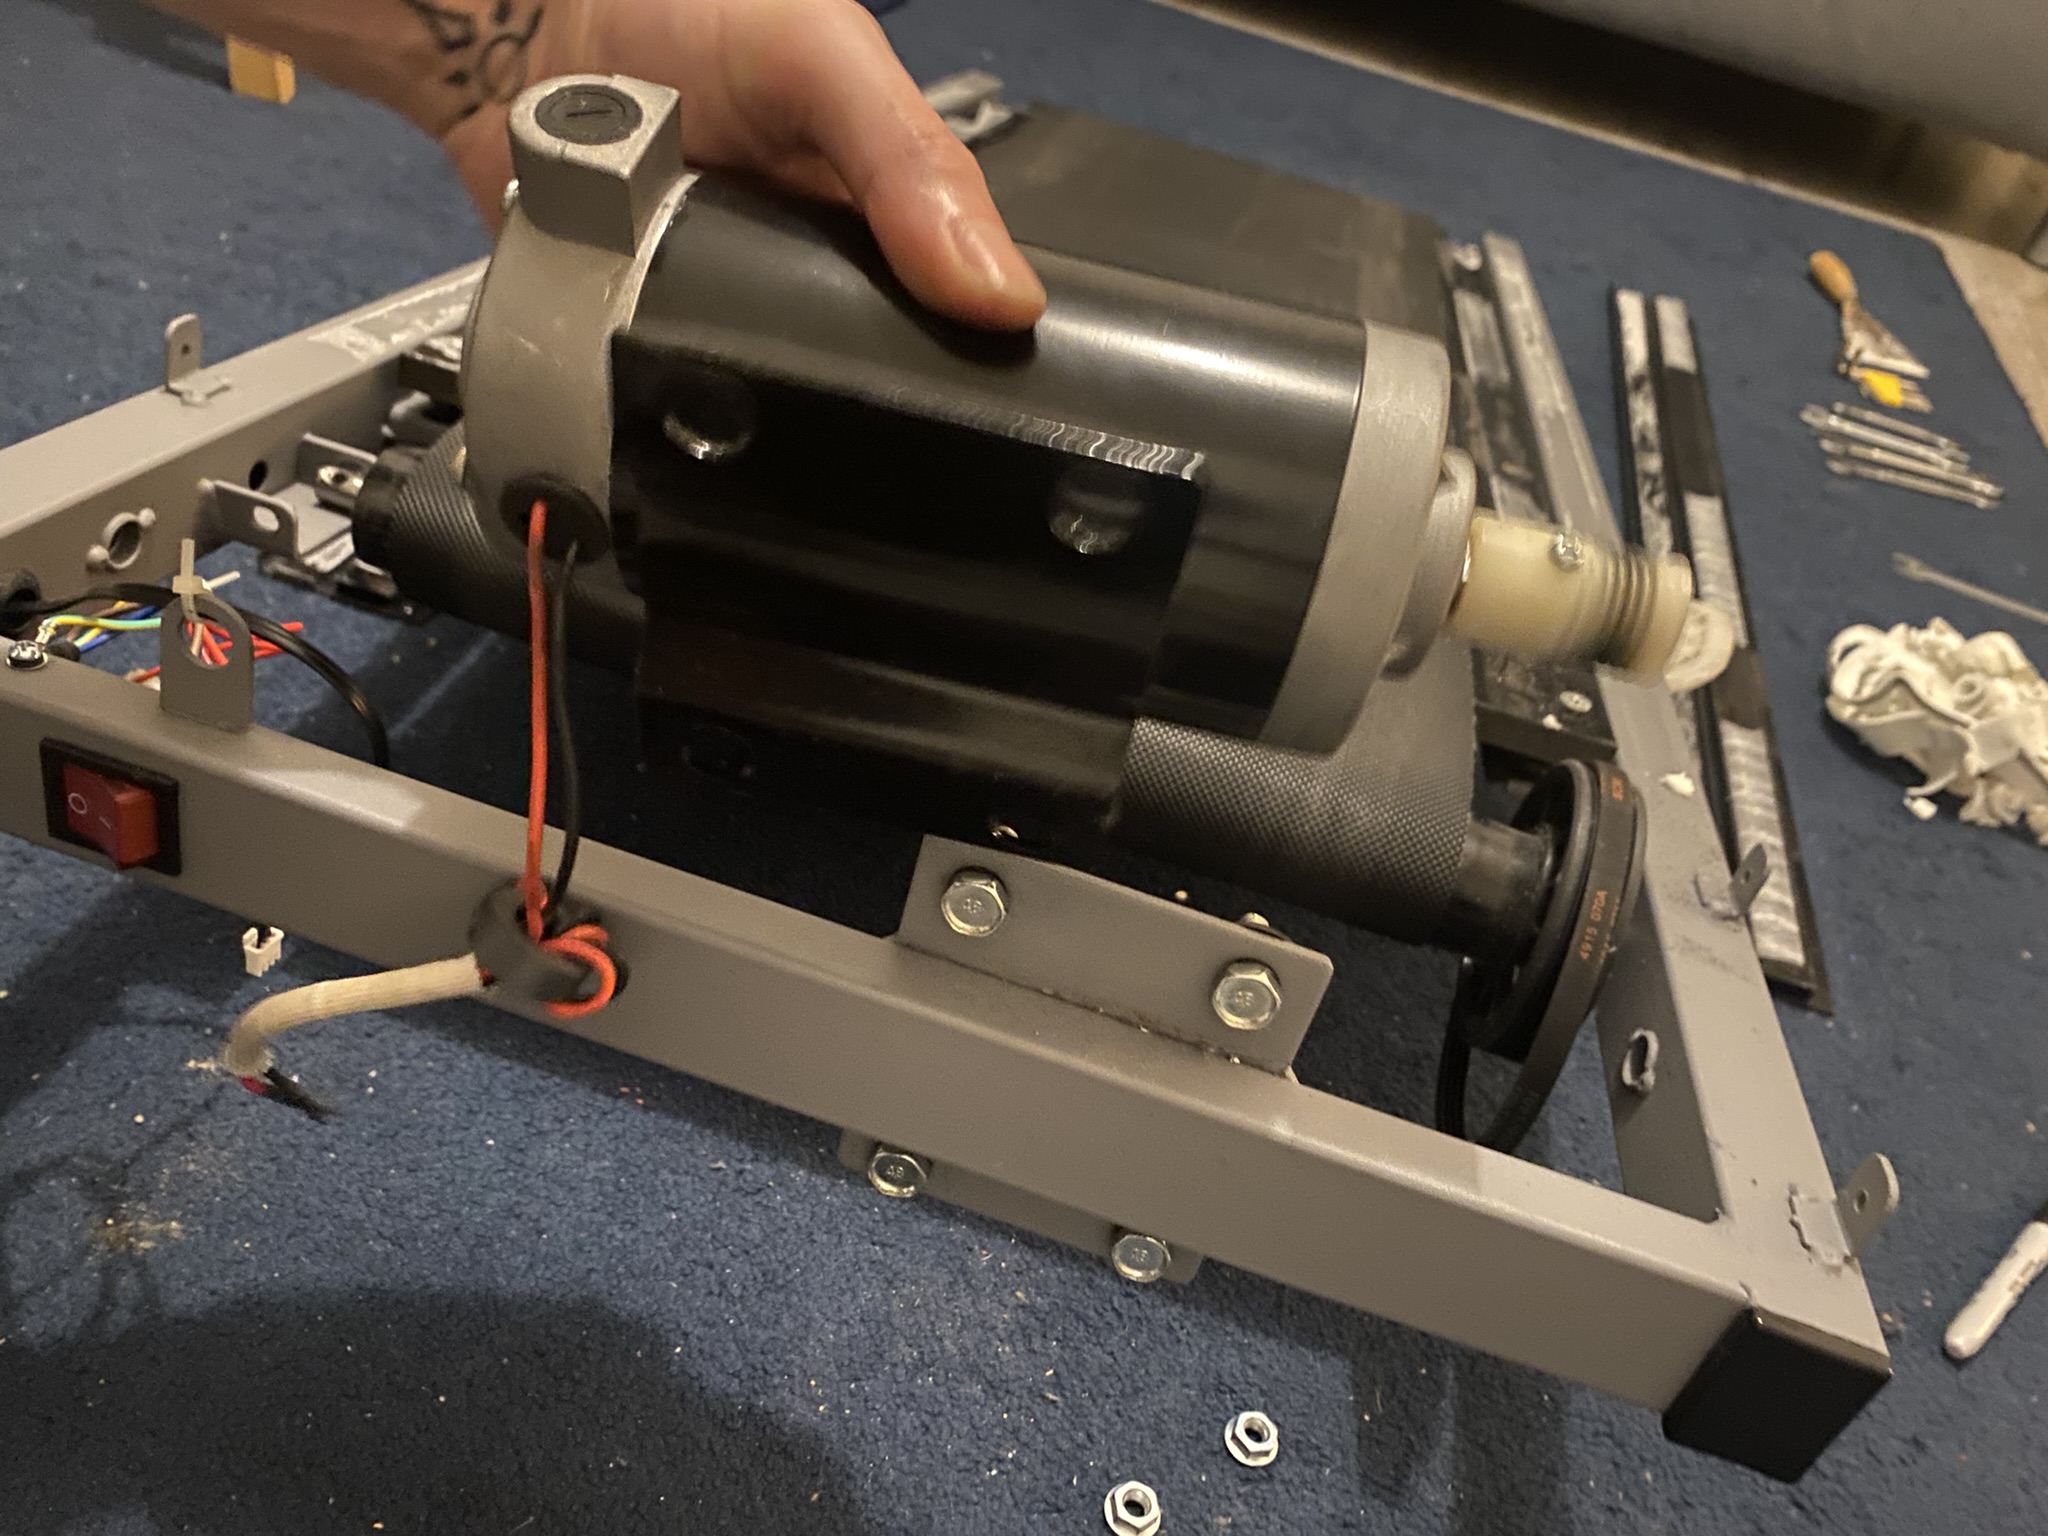
The rotor engine itself als had to be taken out for the moment because it also had gathered quite some dust.
Now i had stripped it down untill nothing was left and I could finally reach the inner plate that was malfunctoning.
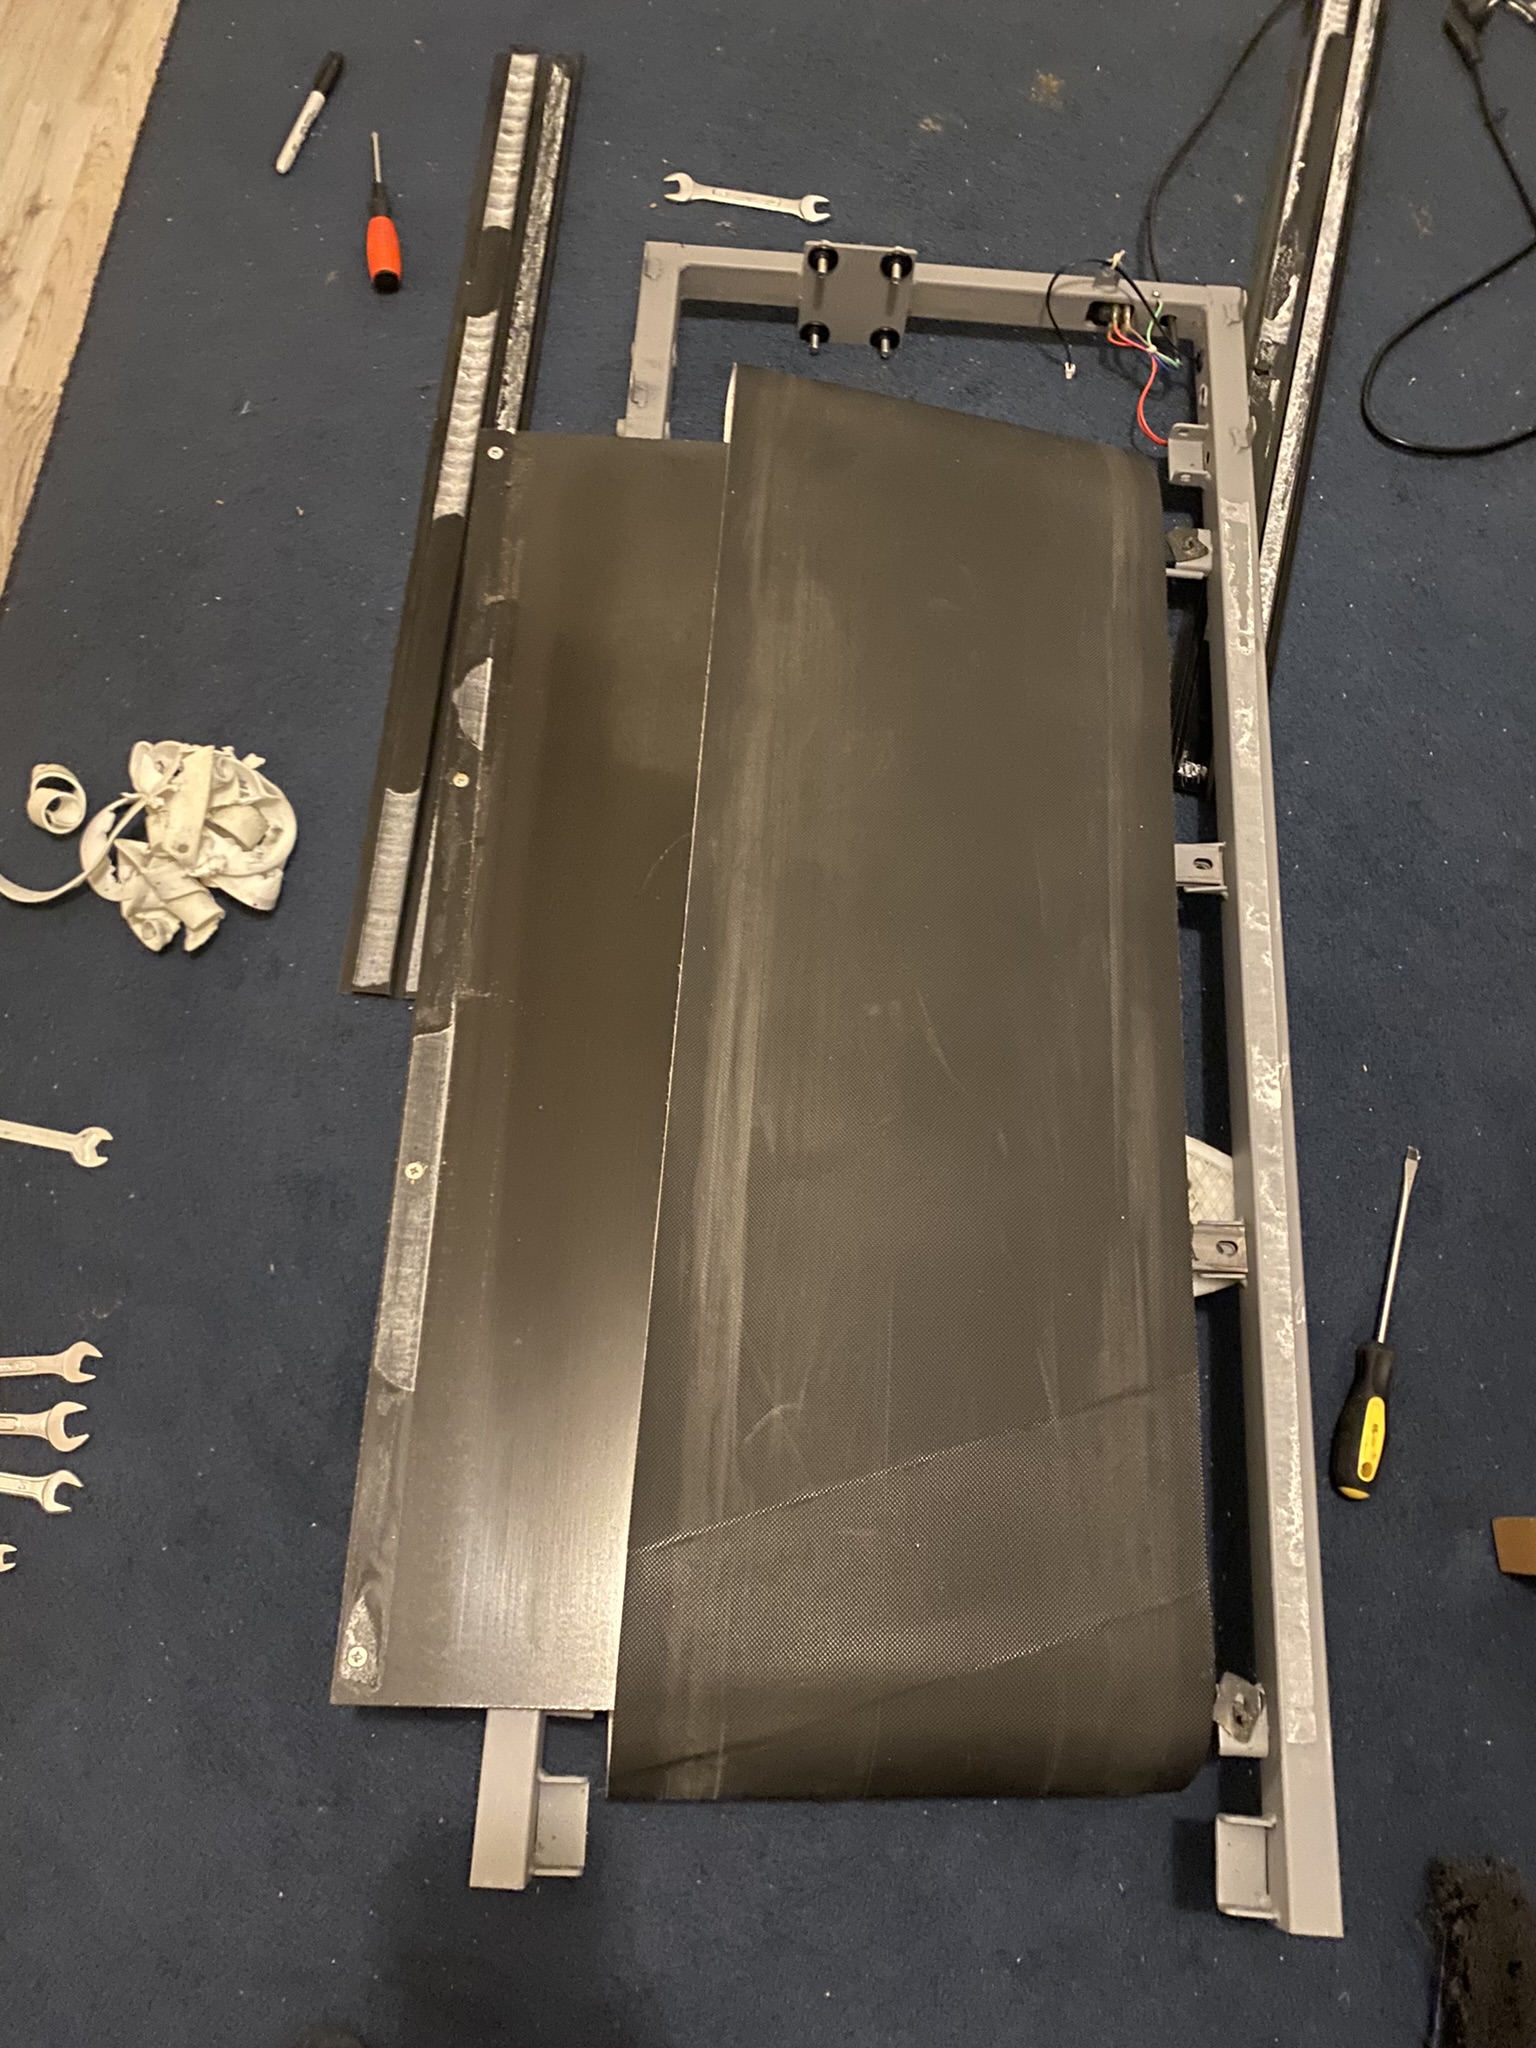
Yes. As you can see, something had to be done here. So I went to look for alternatives, but in the end I realised that the bottom plate was one of a kind which was specifically made for the walking surface since it is really smooth and has less to none friction for walking.
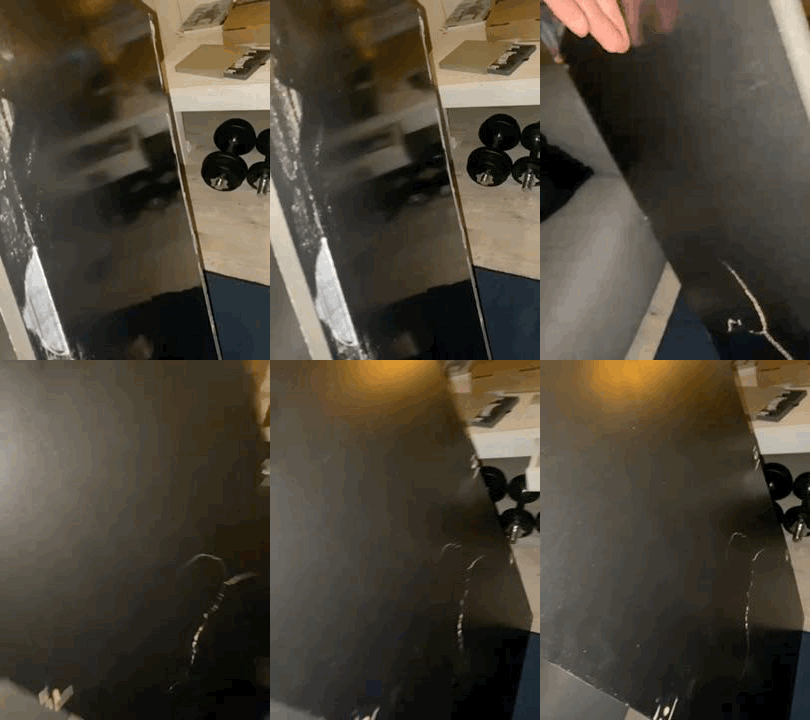
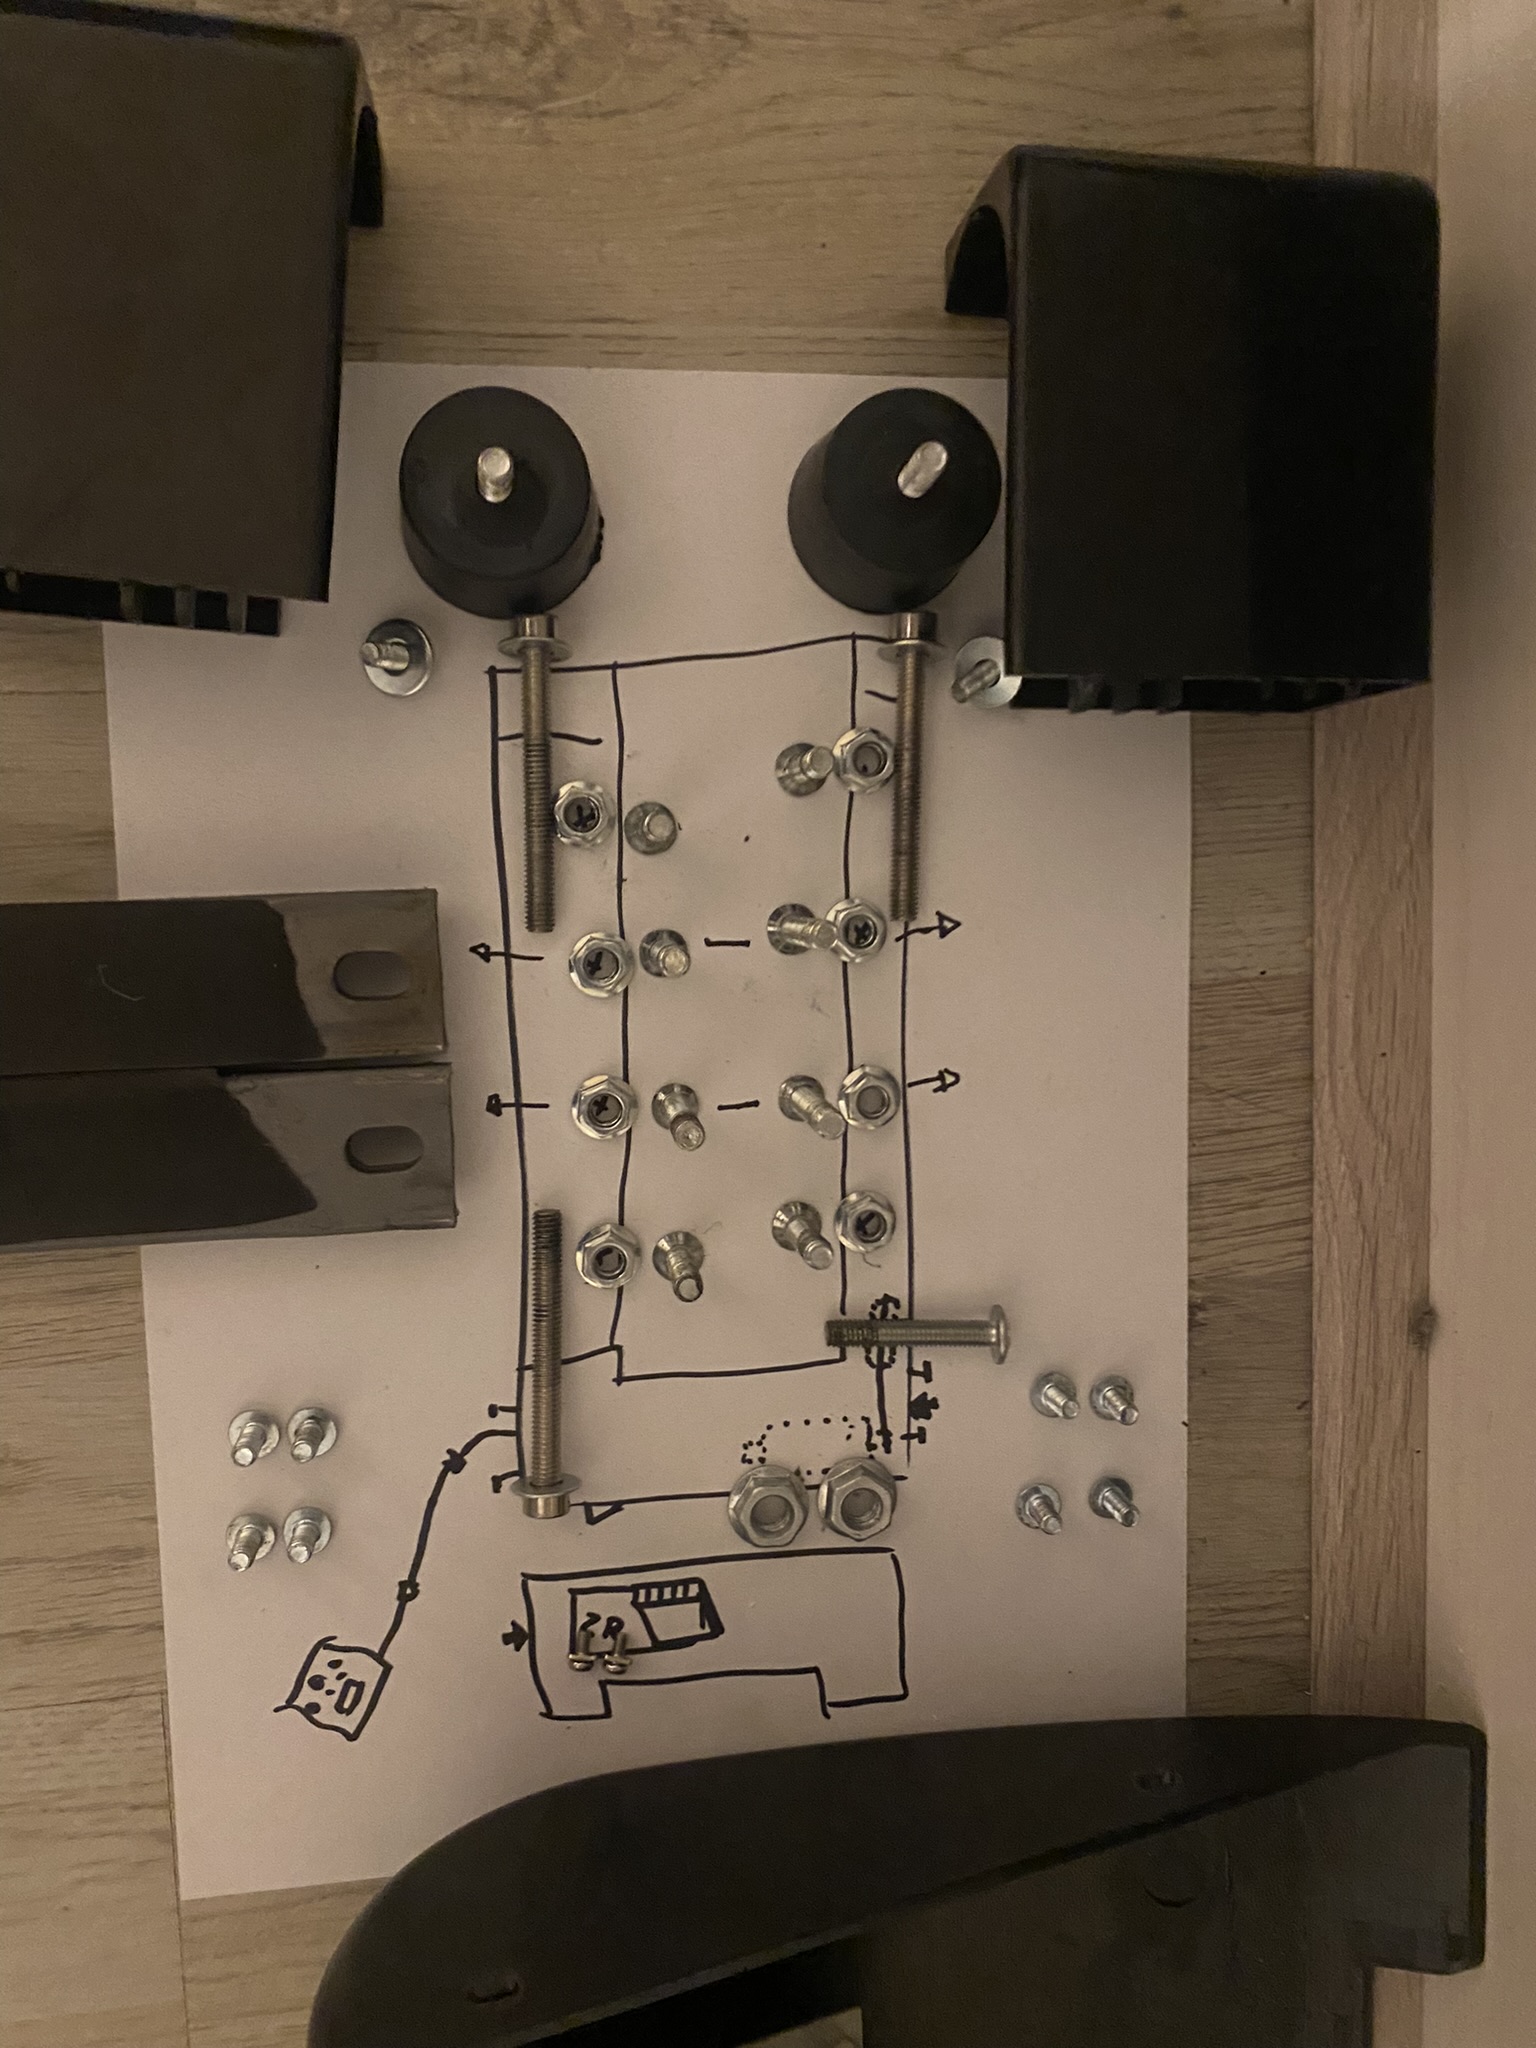
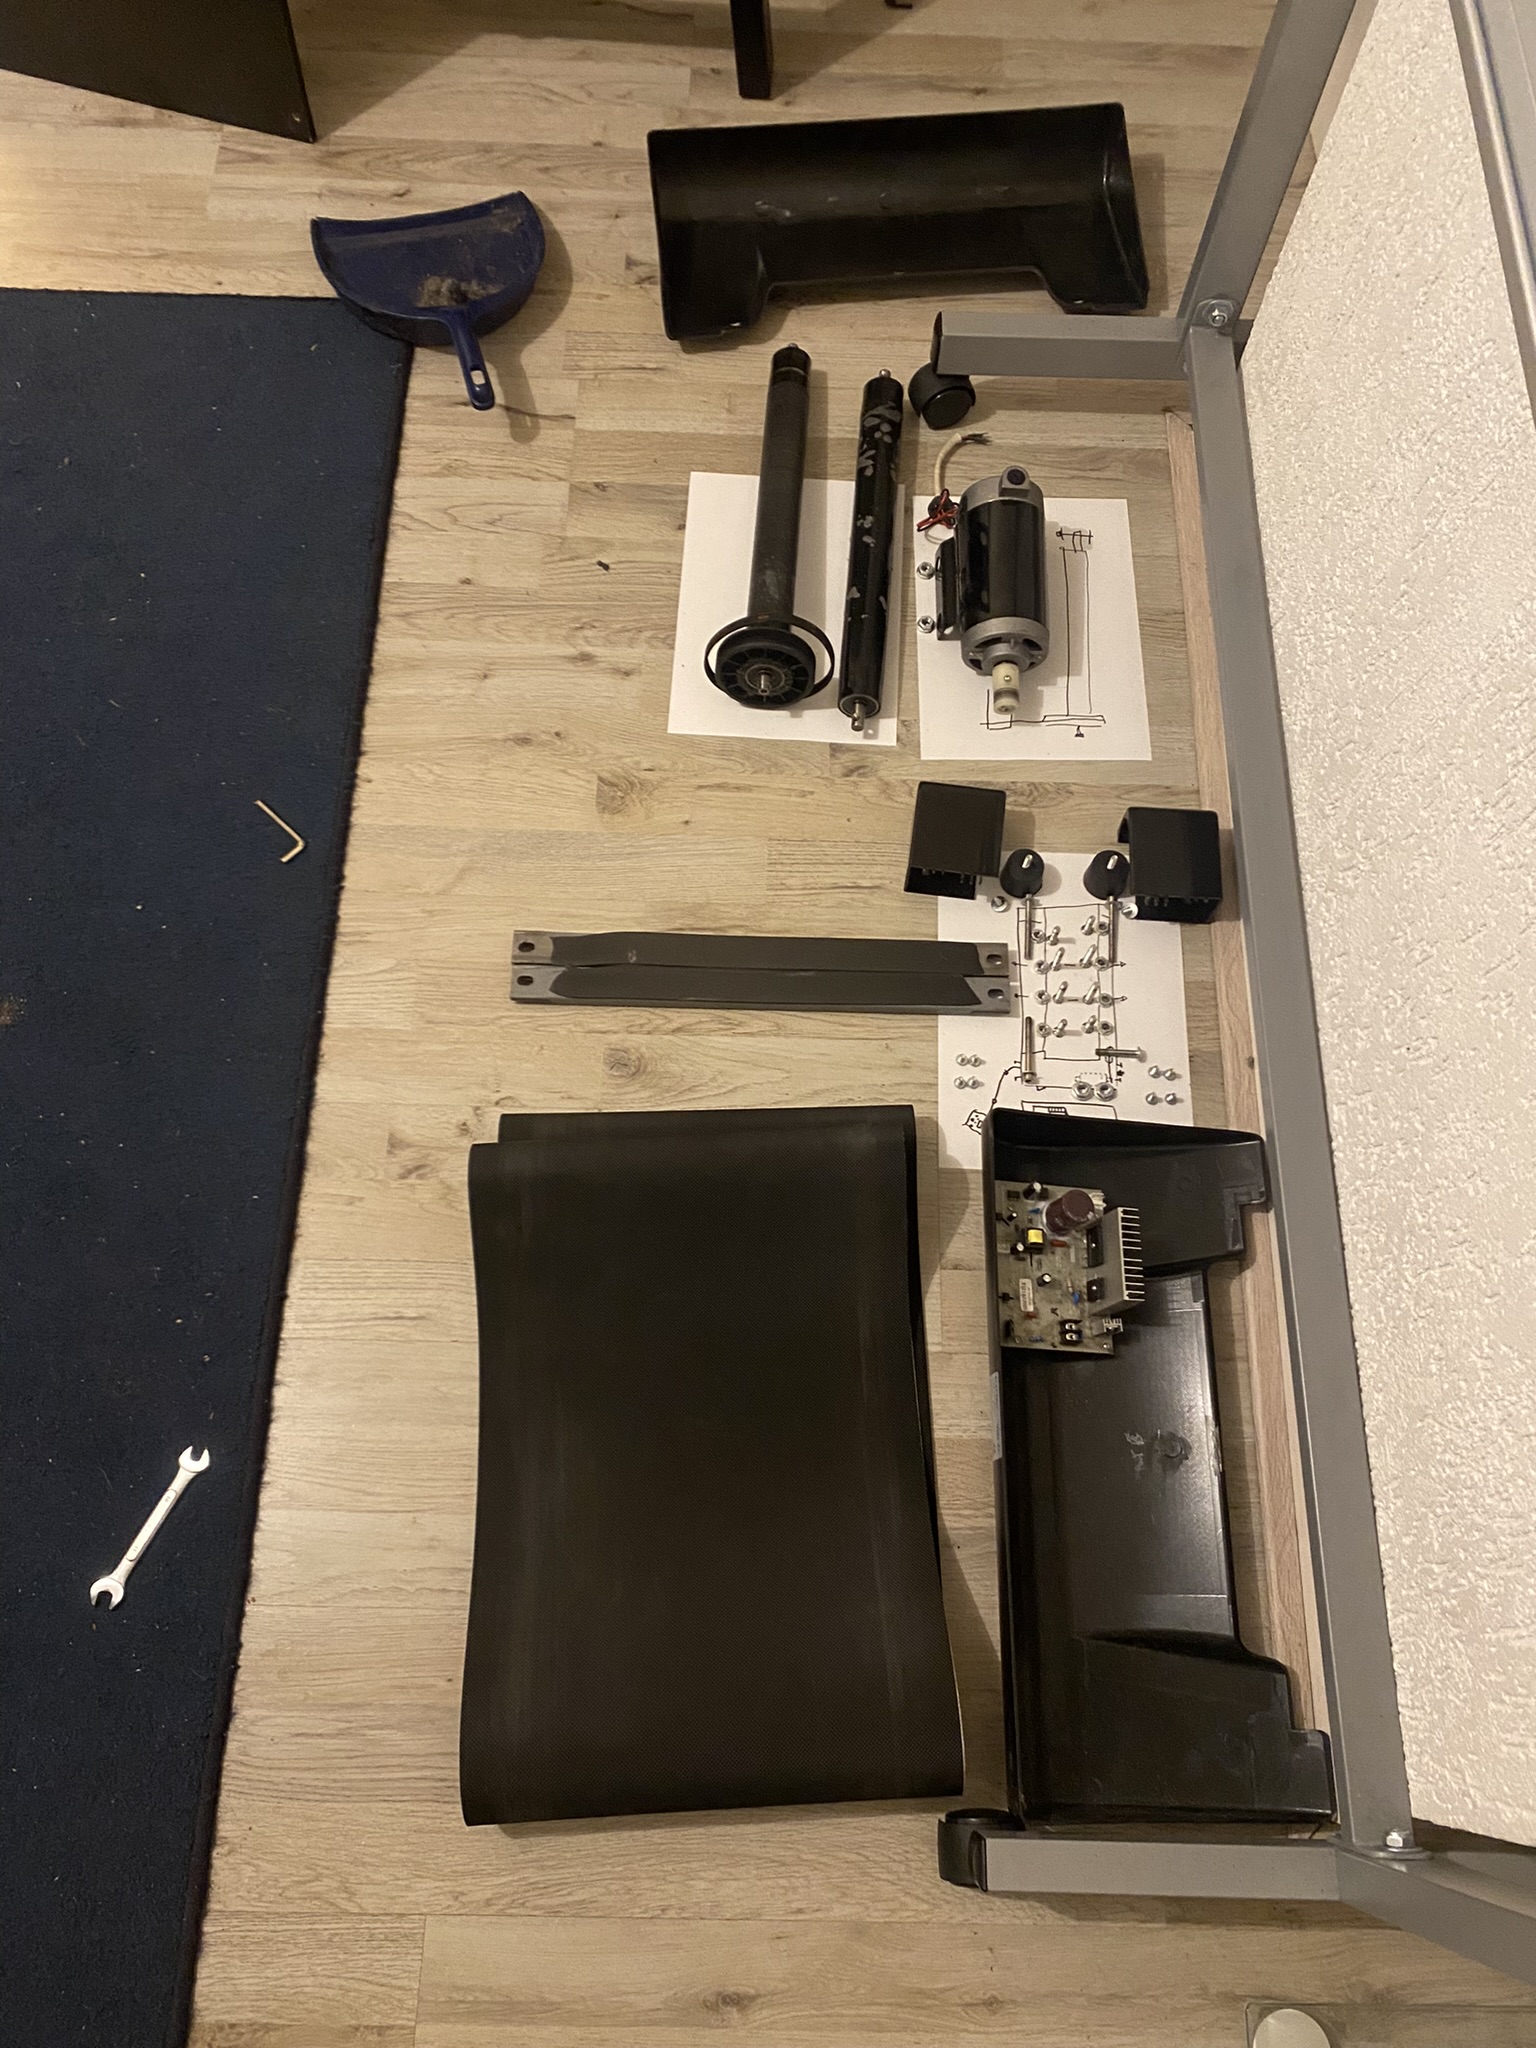
After carefully stripping and laying the parts out it was time to put it back together again after fortifying the bottom plate. I also had to sandpaper the outer surface in order to make the paint stick to it.

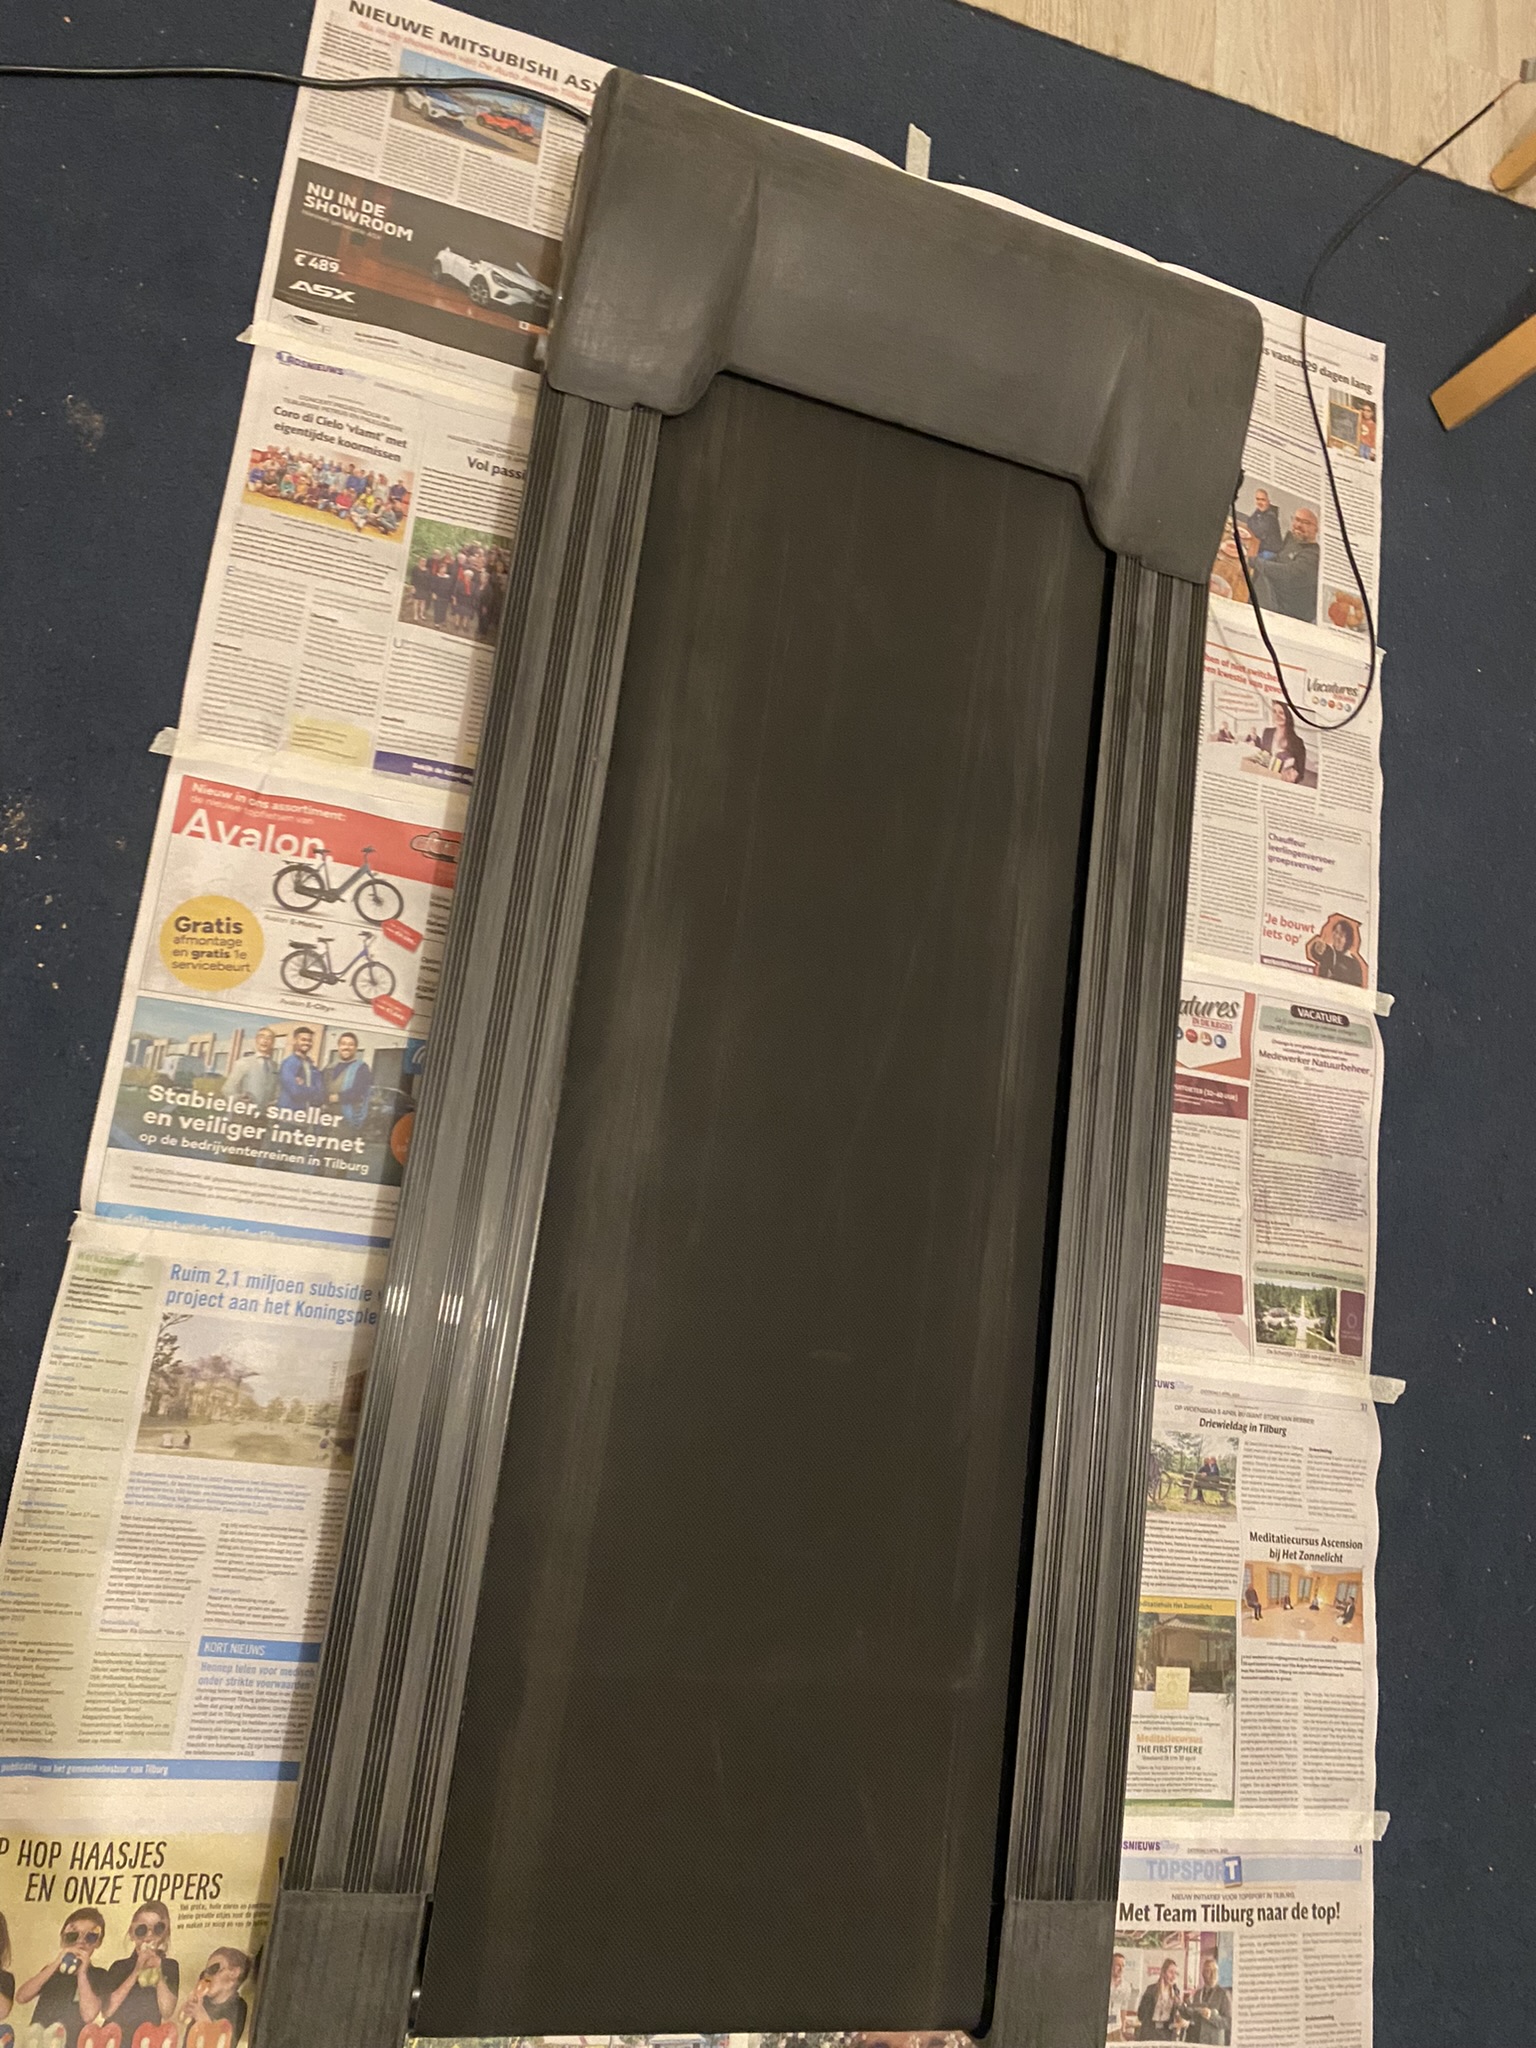
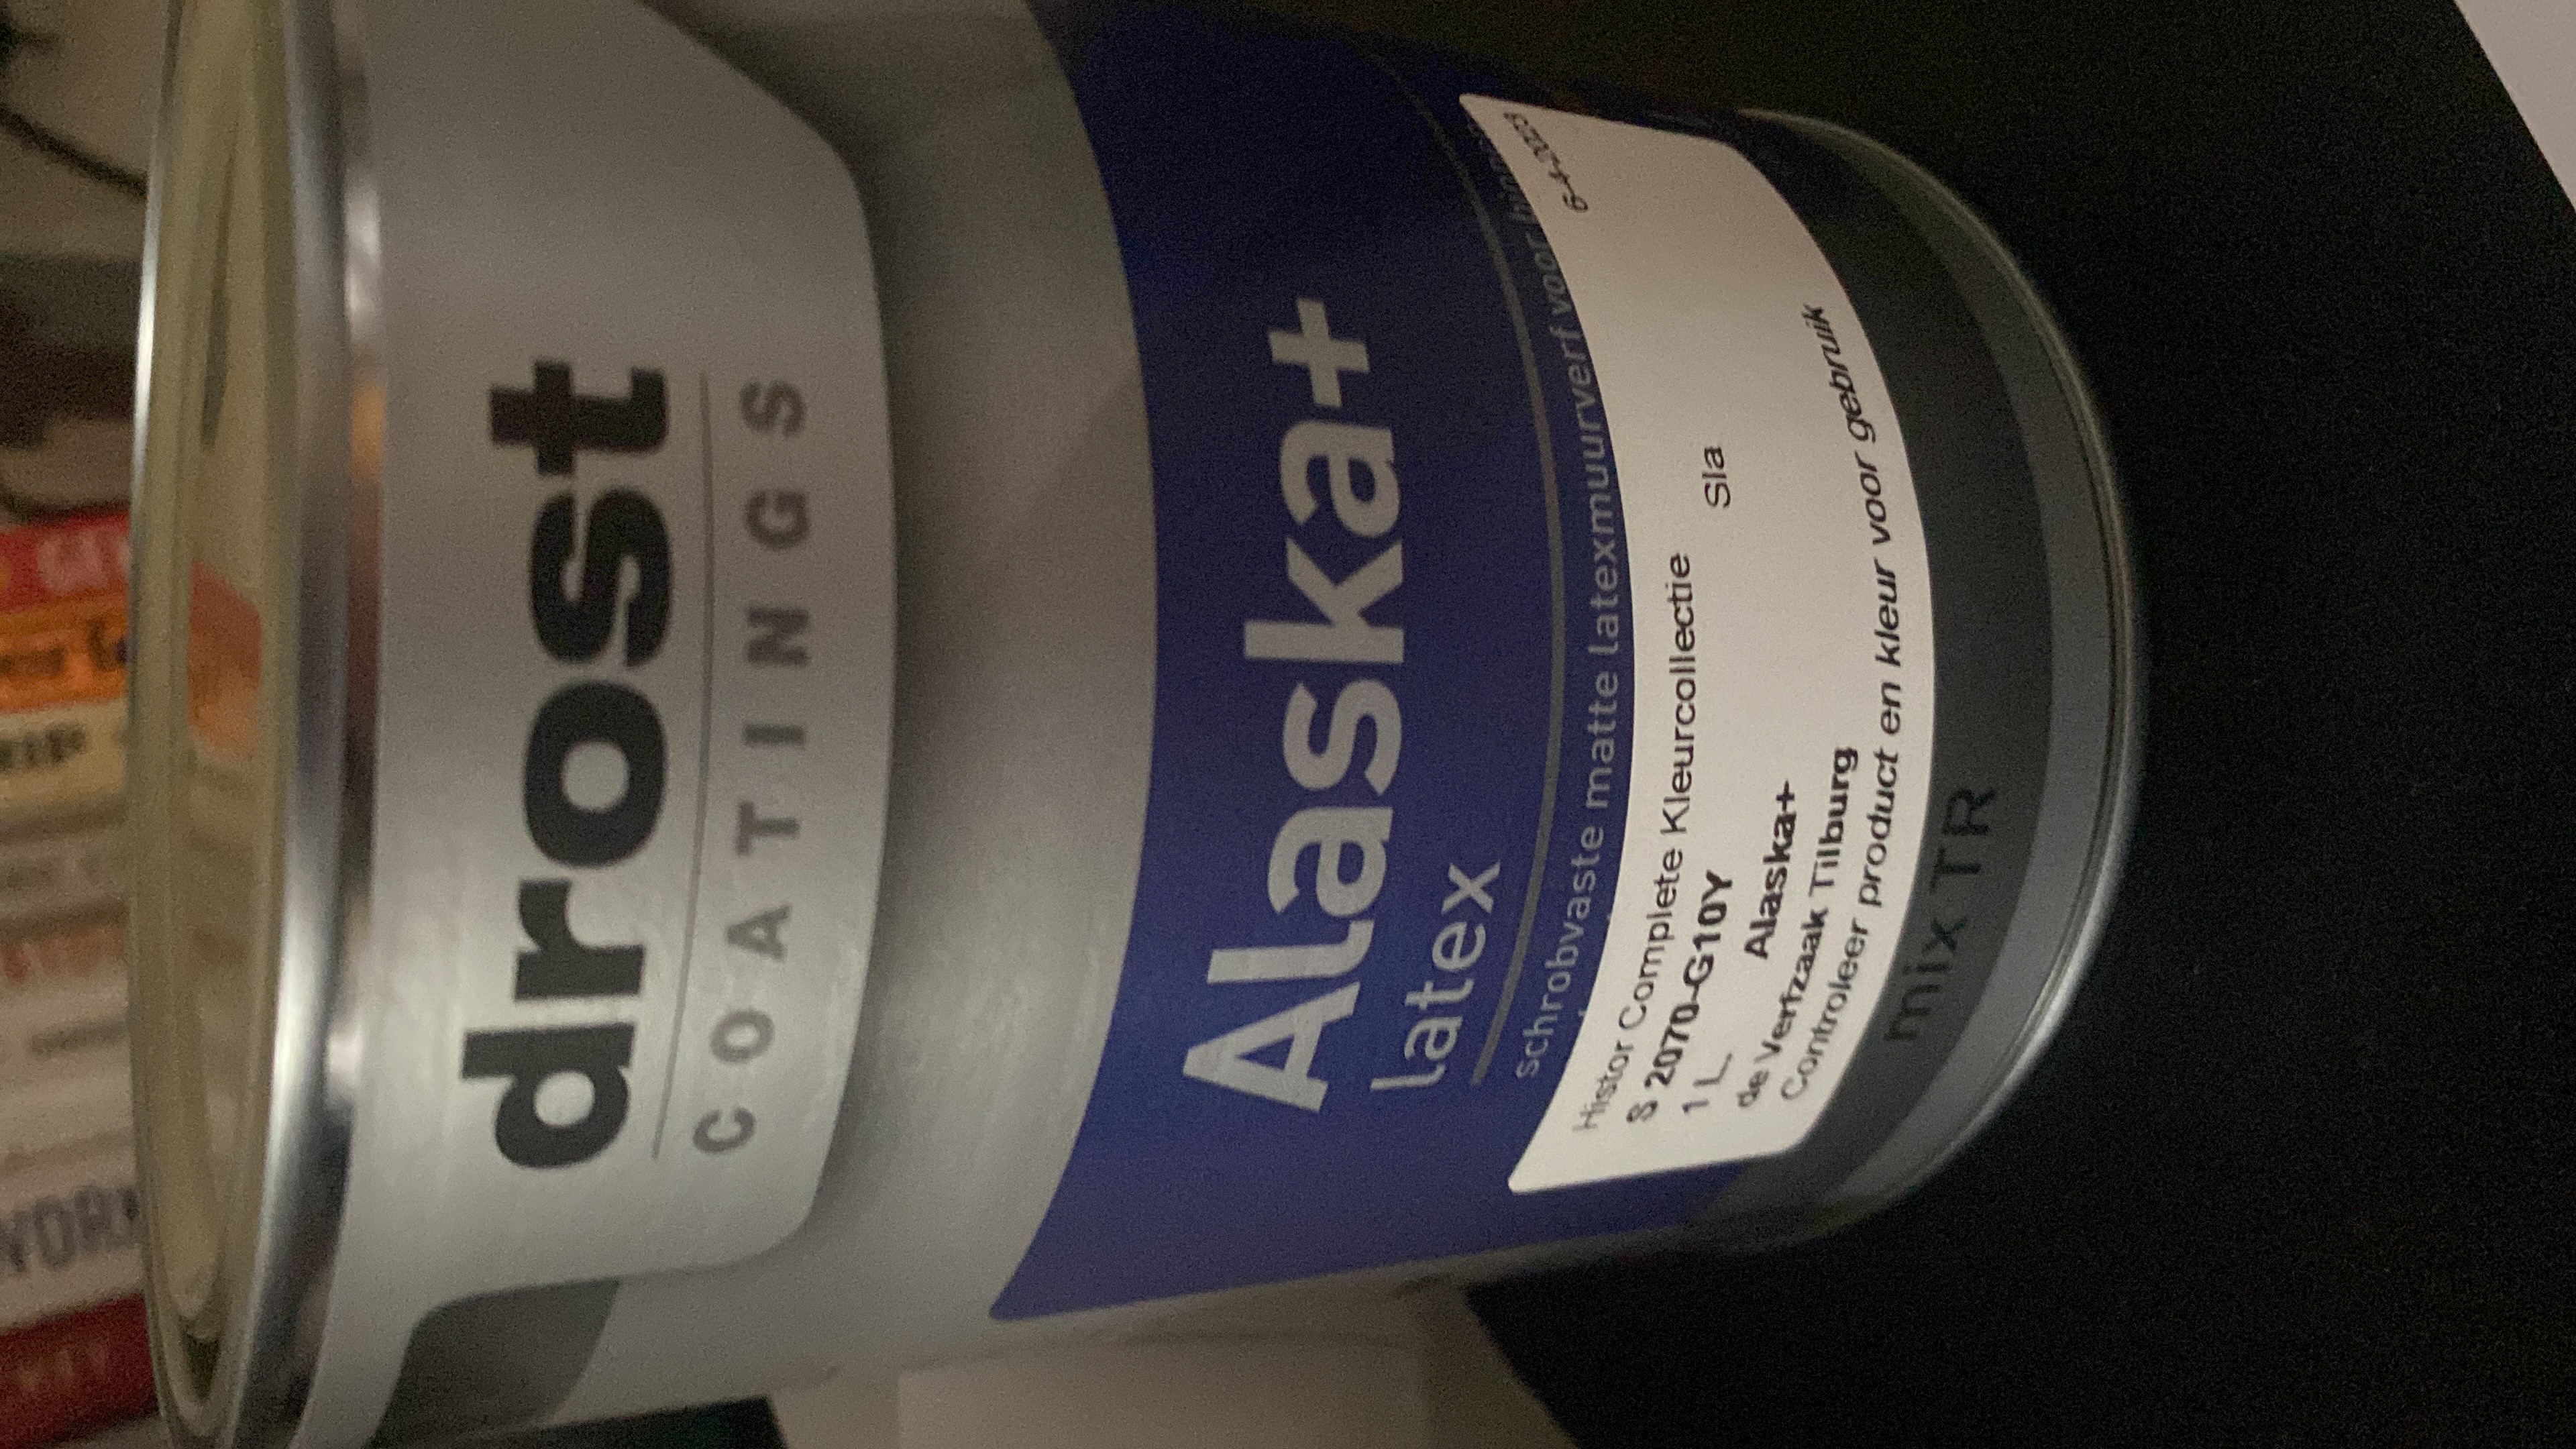
The paint I used was Alaska+ from 'drost' with color code: S 2070-G10Y Matte 1. It had to be as matte as possible which helps later on with keying in post or real-time. Still need to do some experiments with it to figure out how to make it work.
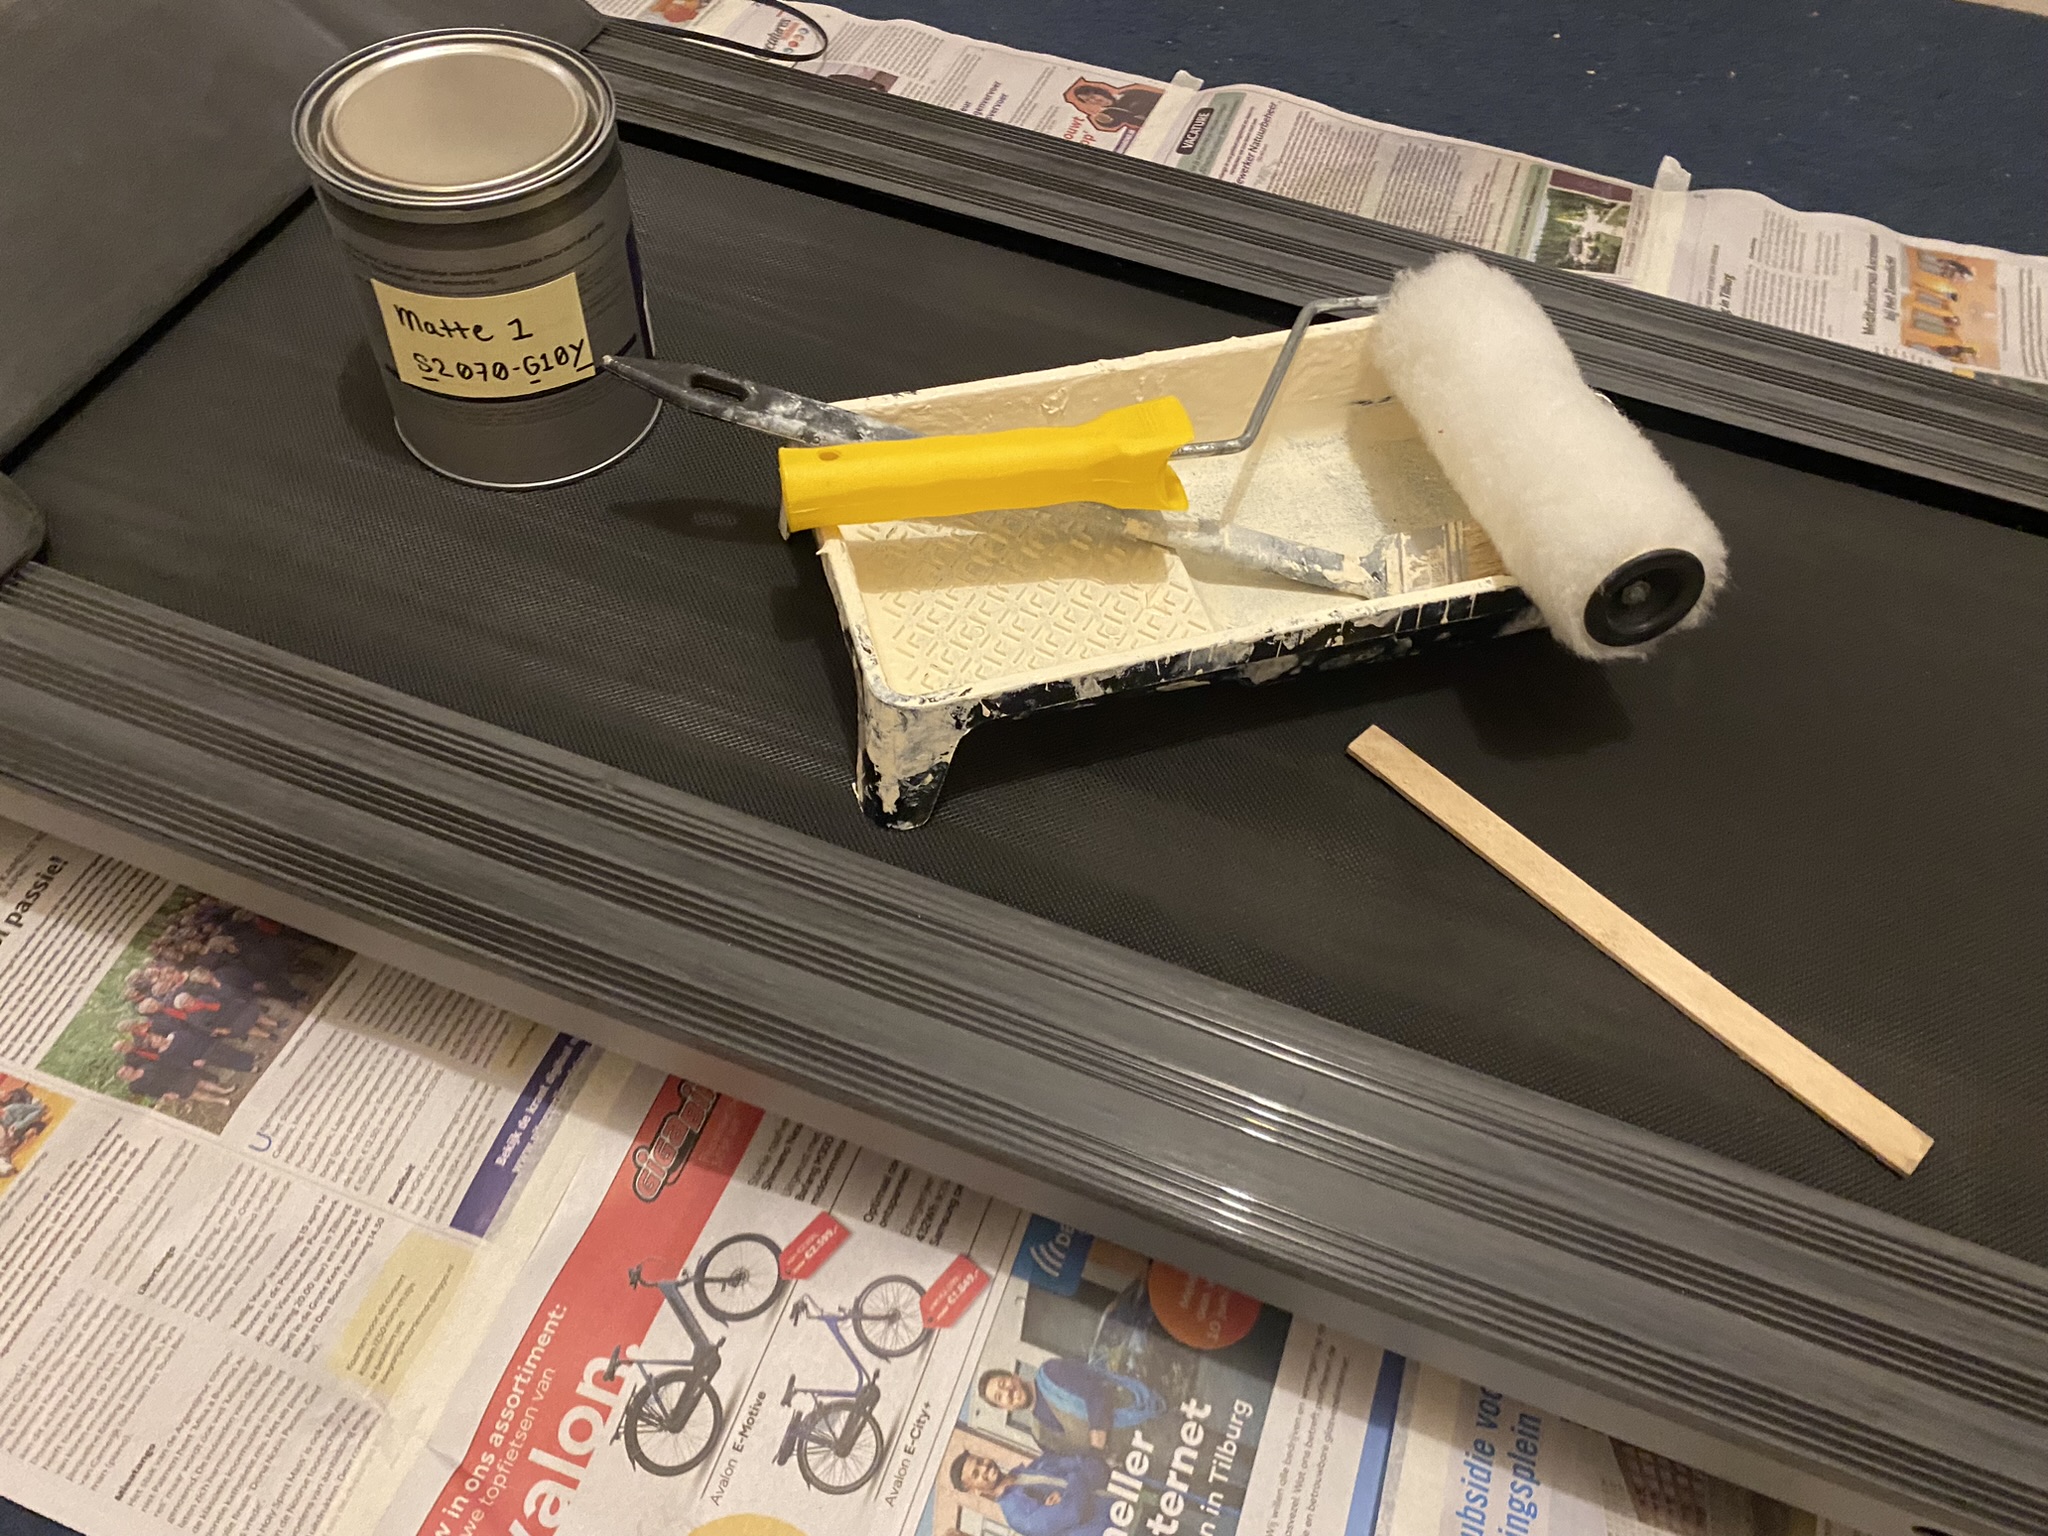
Now comes the fun part, preparing to paint!
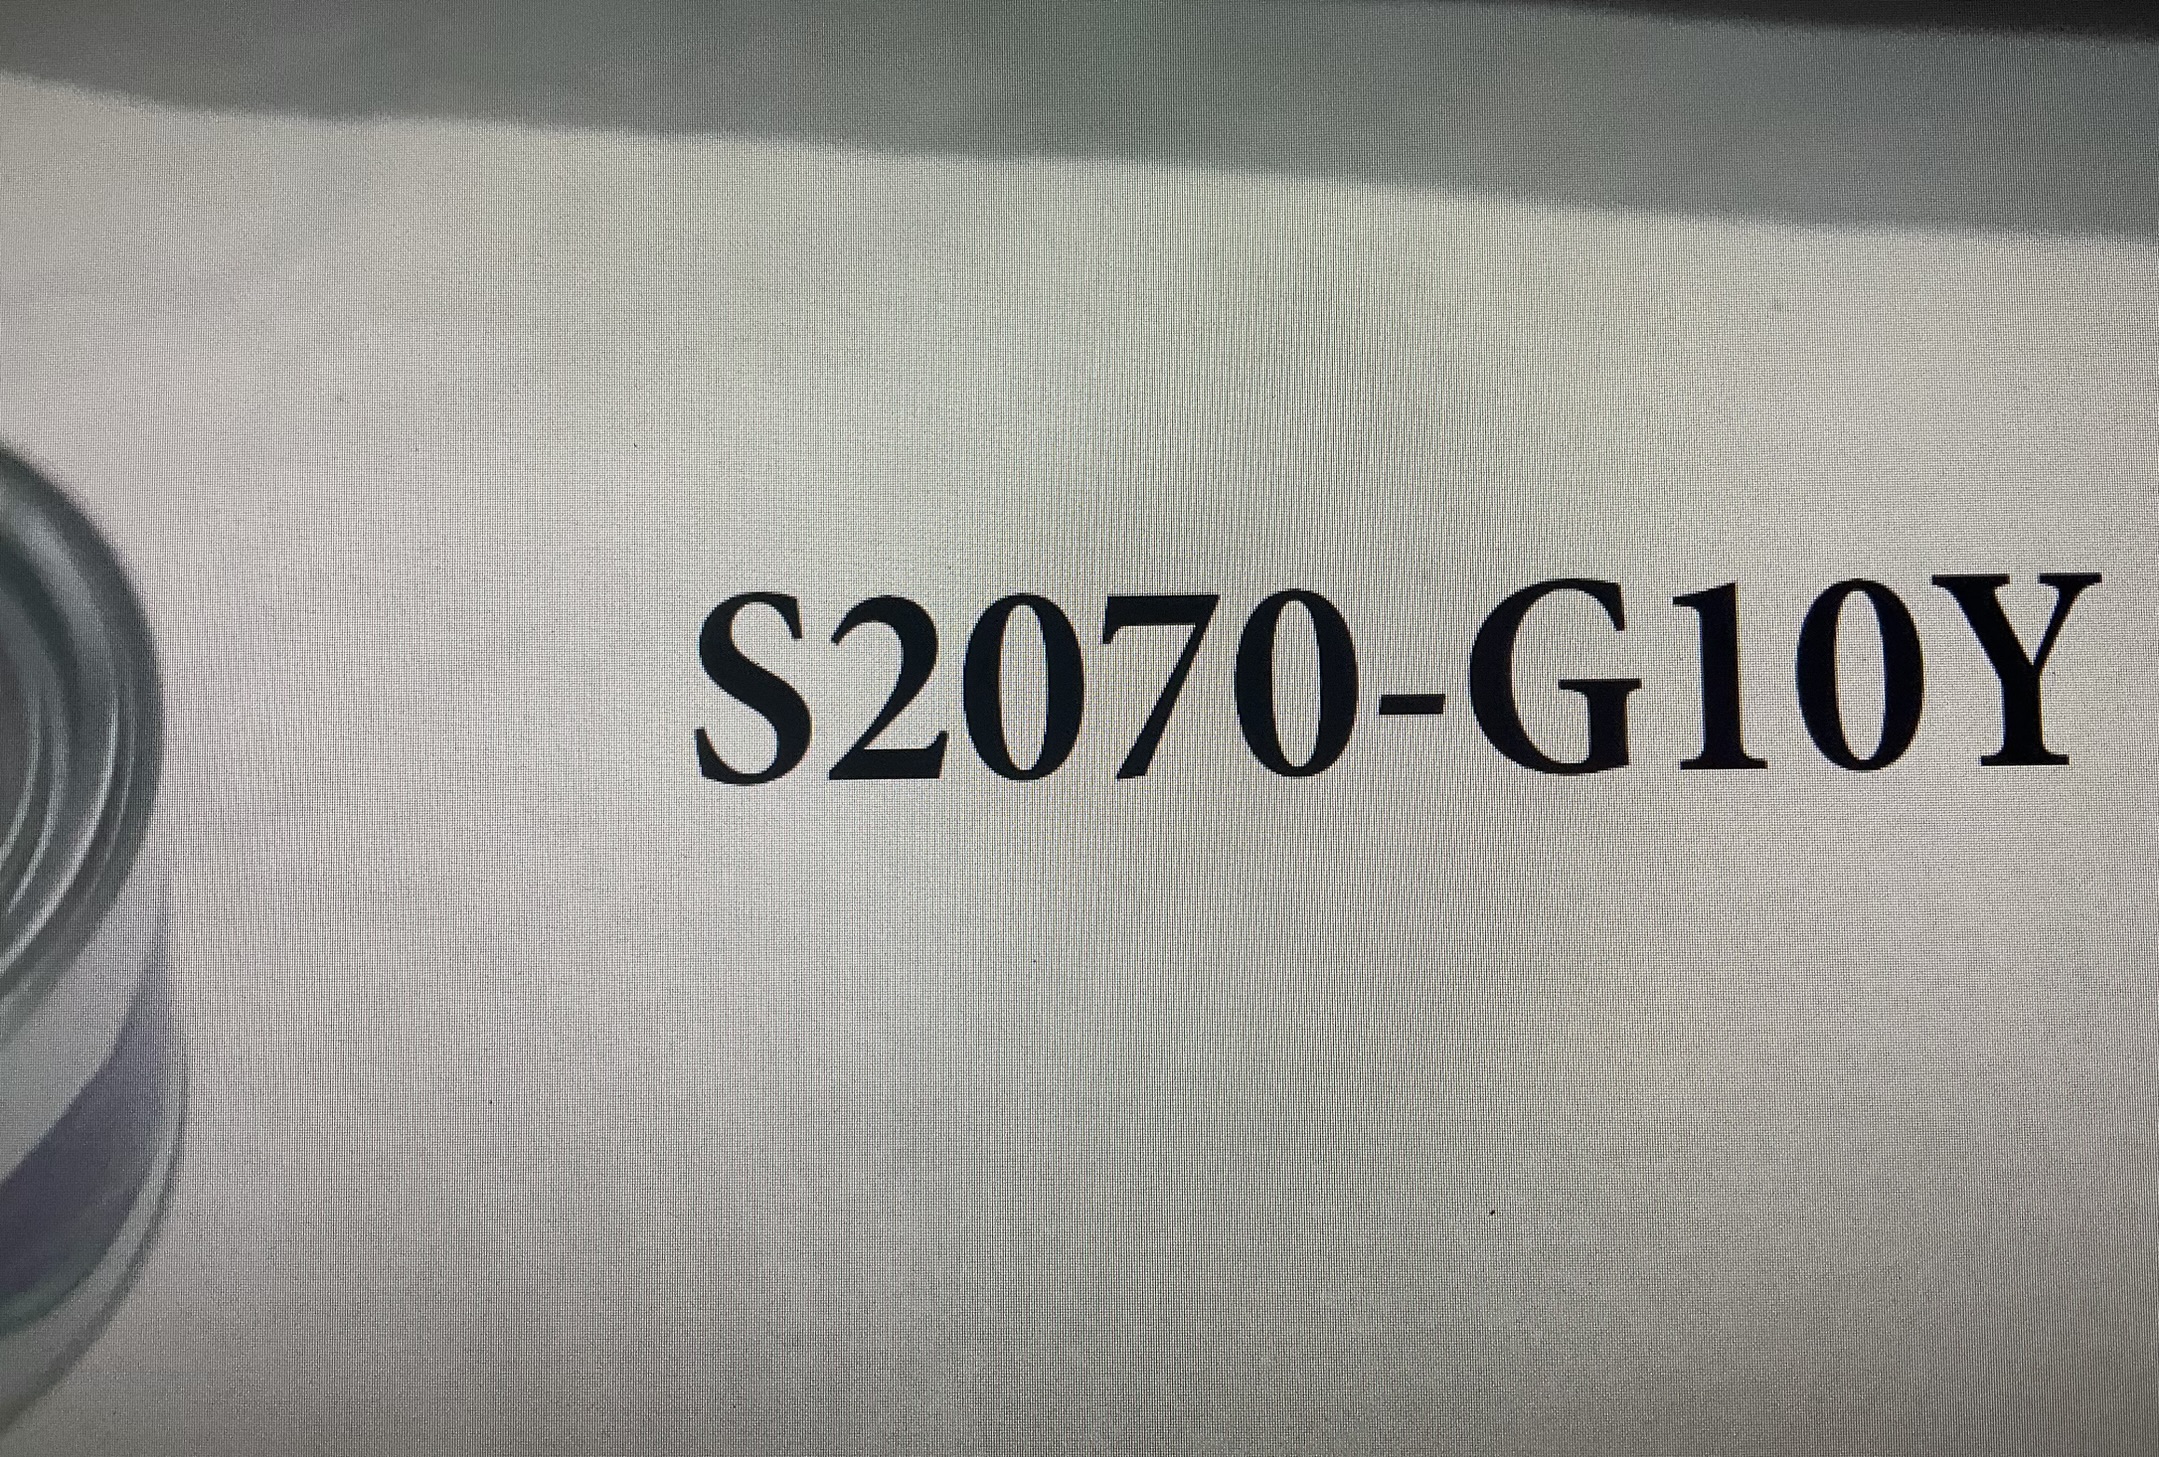
As mentioned earlier this was the green screen color for the paint.
And this is the reference of the result I am hoping to get.

The painting went fairly quick, luckily it was a small surface and the treadmill could just run while I applied the paint to it. And yes, it is really matte! Yes!

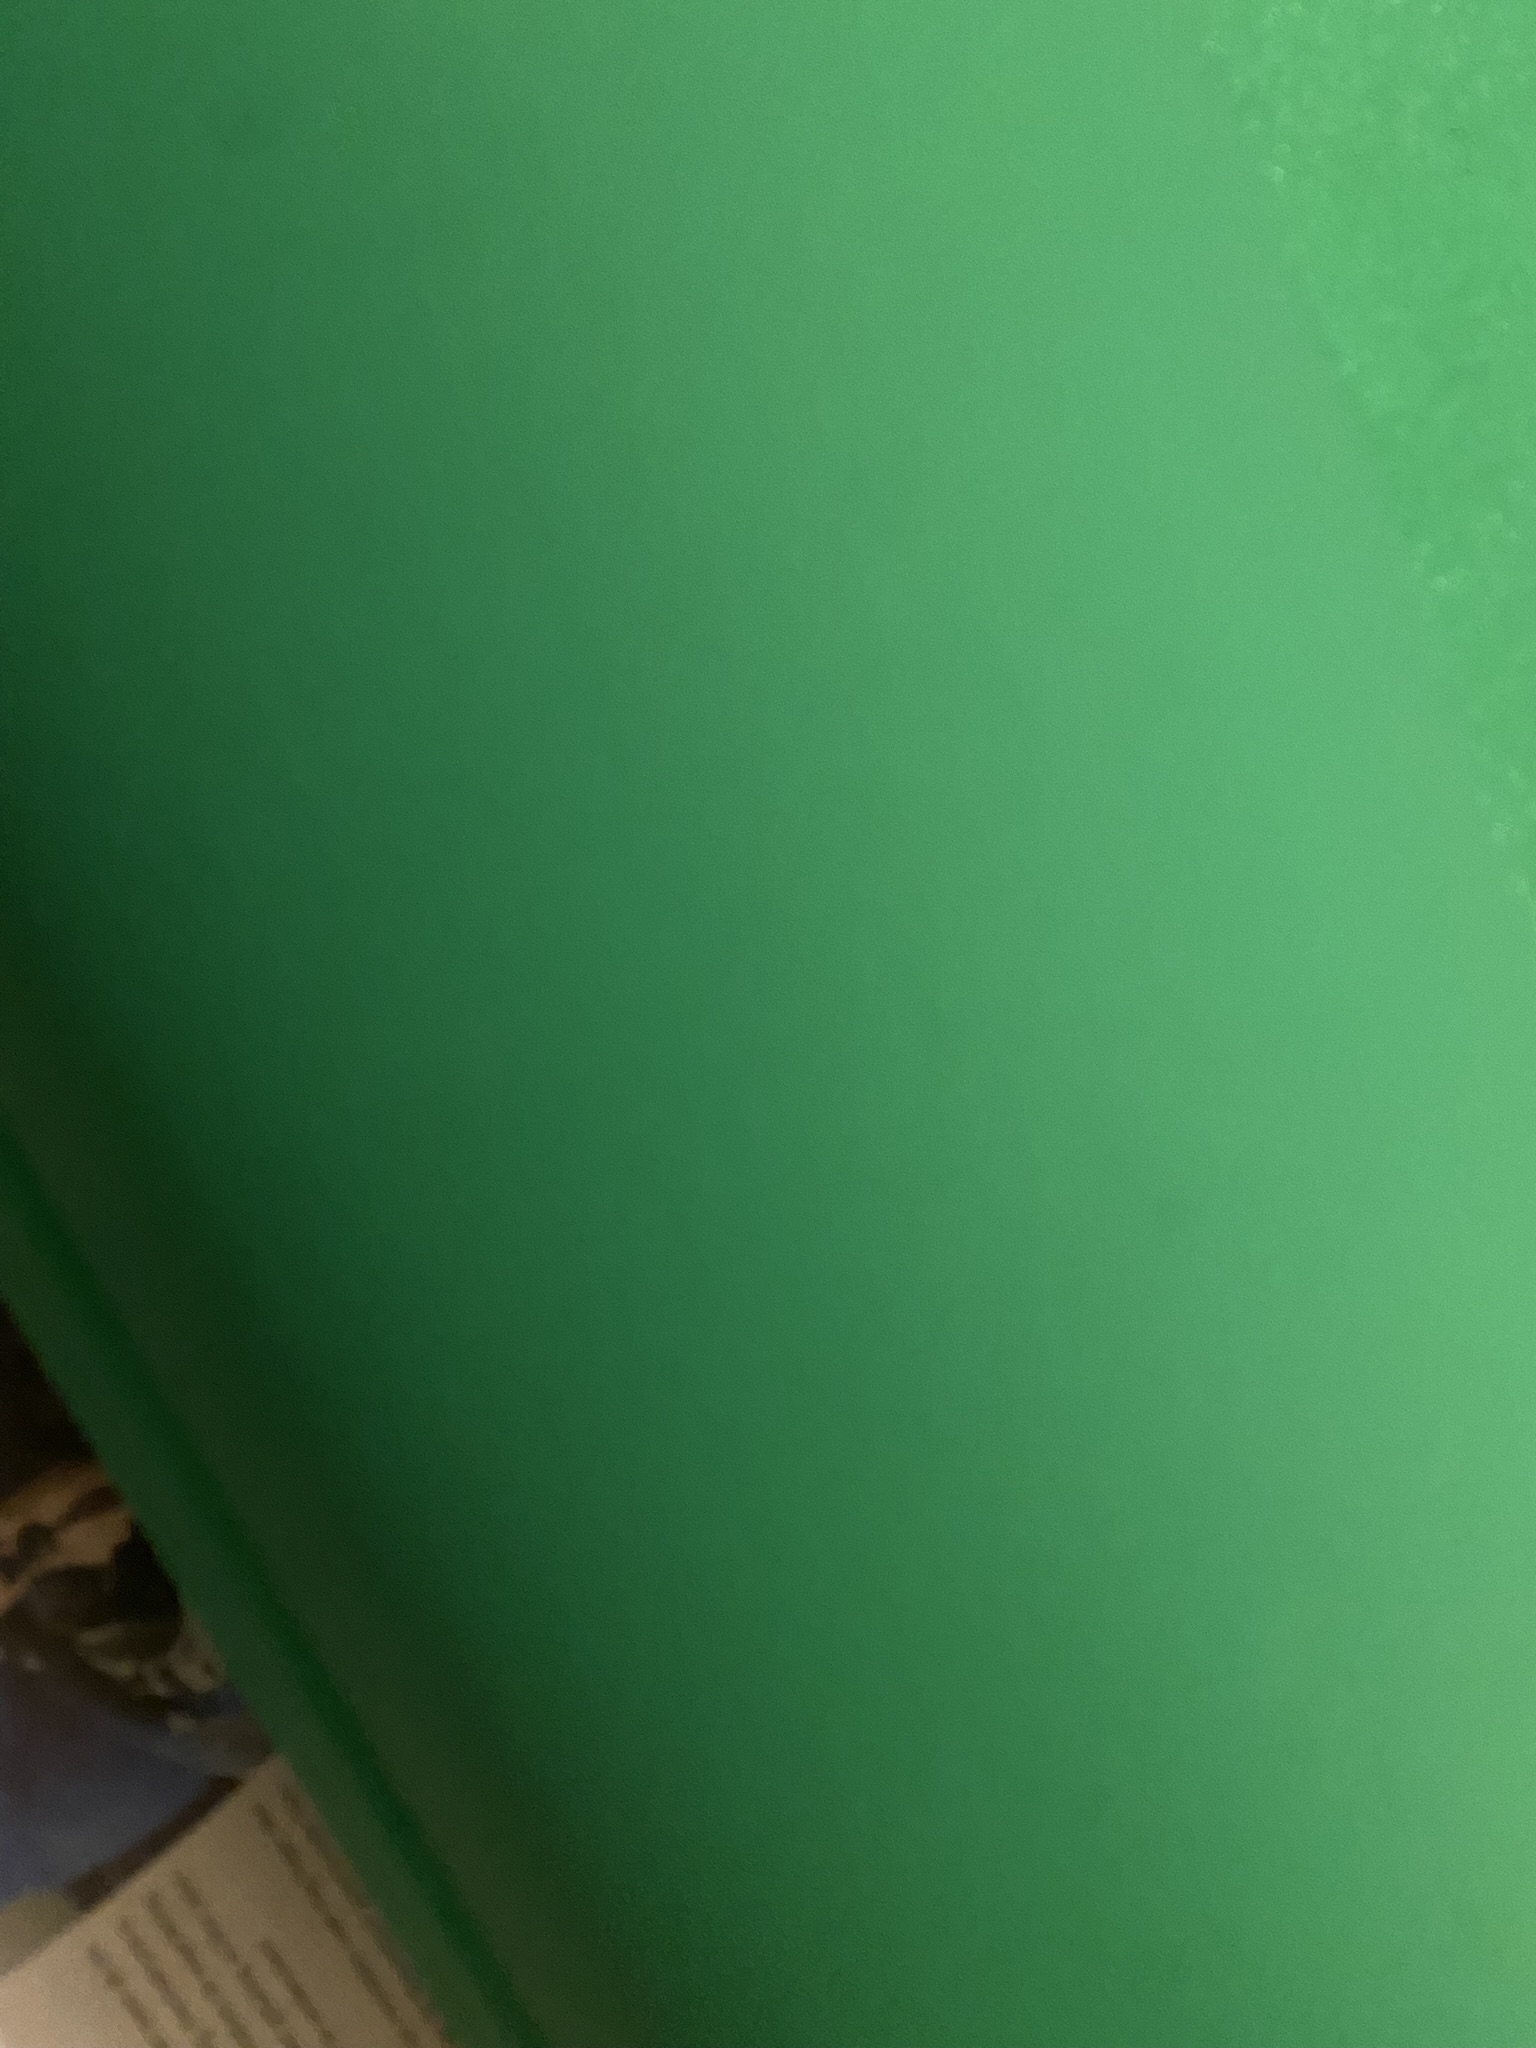
One more layer of paint and it was ready.
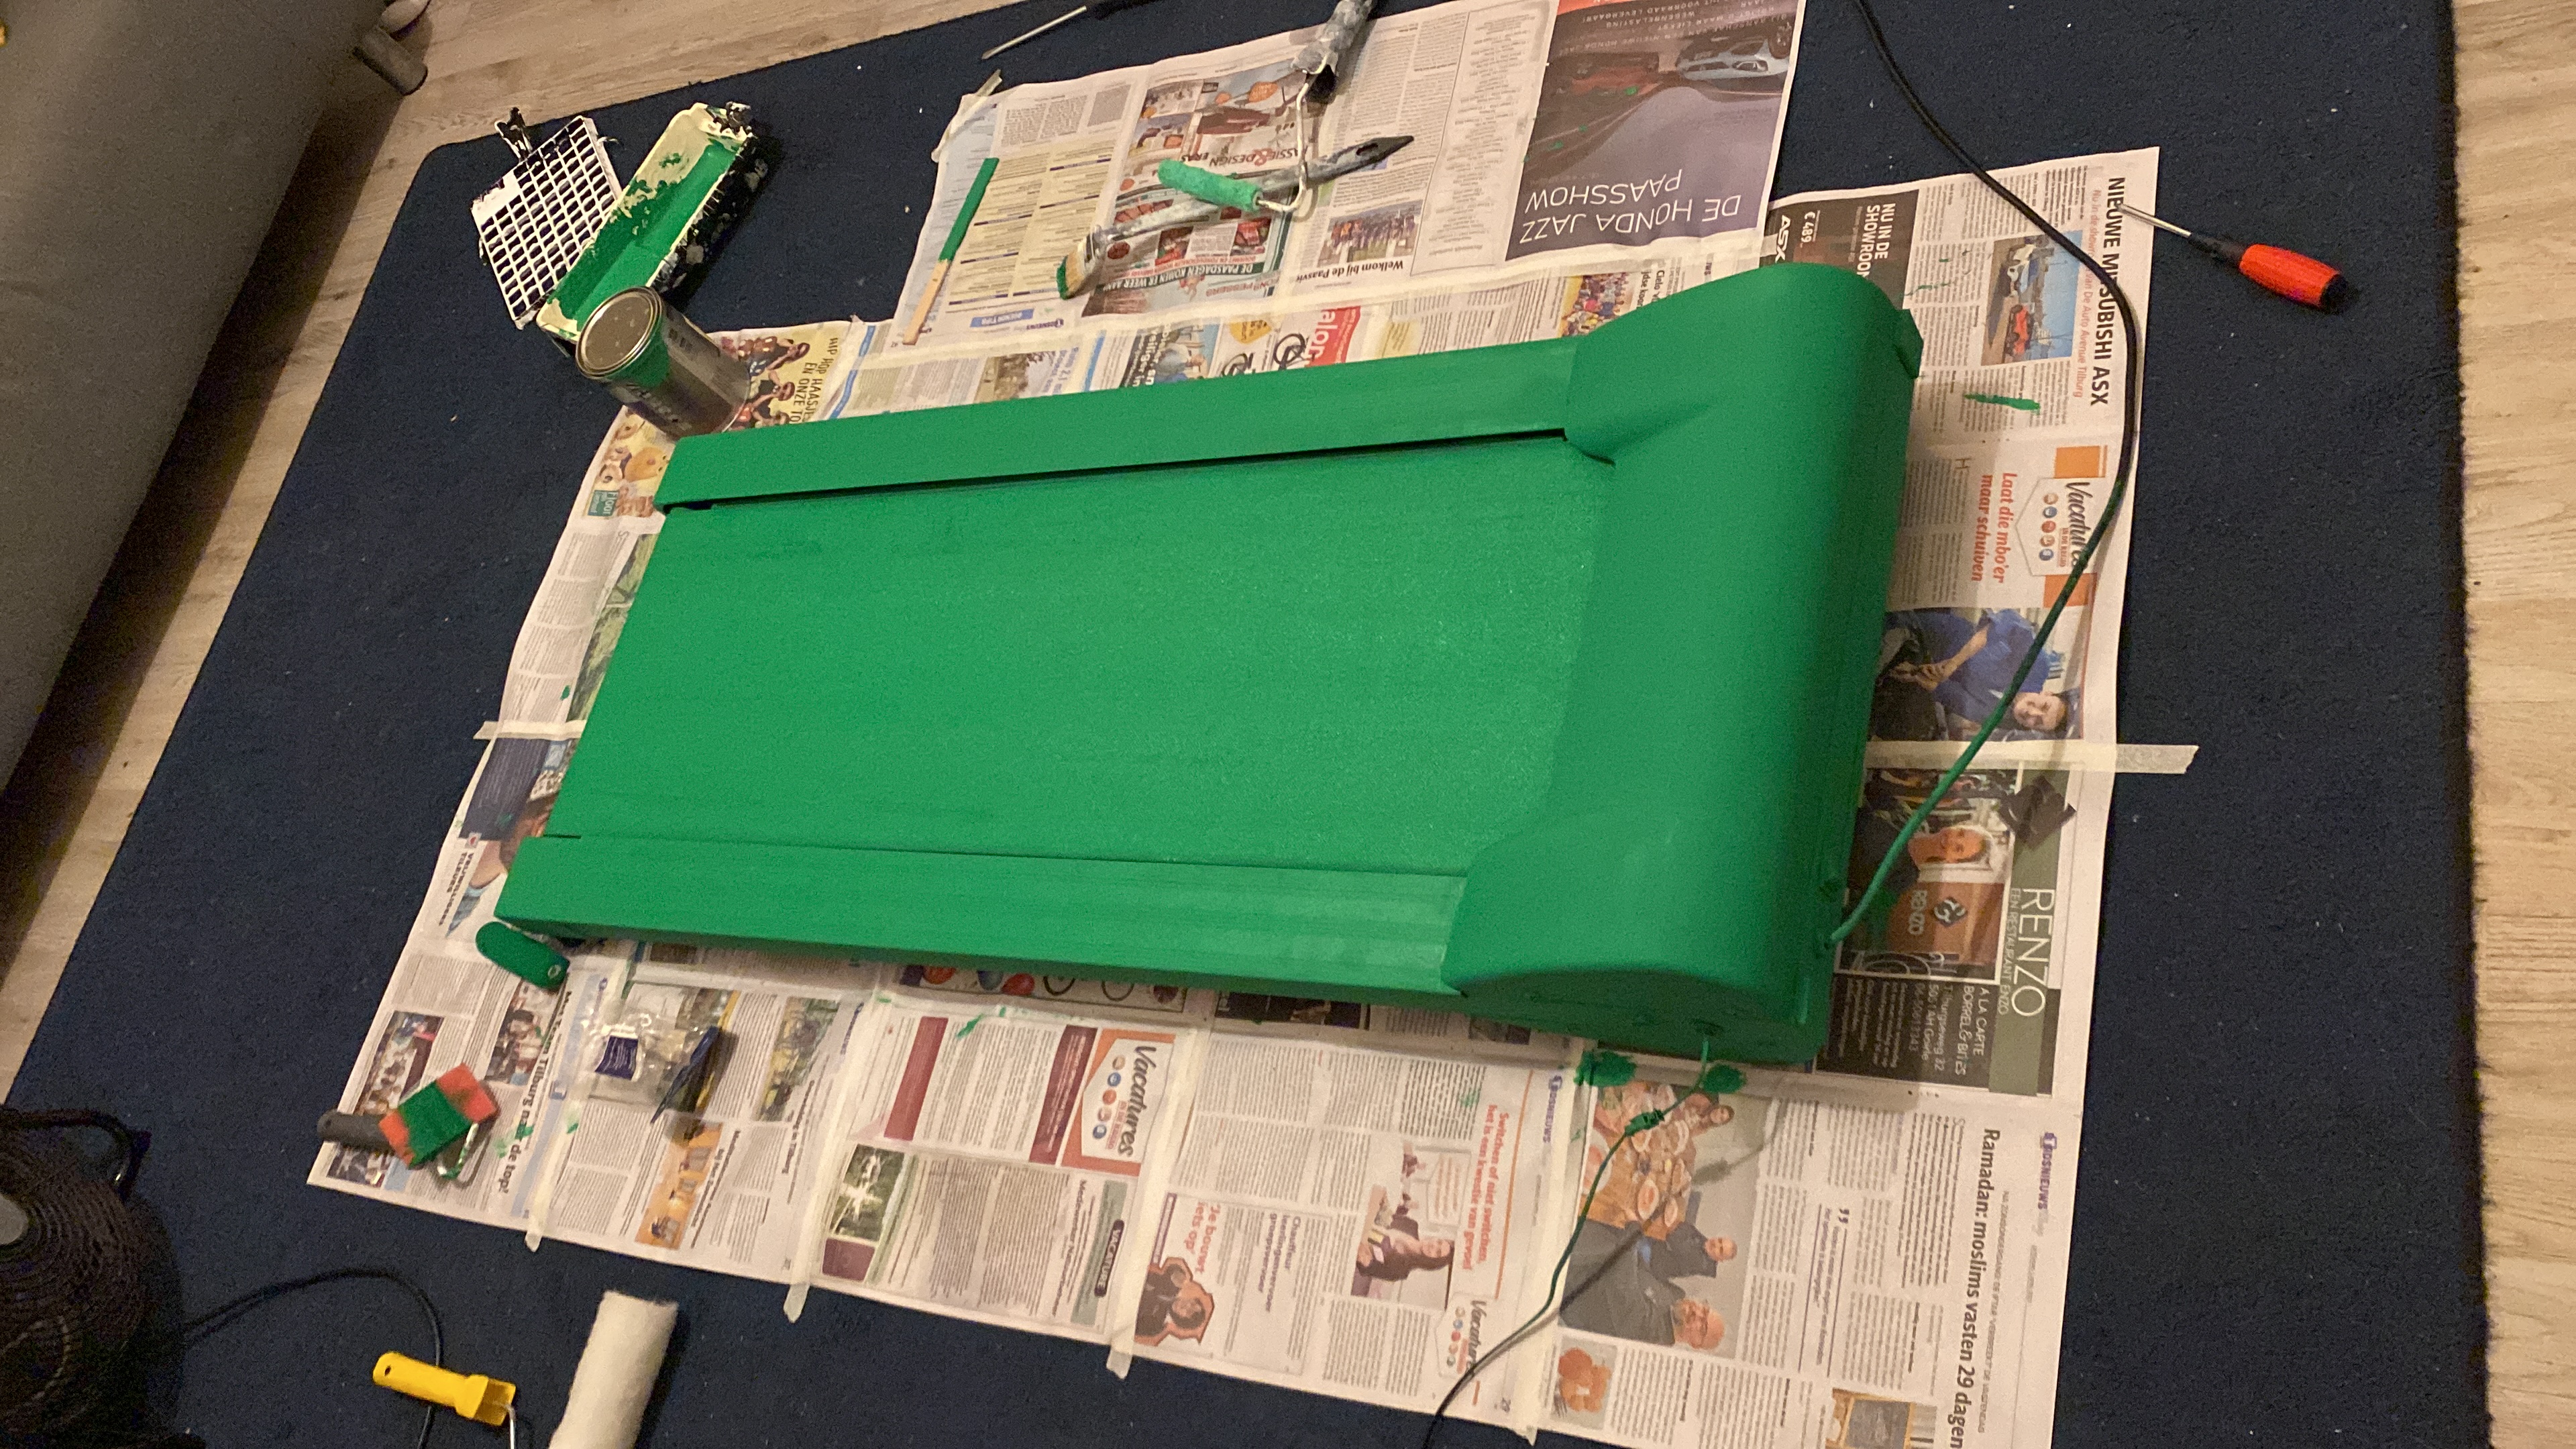
I am really pleased with the result and also very curious to see it working in production. I hope you enjoyed this process and more is yet to come.

(Example is from Youtube:"DIY Treadmill Green Screen: Tips and Tricks for Building and Painting".)
To Be Continued...
I would really recommend virtual production pro Aiden Wilson and Matt Workman