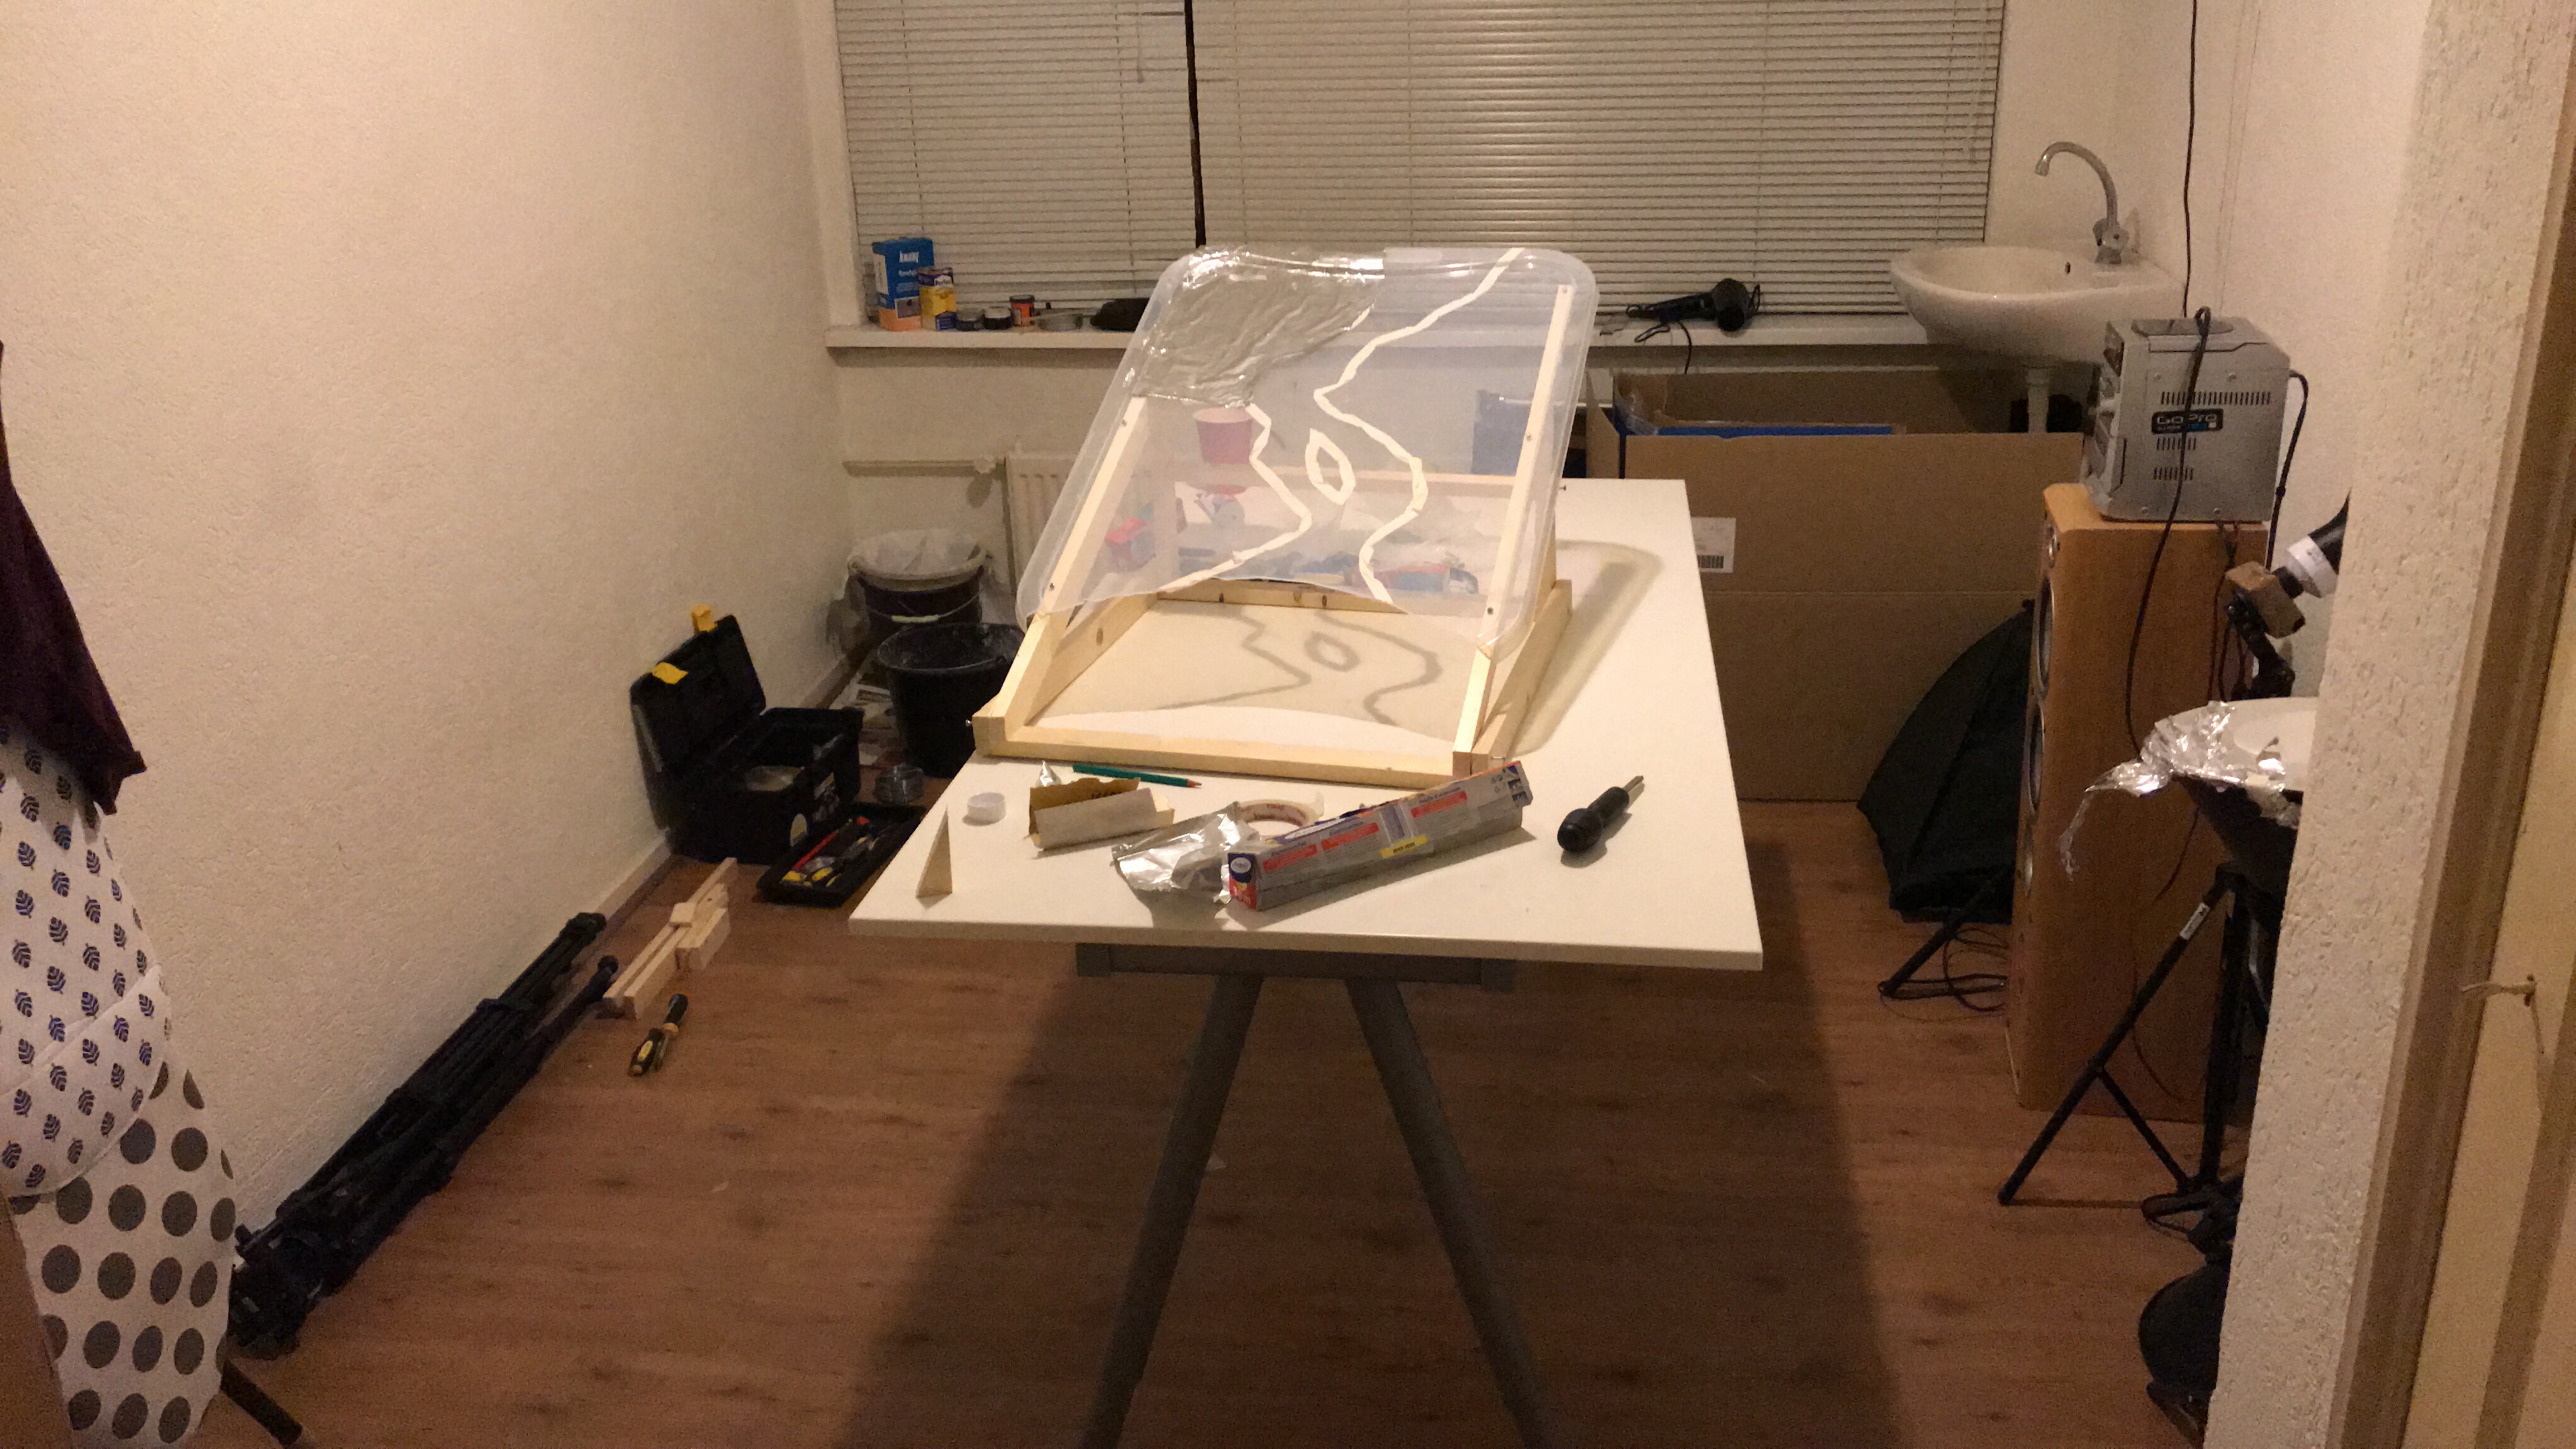
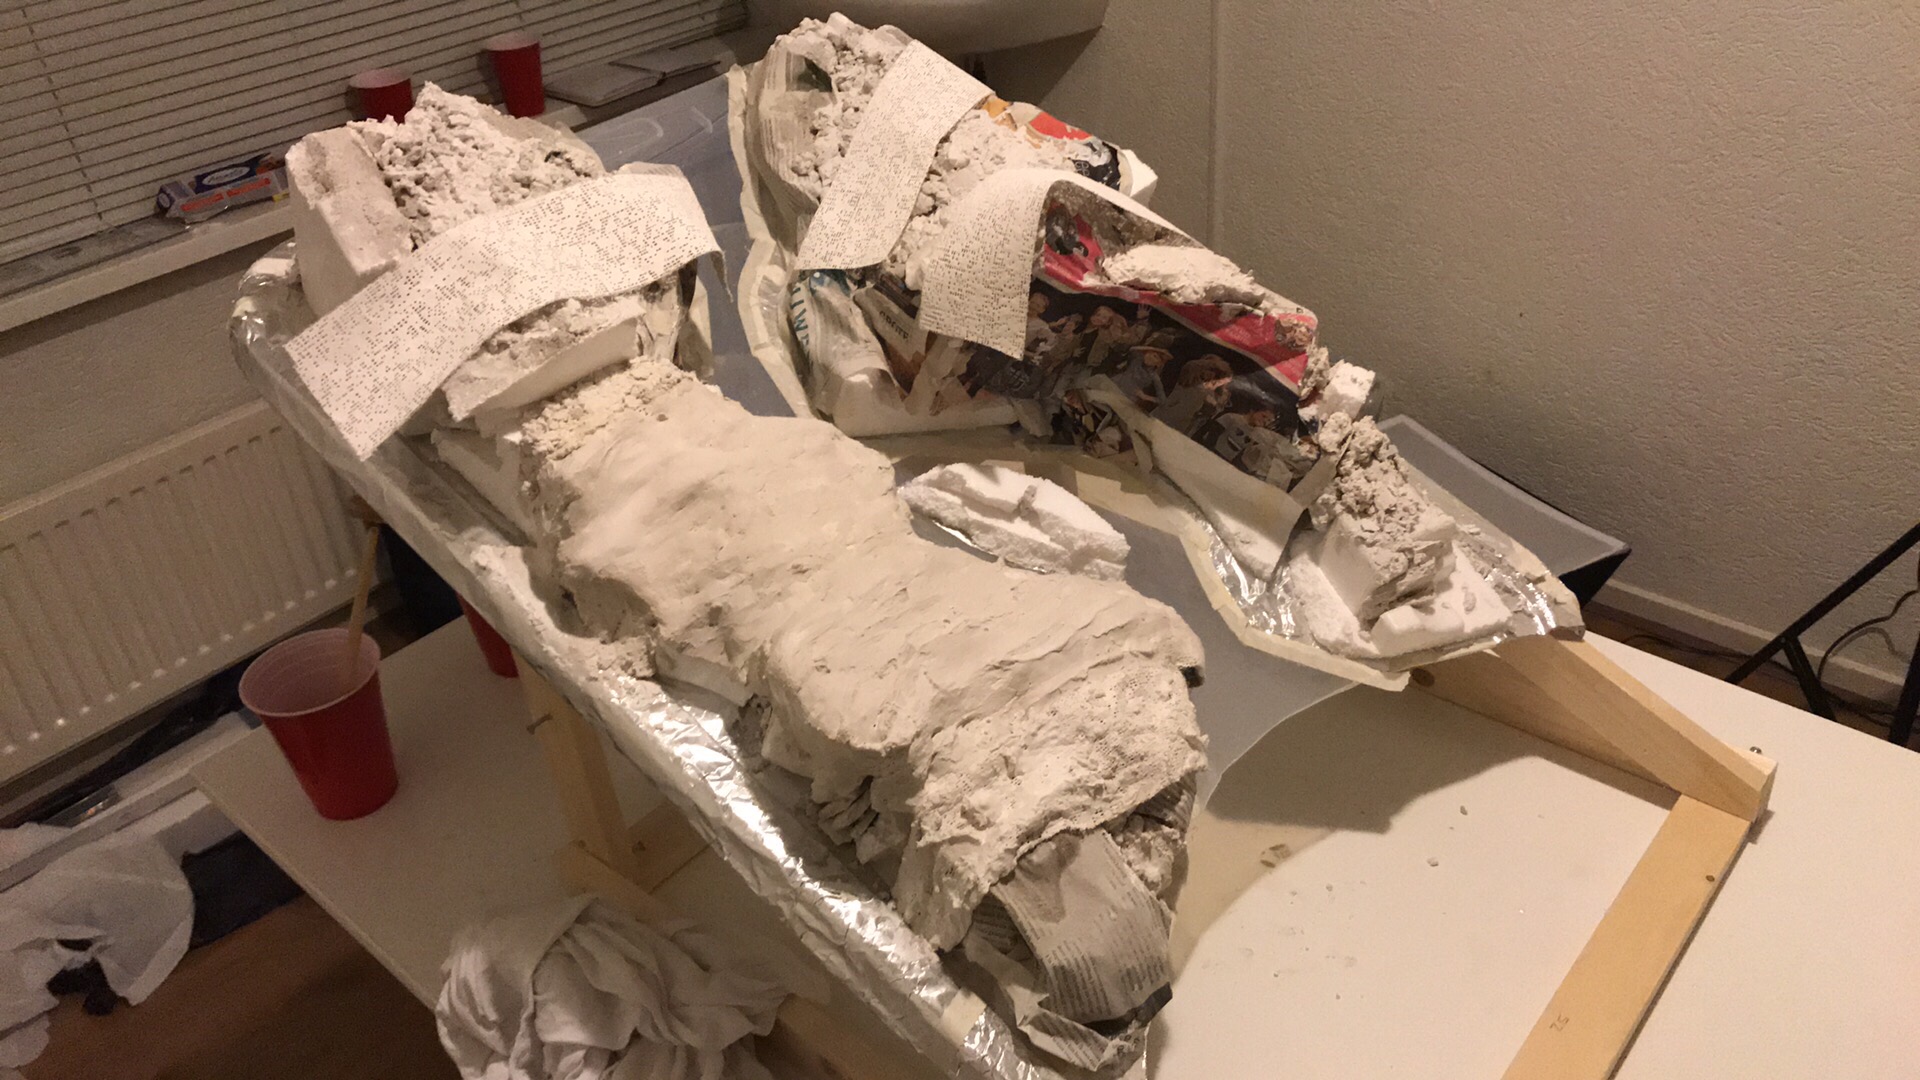
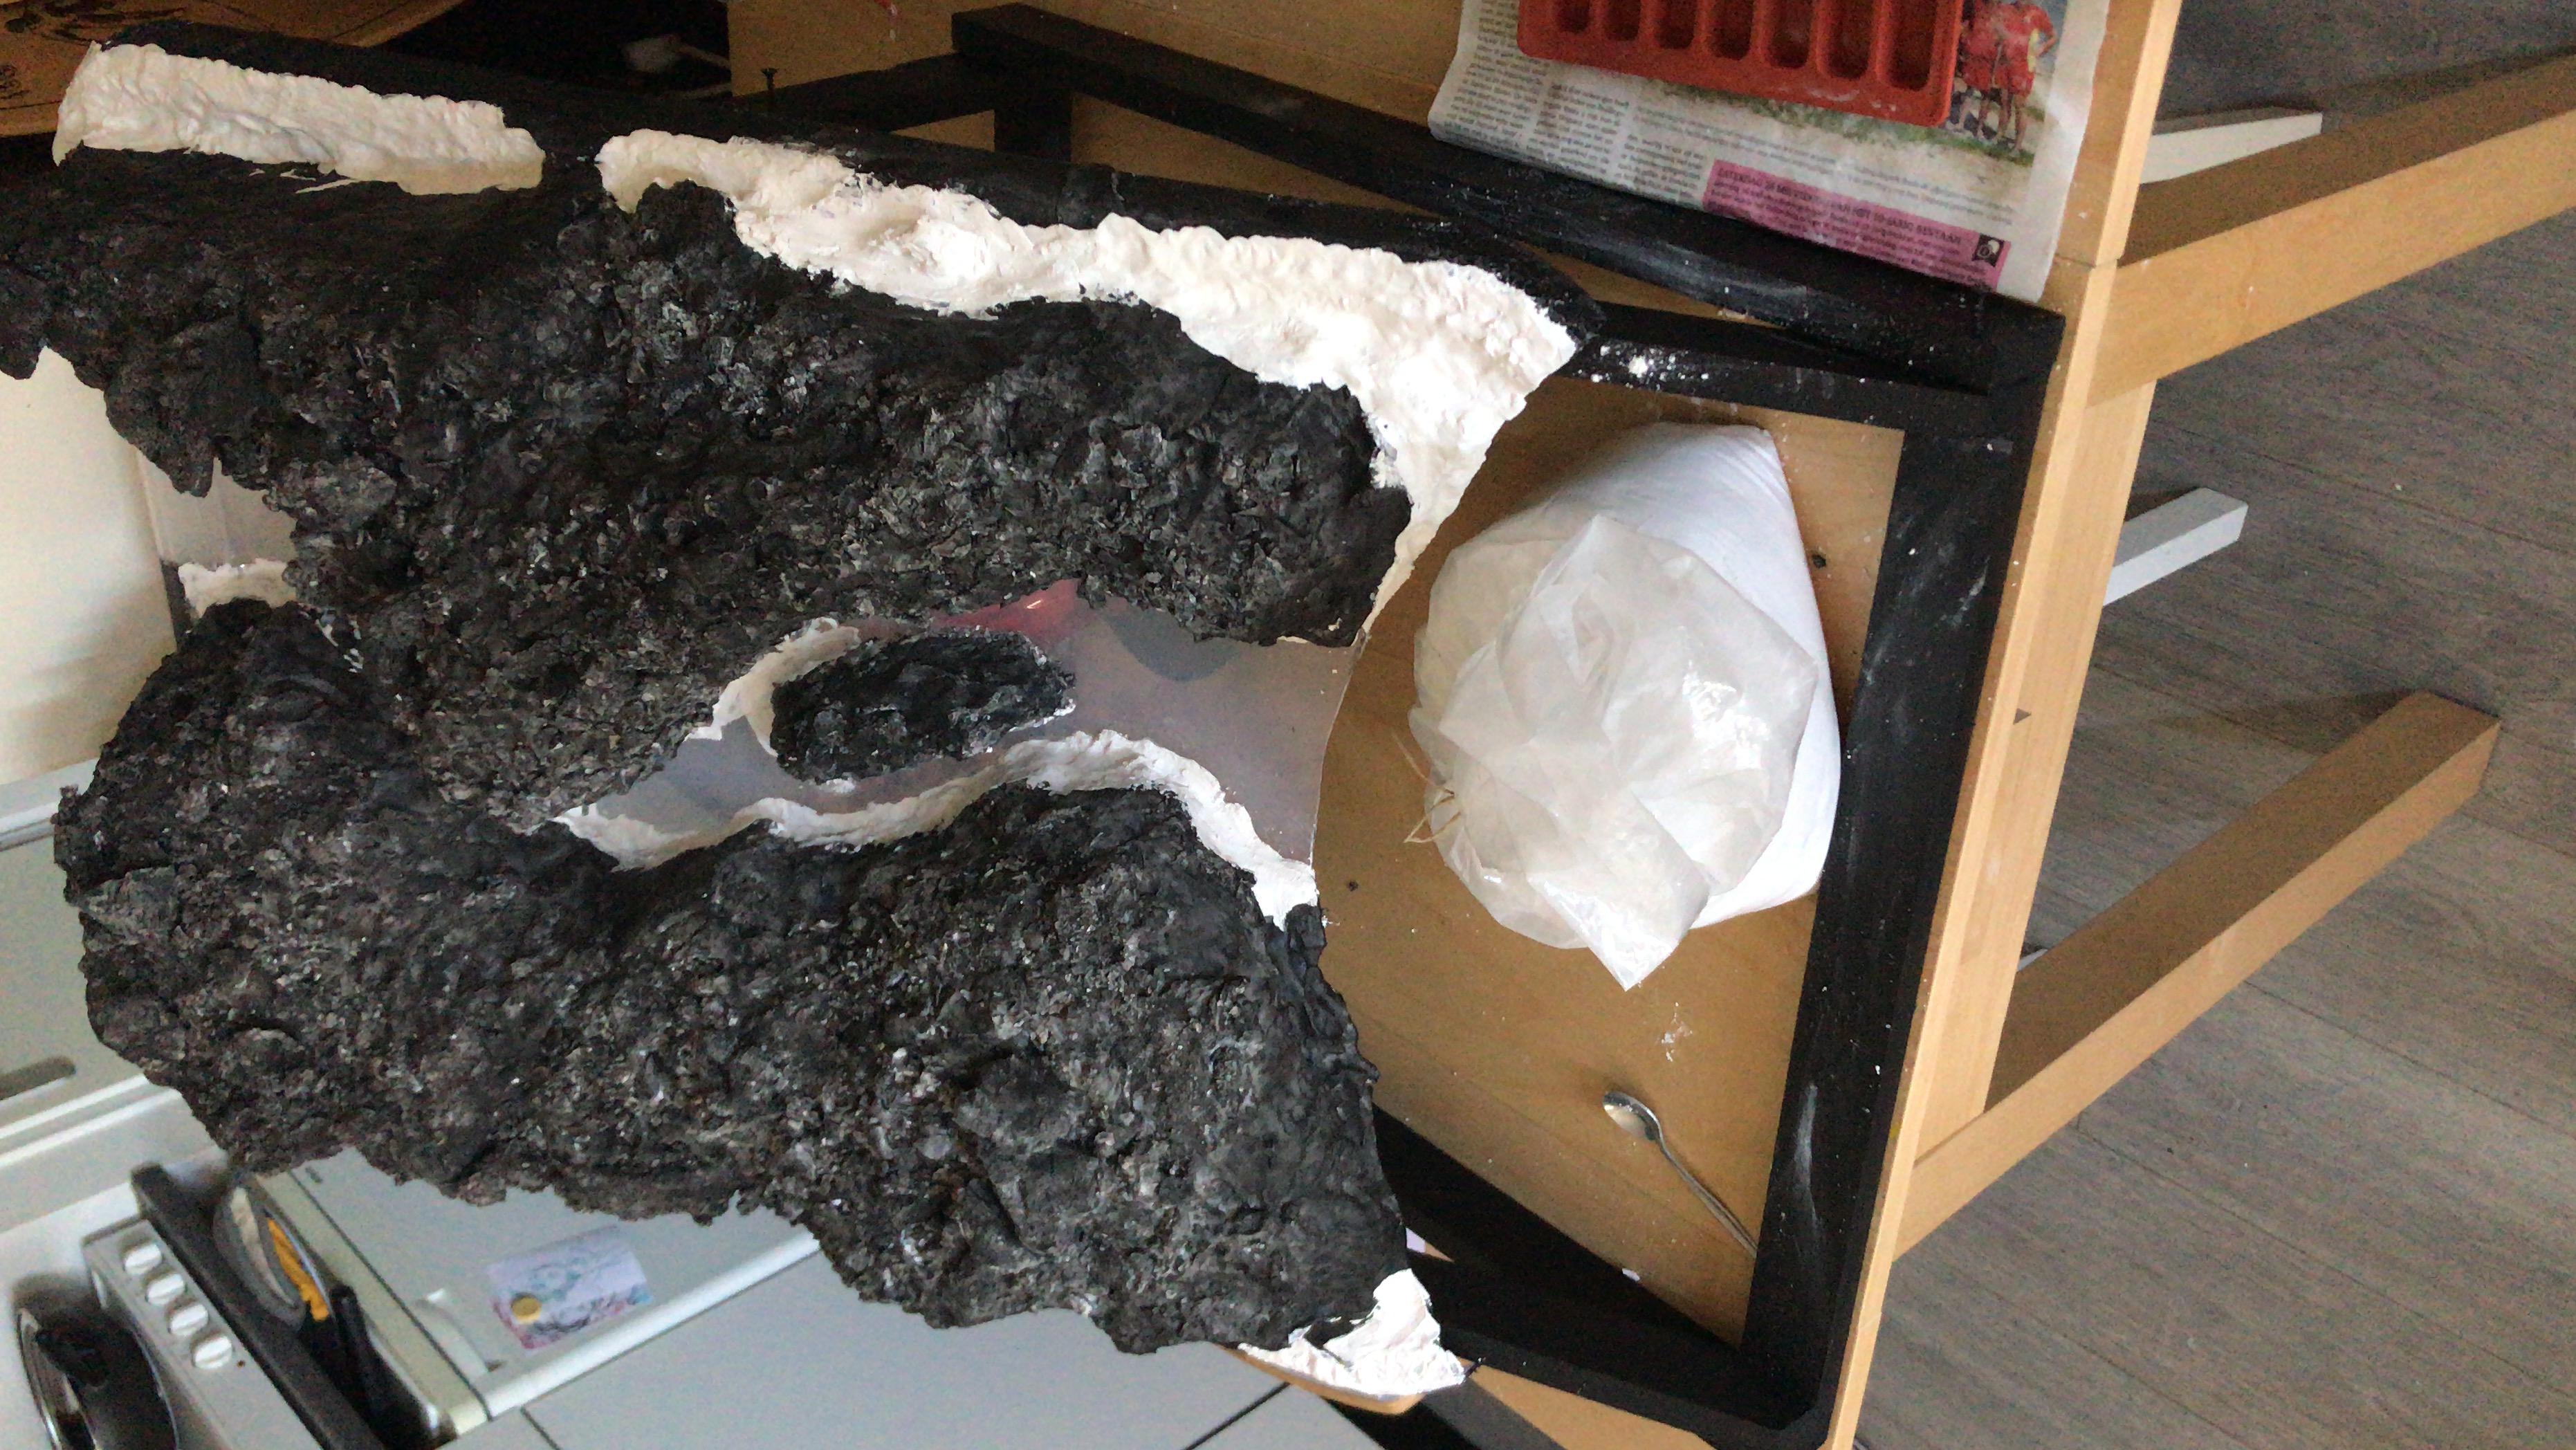
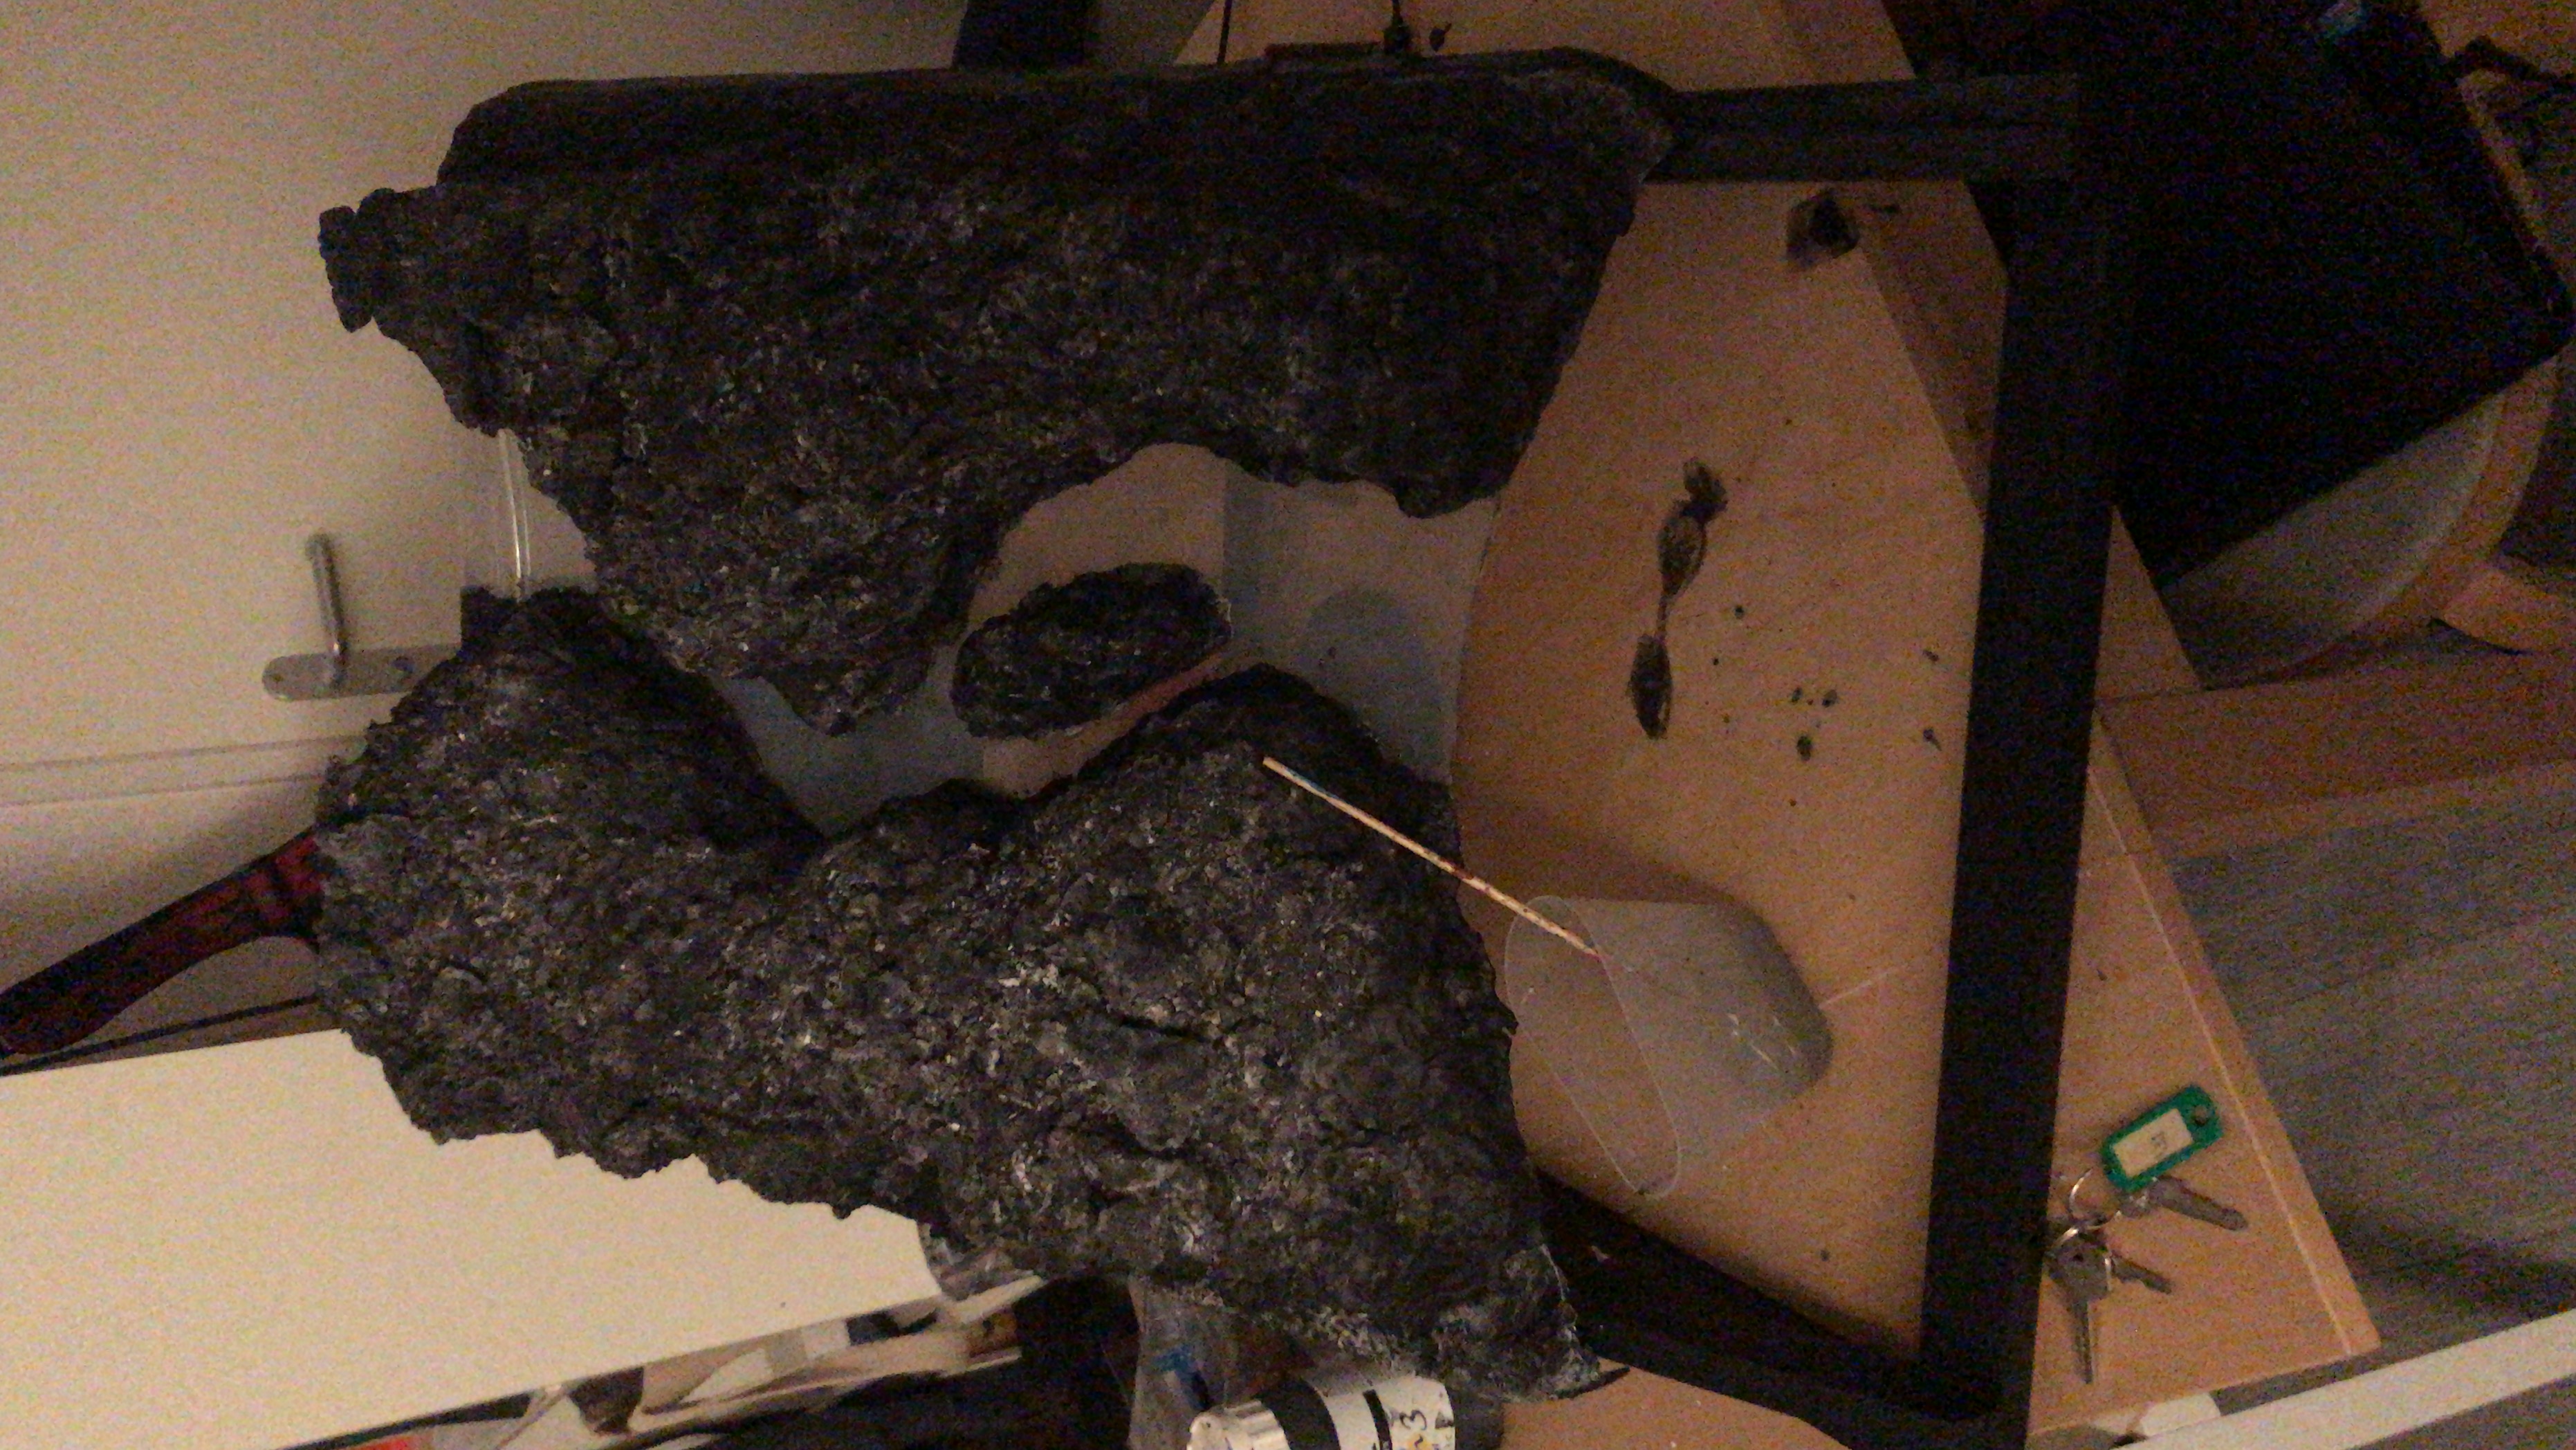
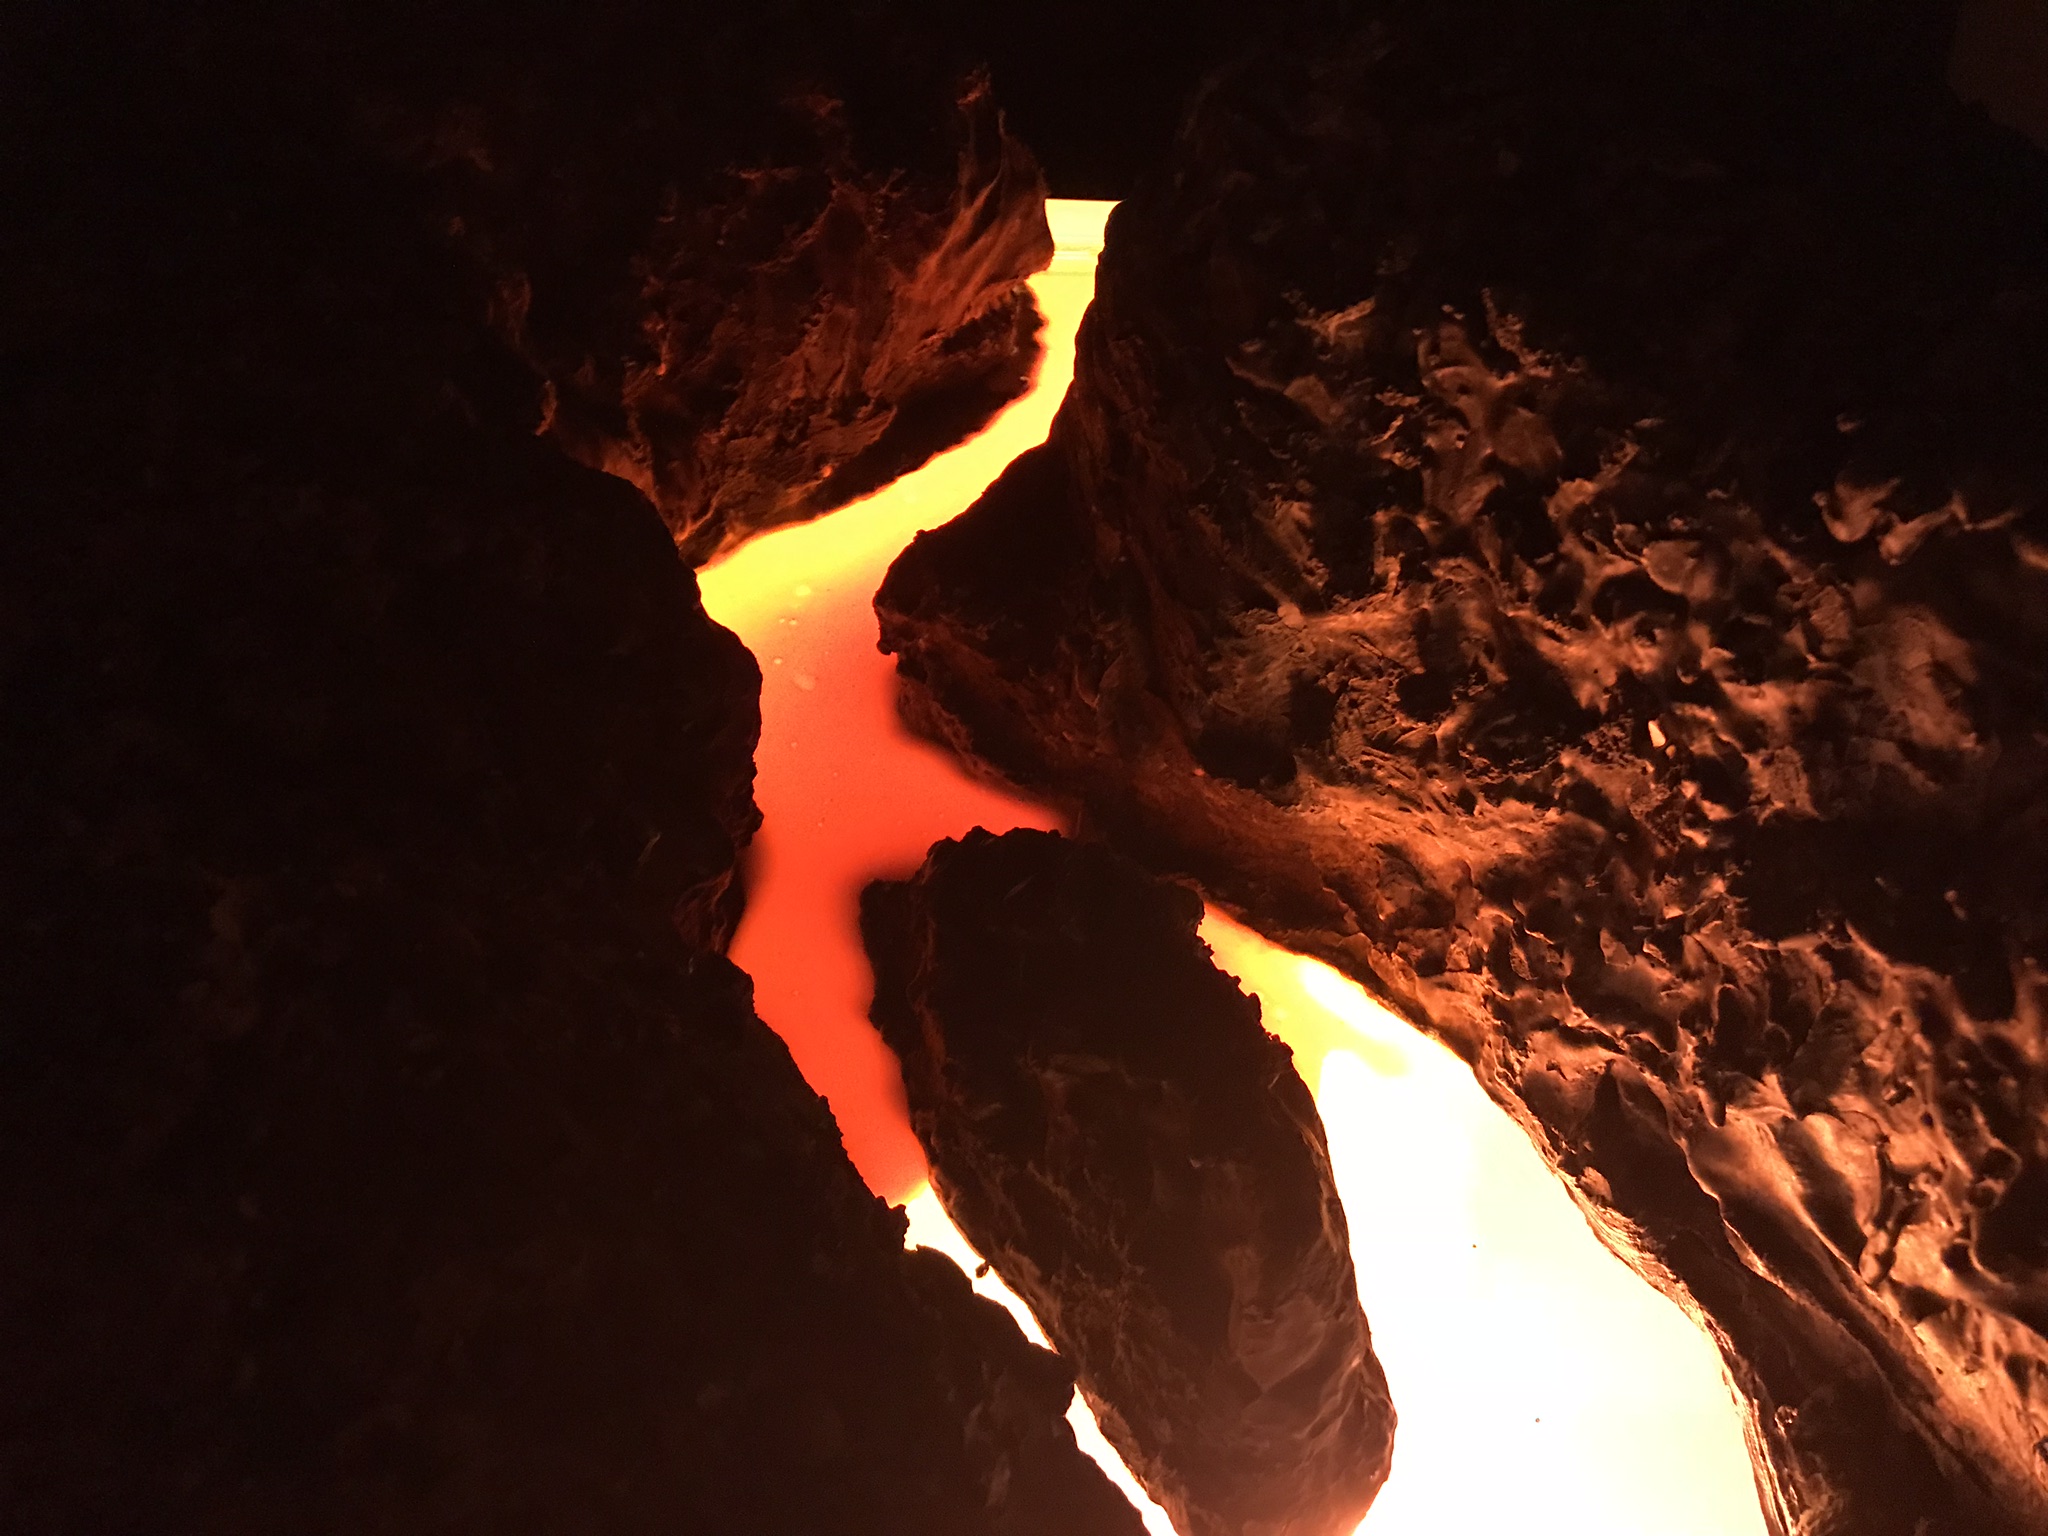
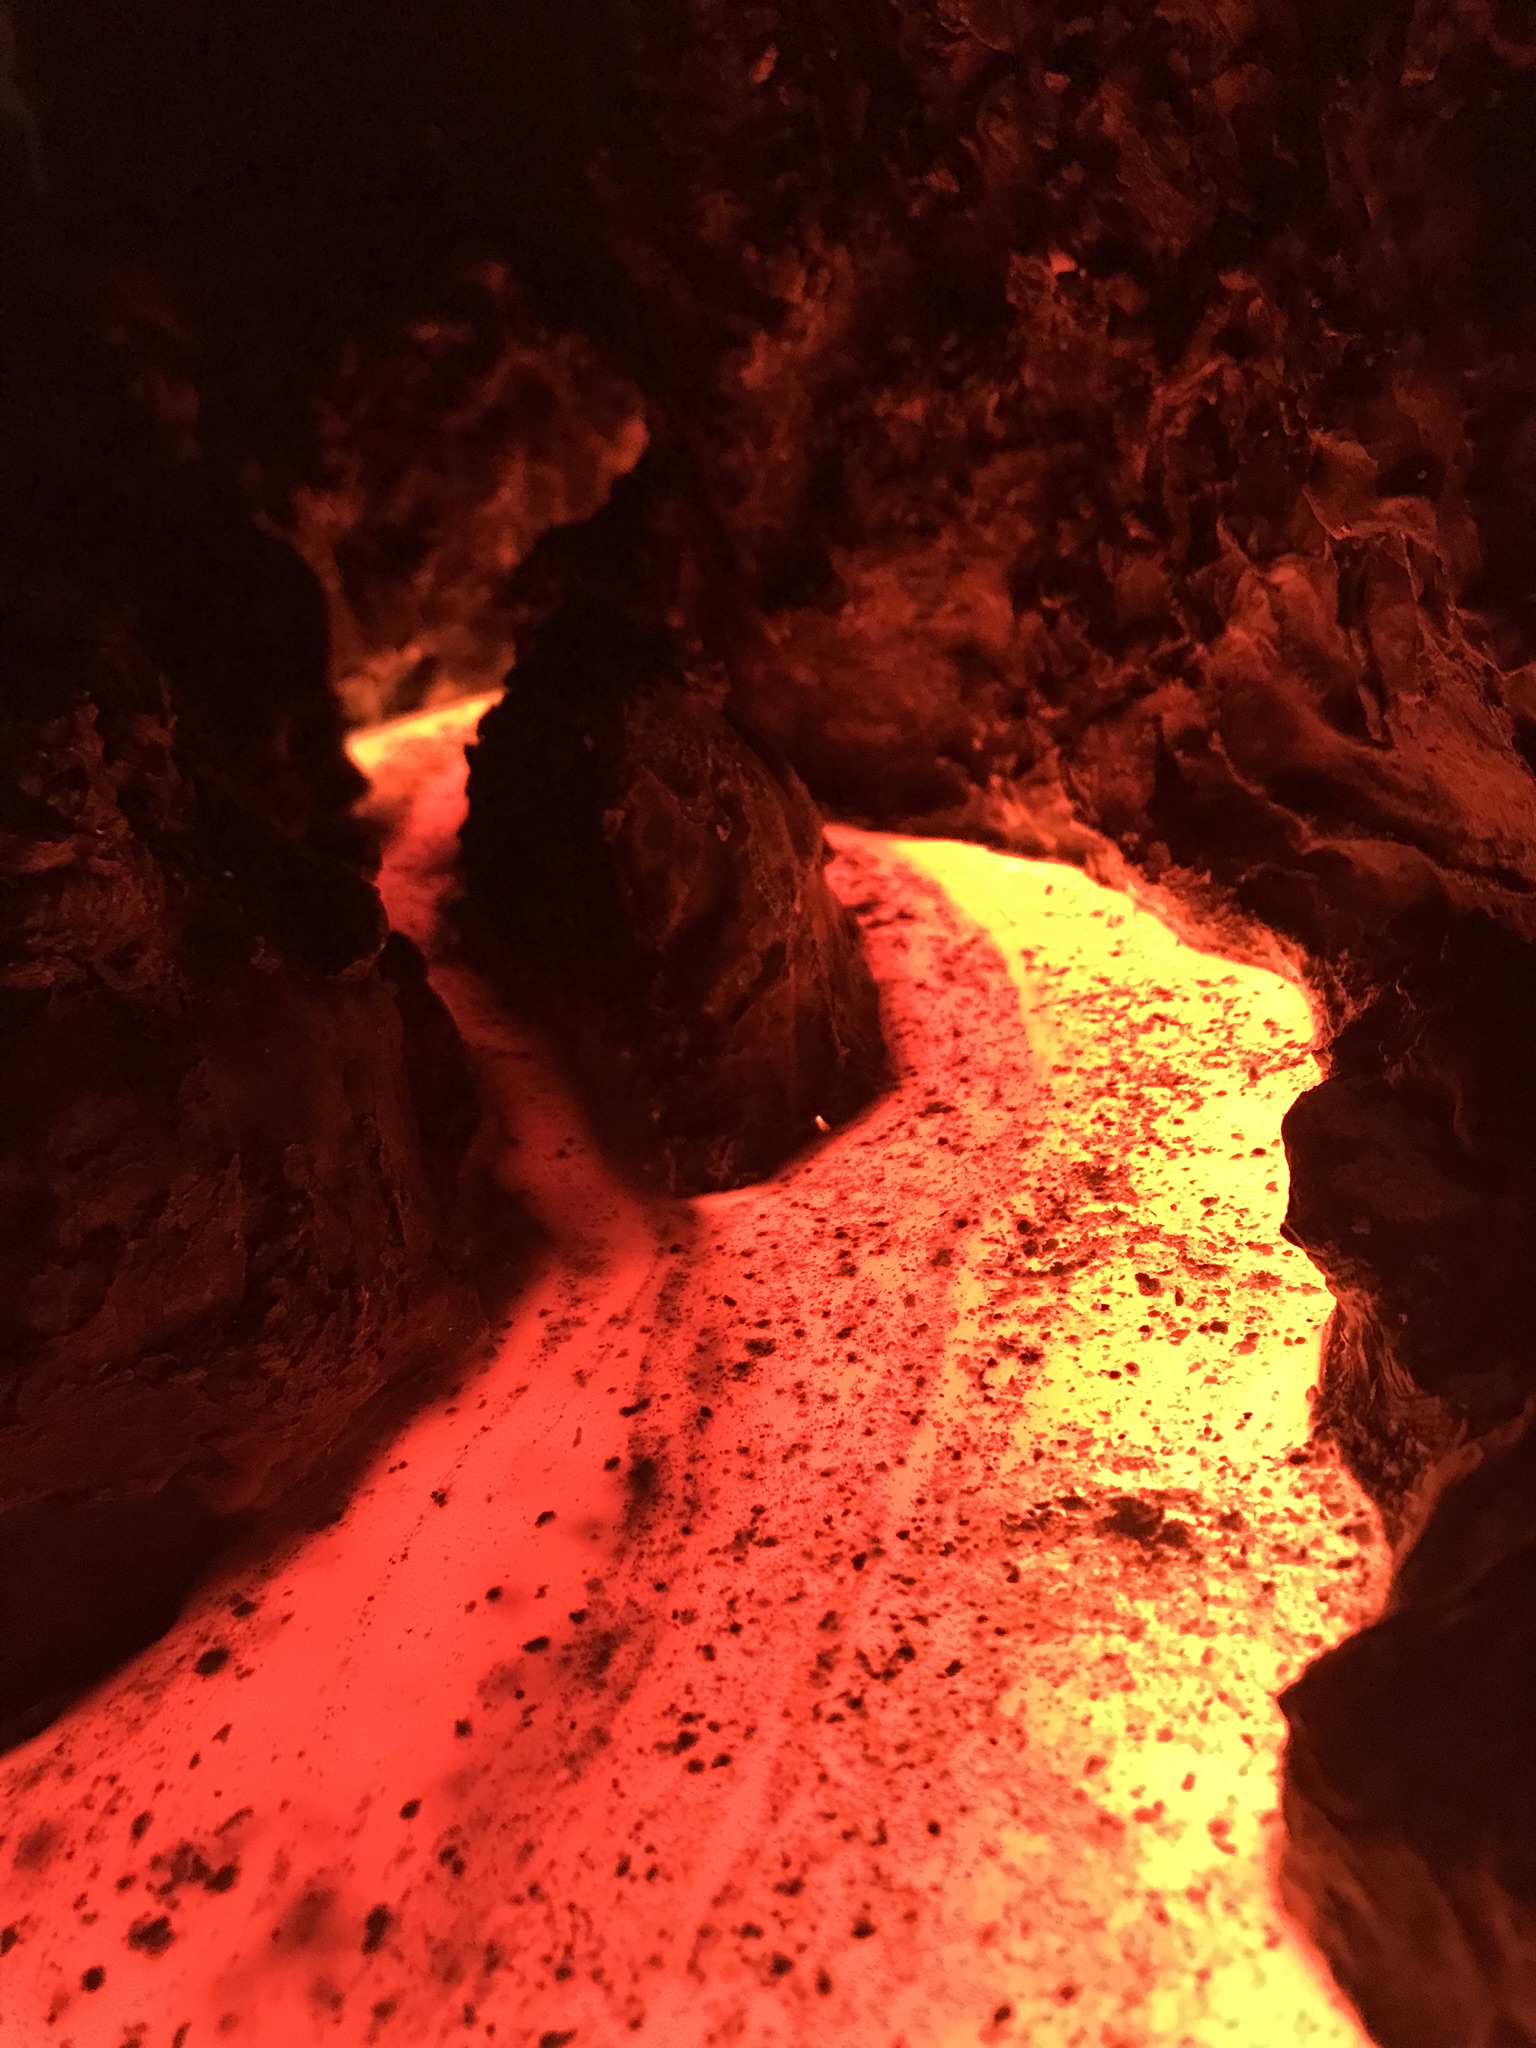
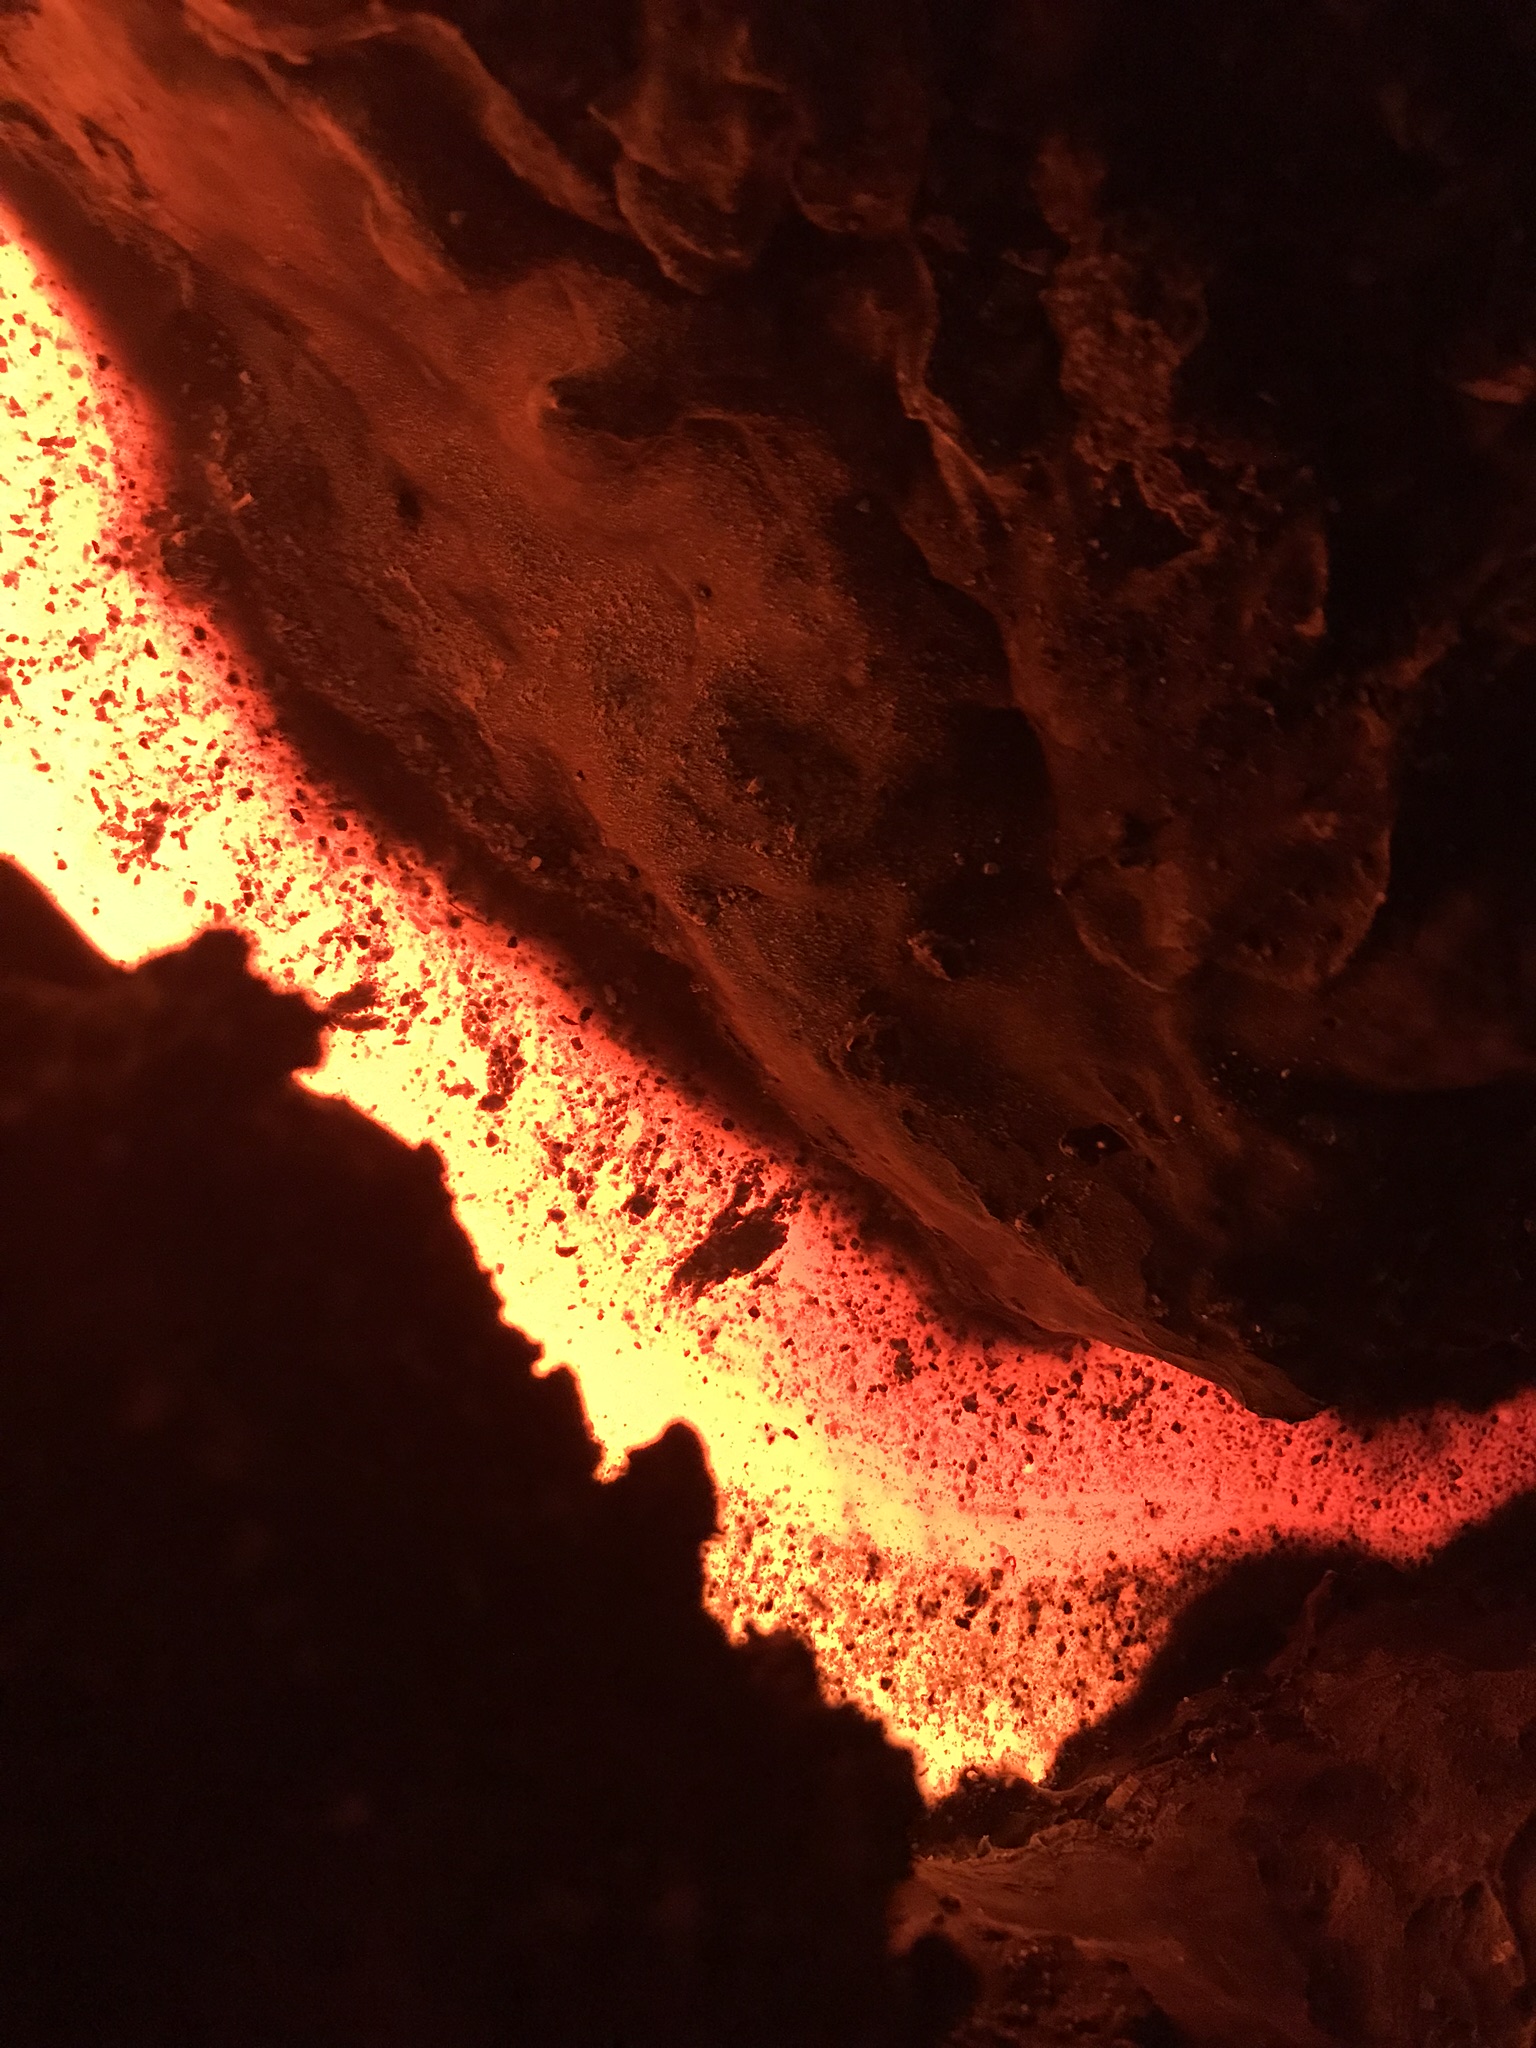
Creating the Rocks
This was one of the most fun things I have ever done.
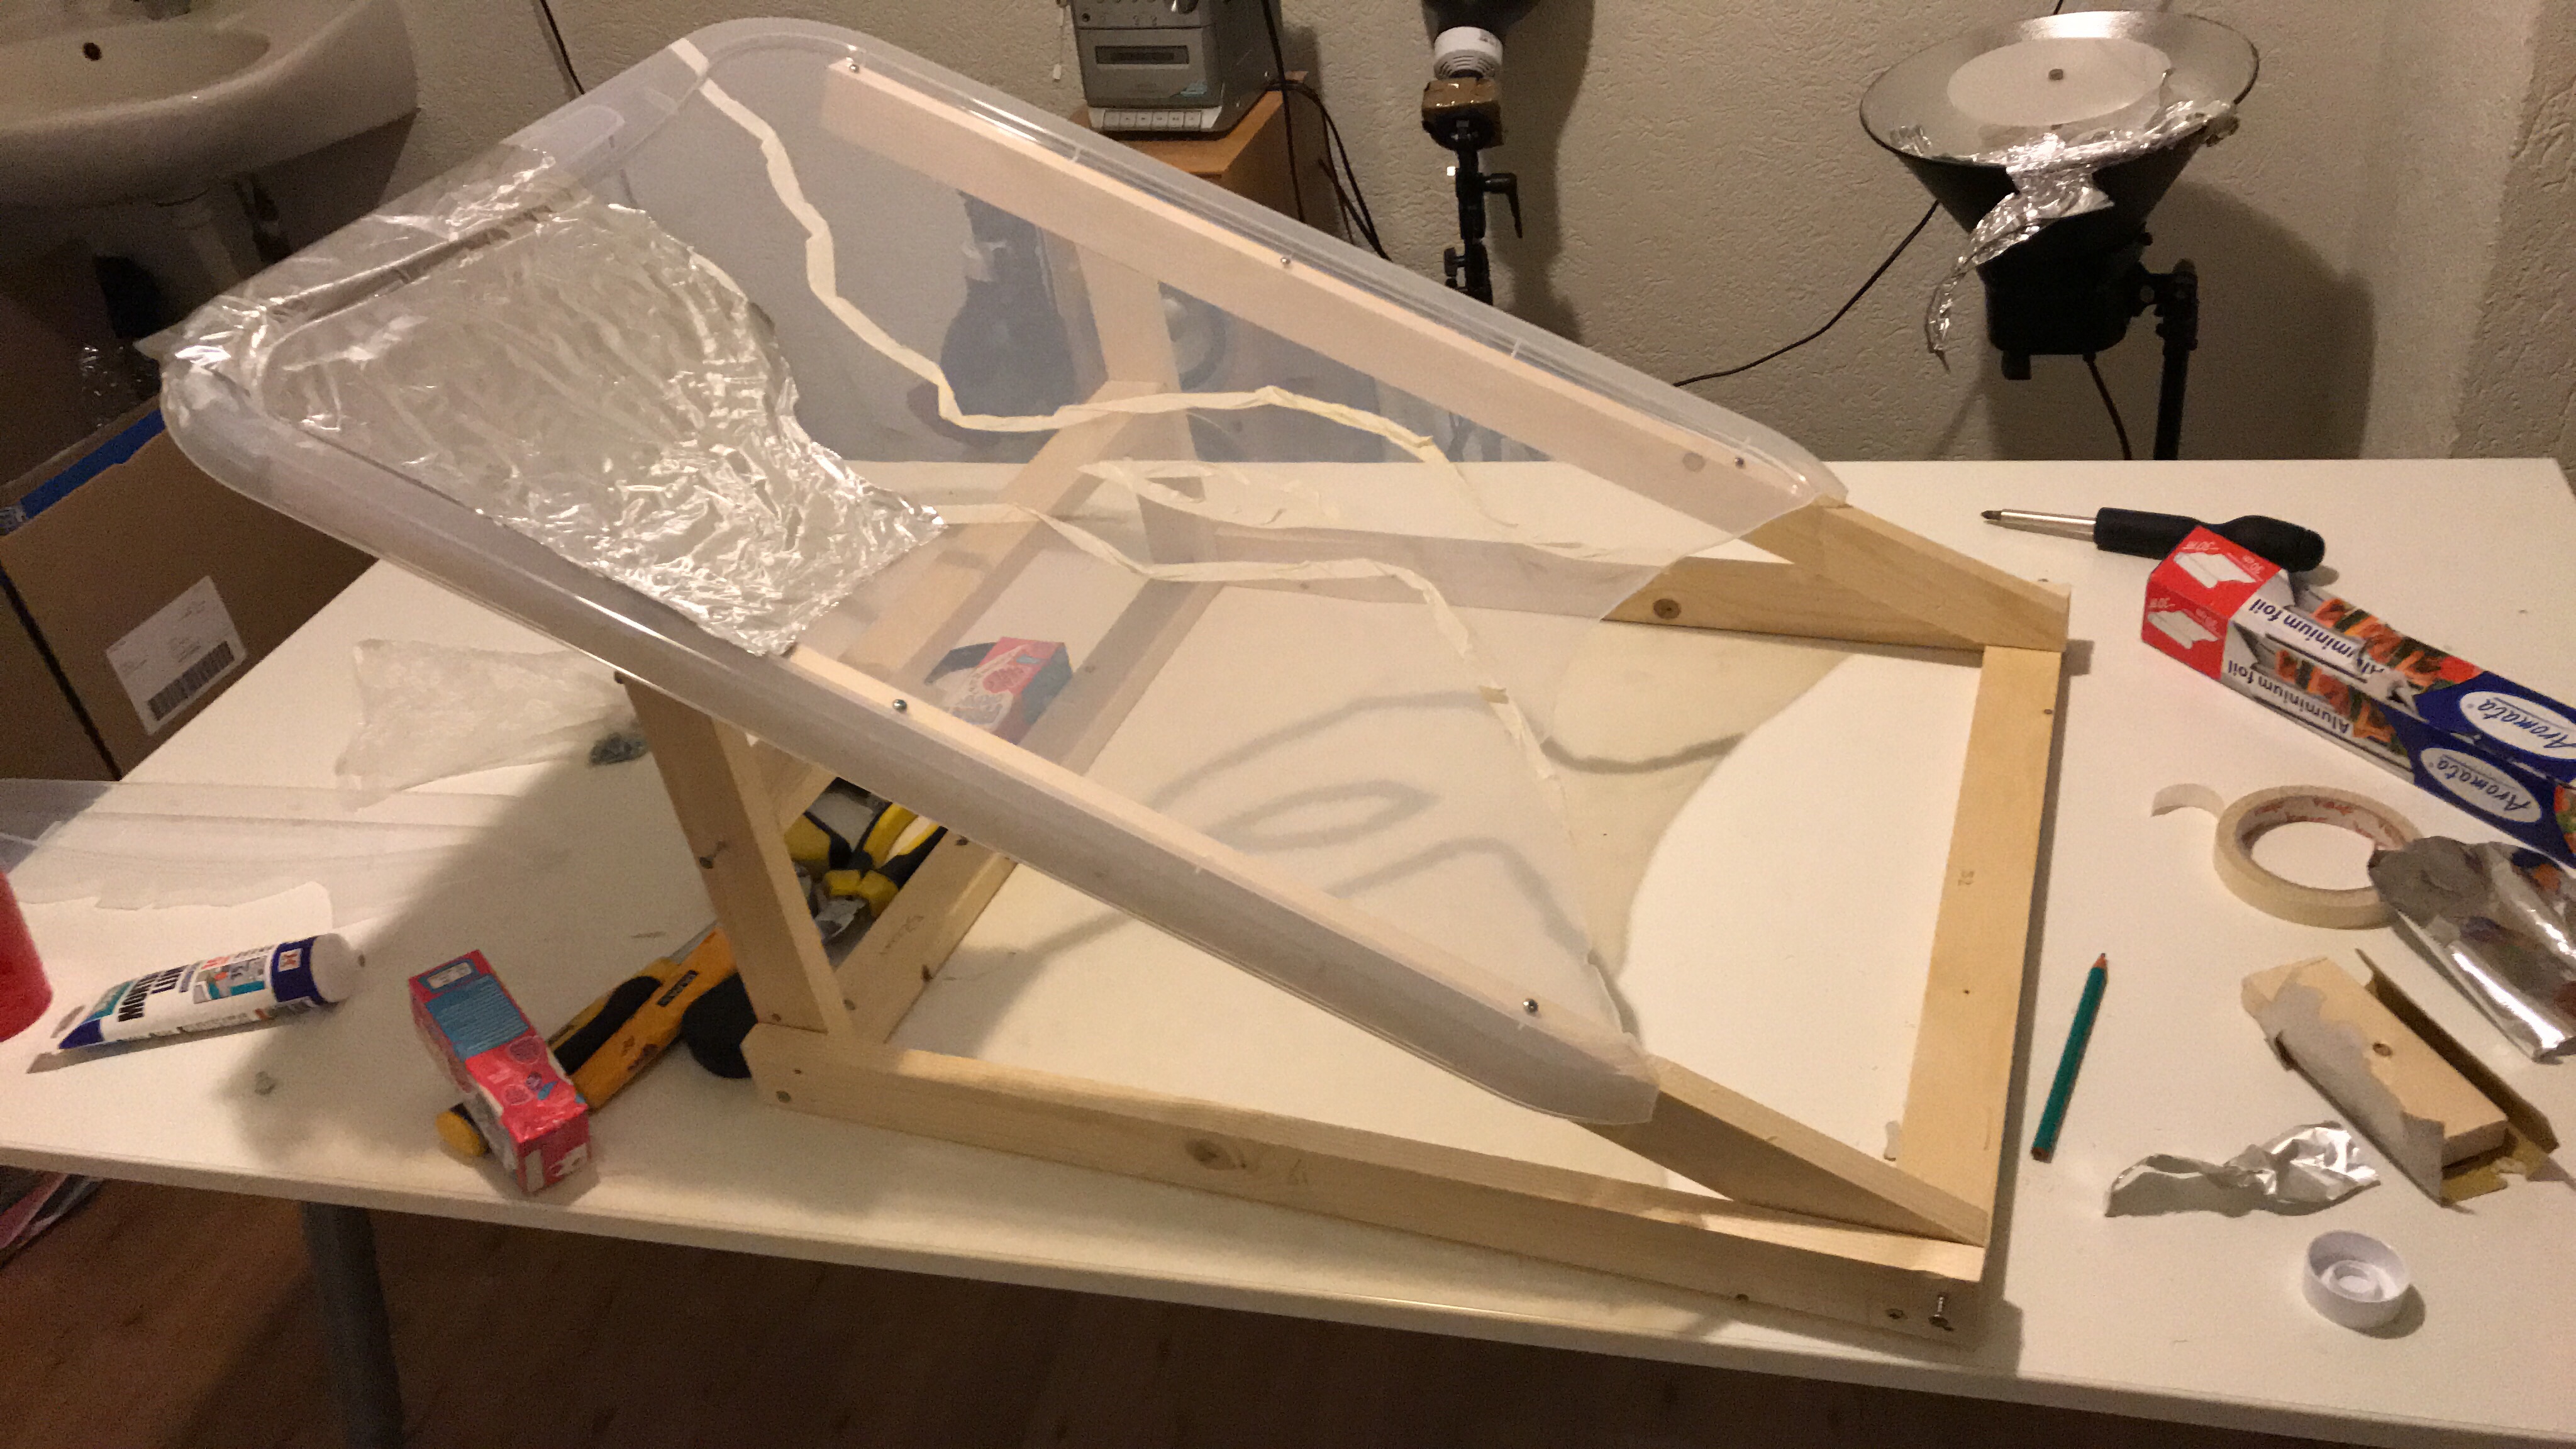
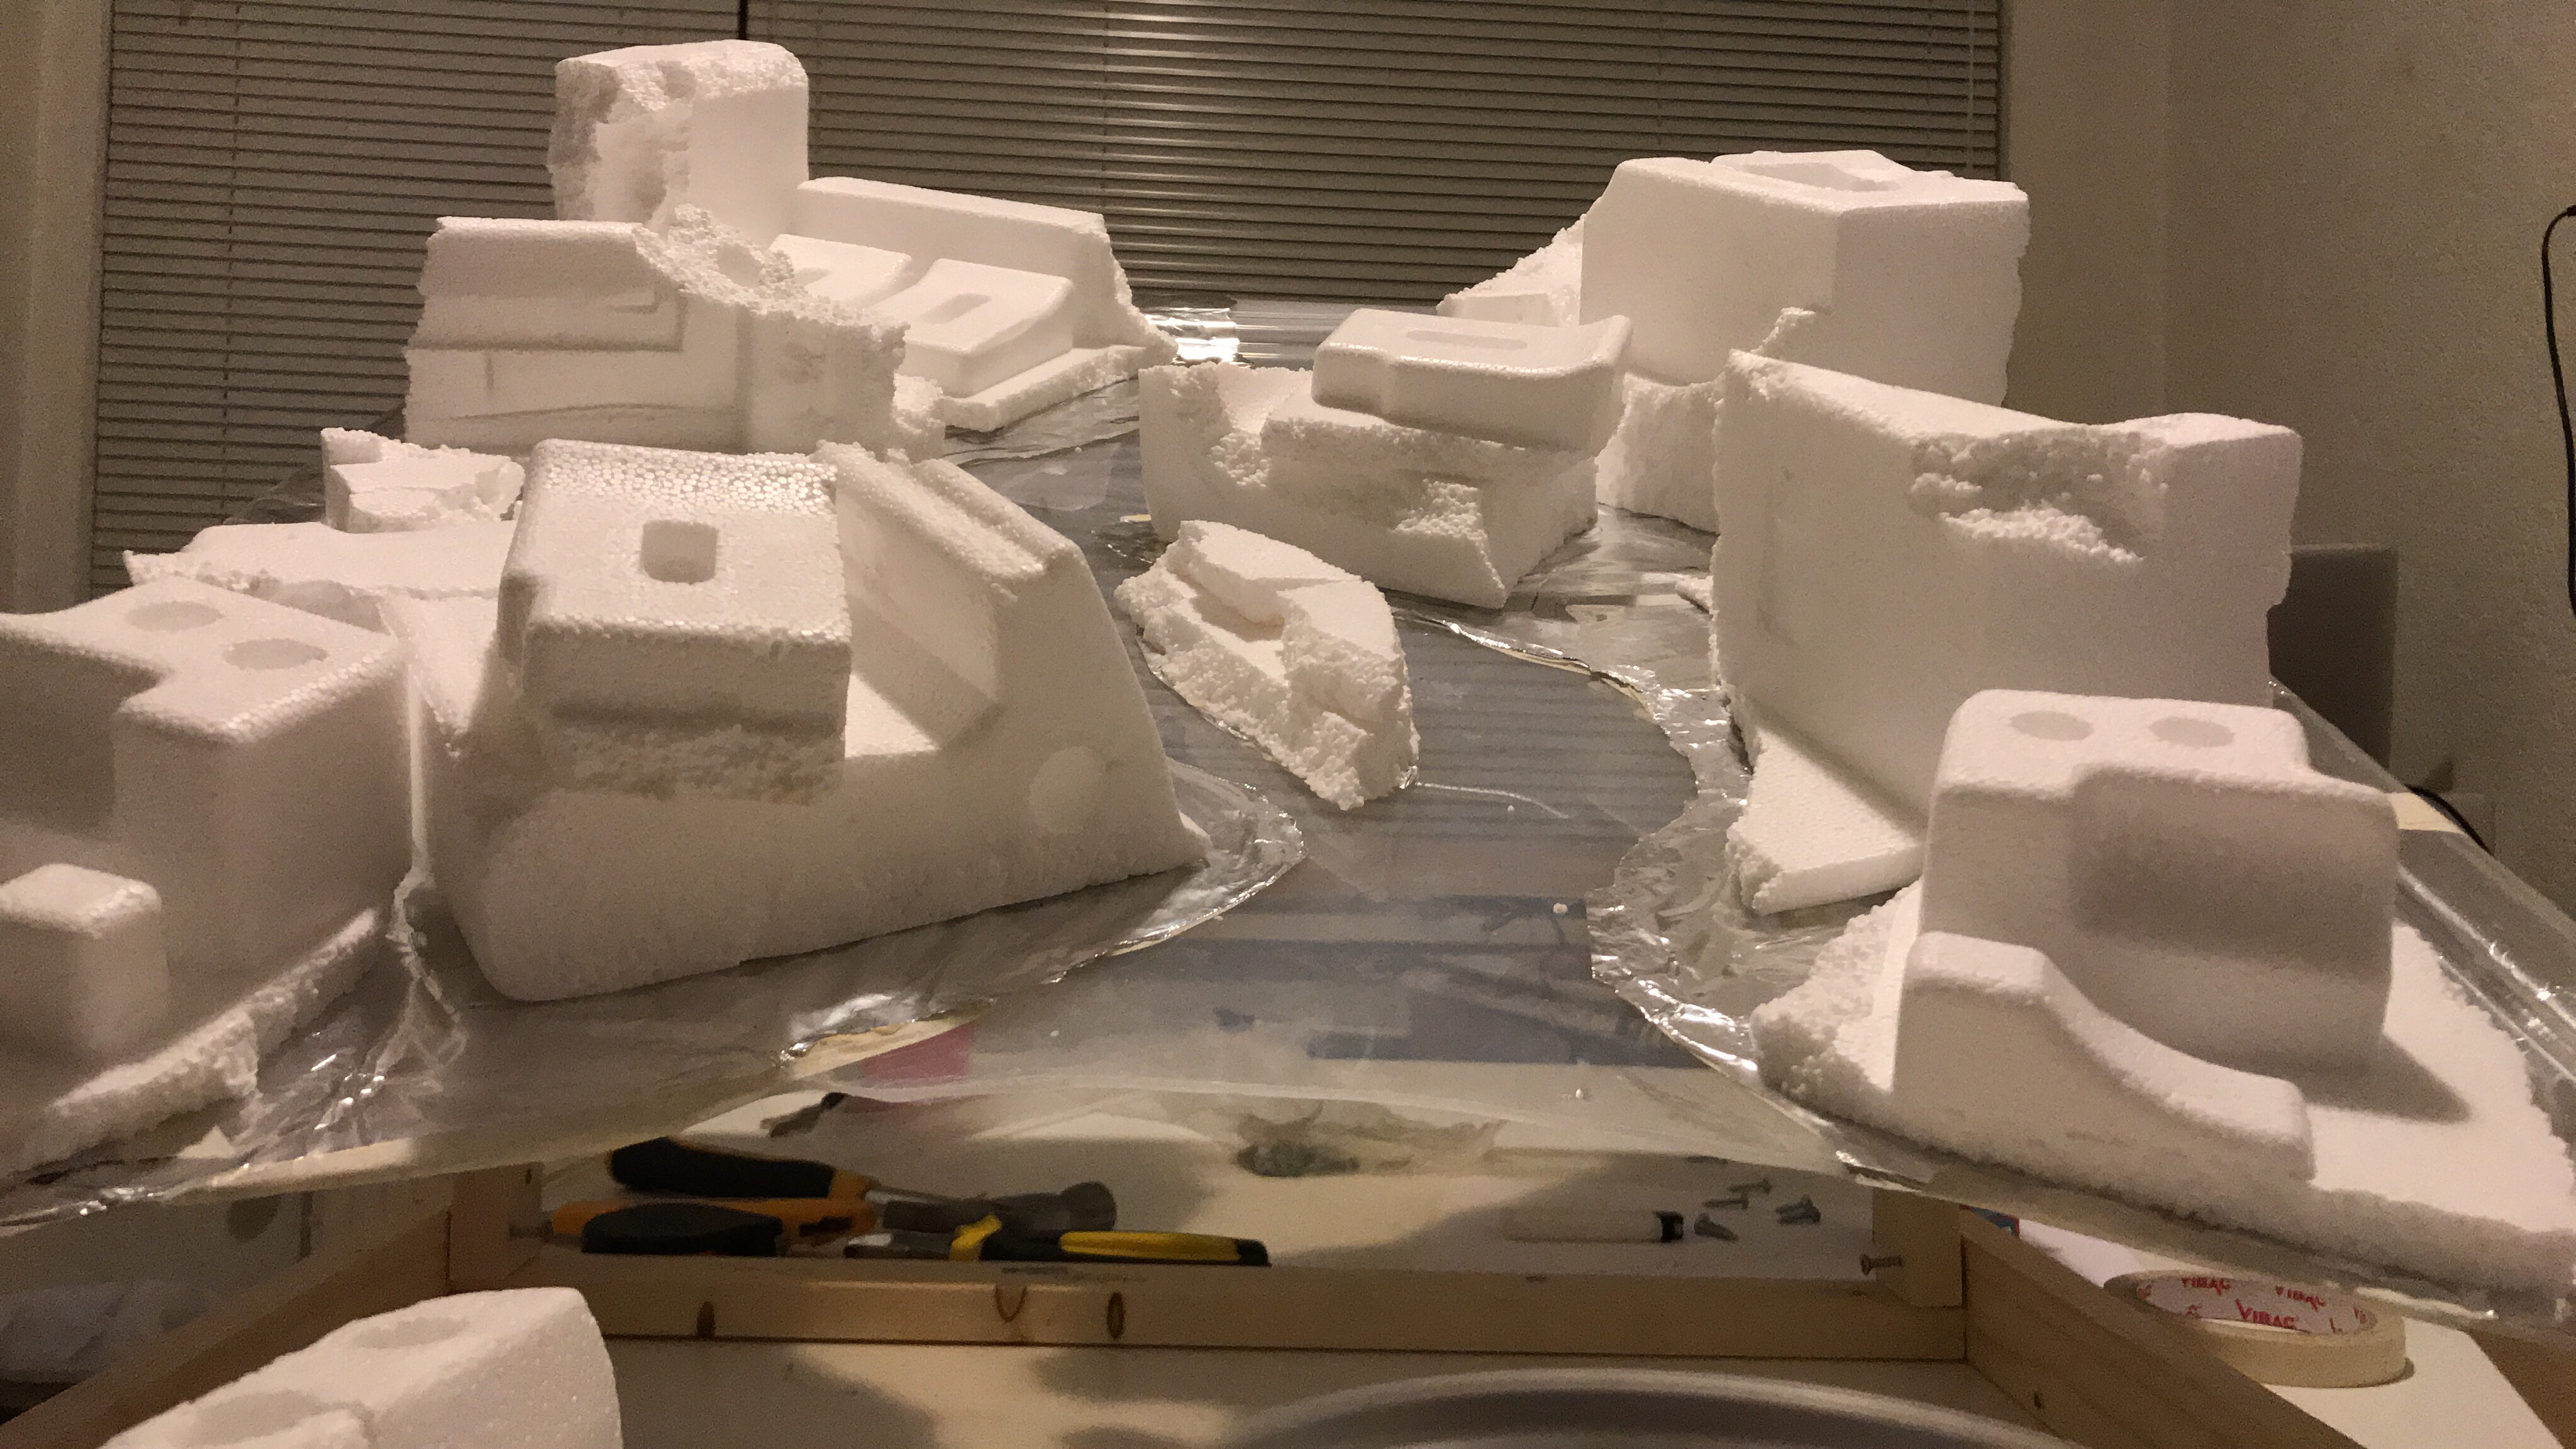
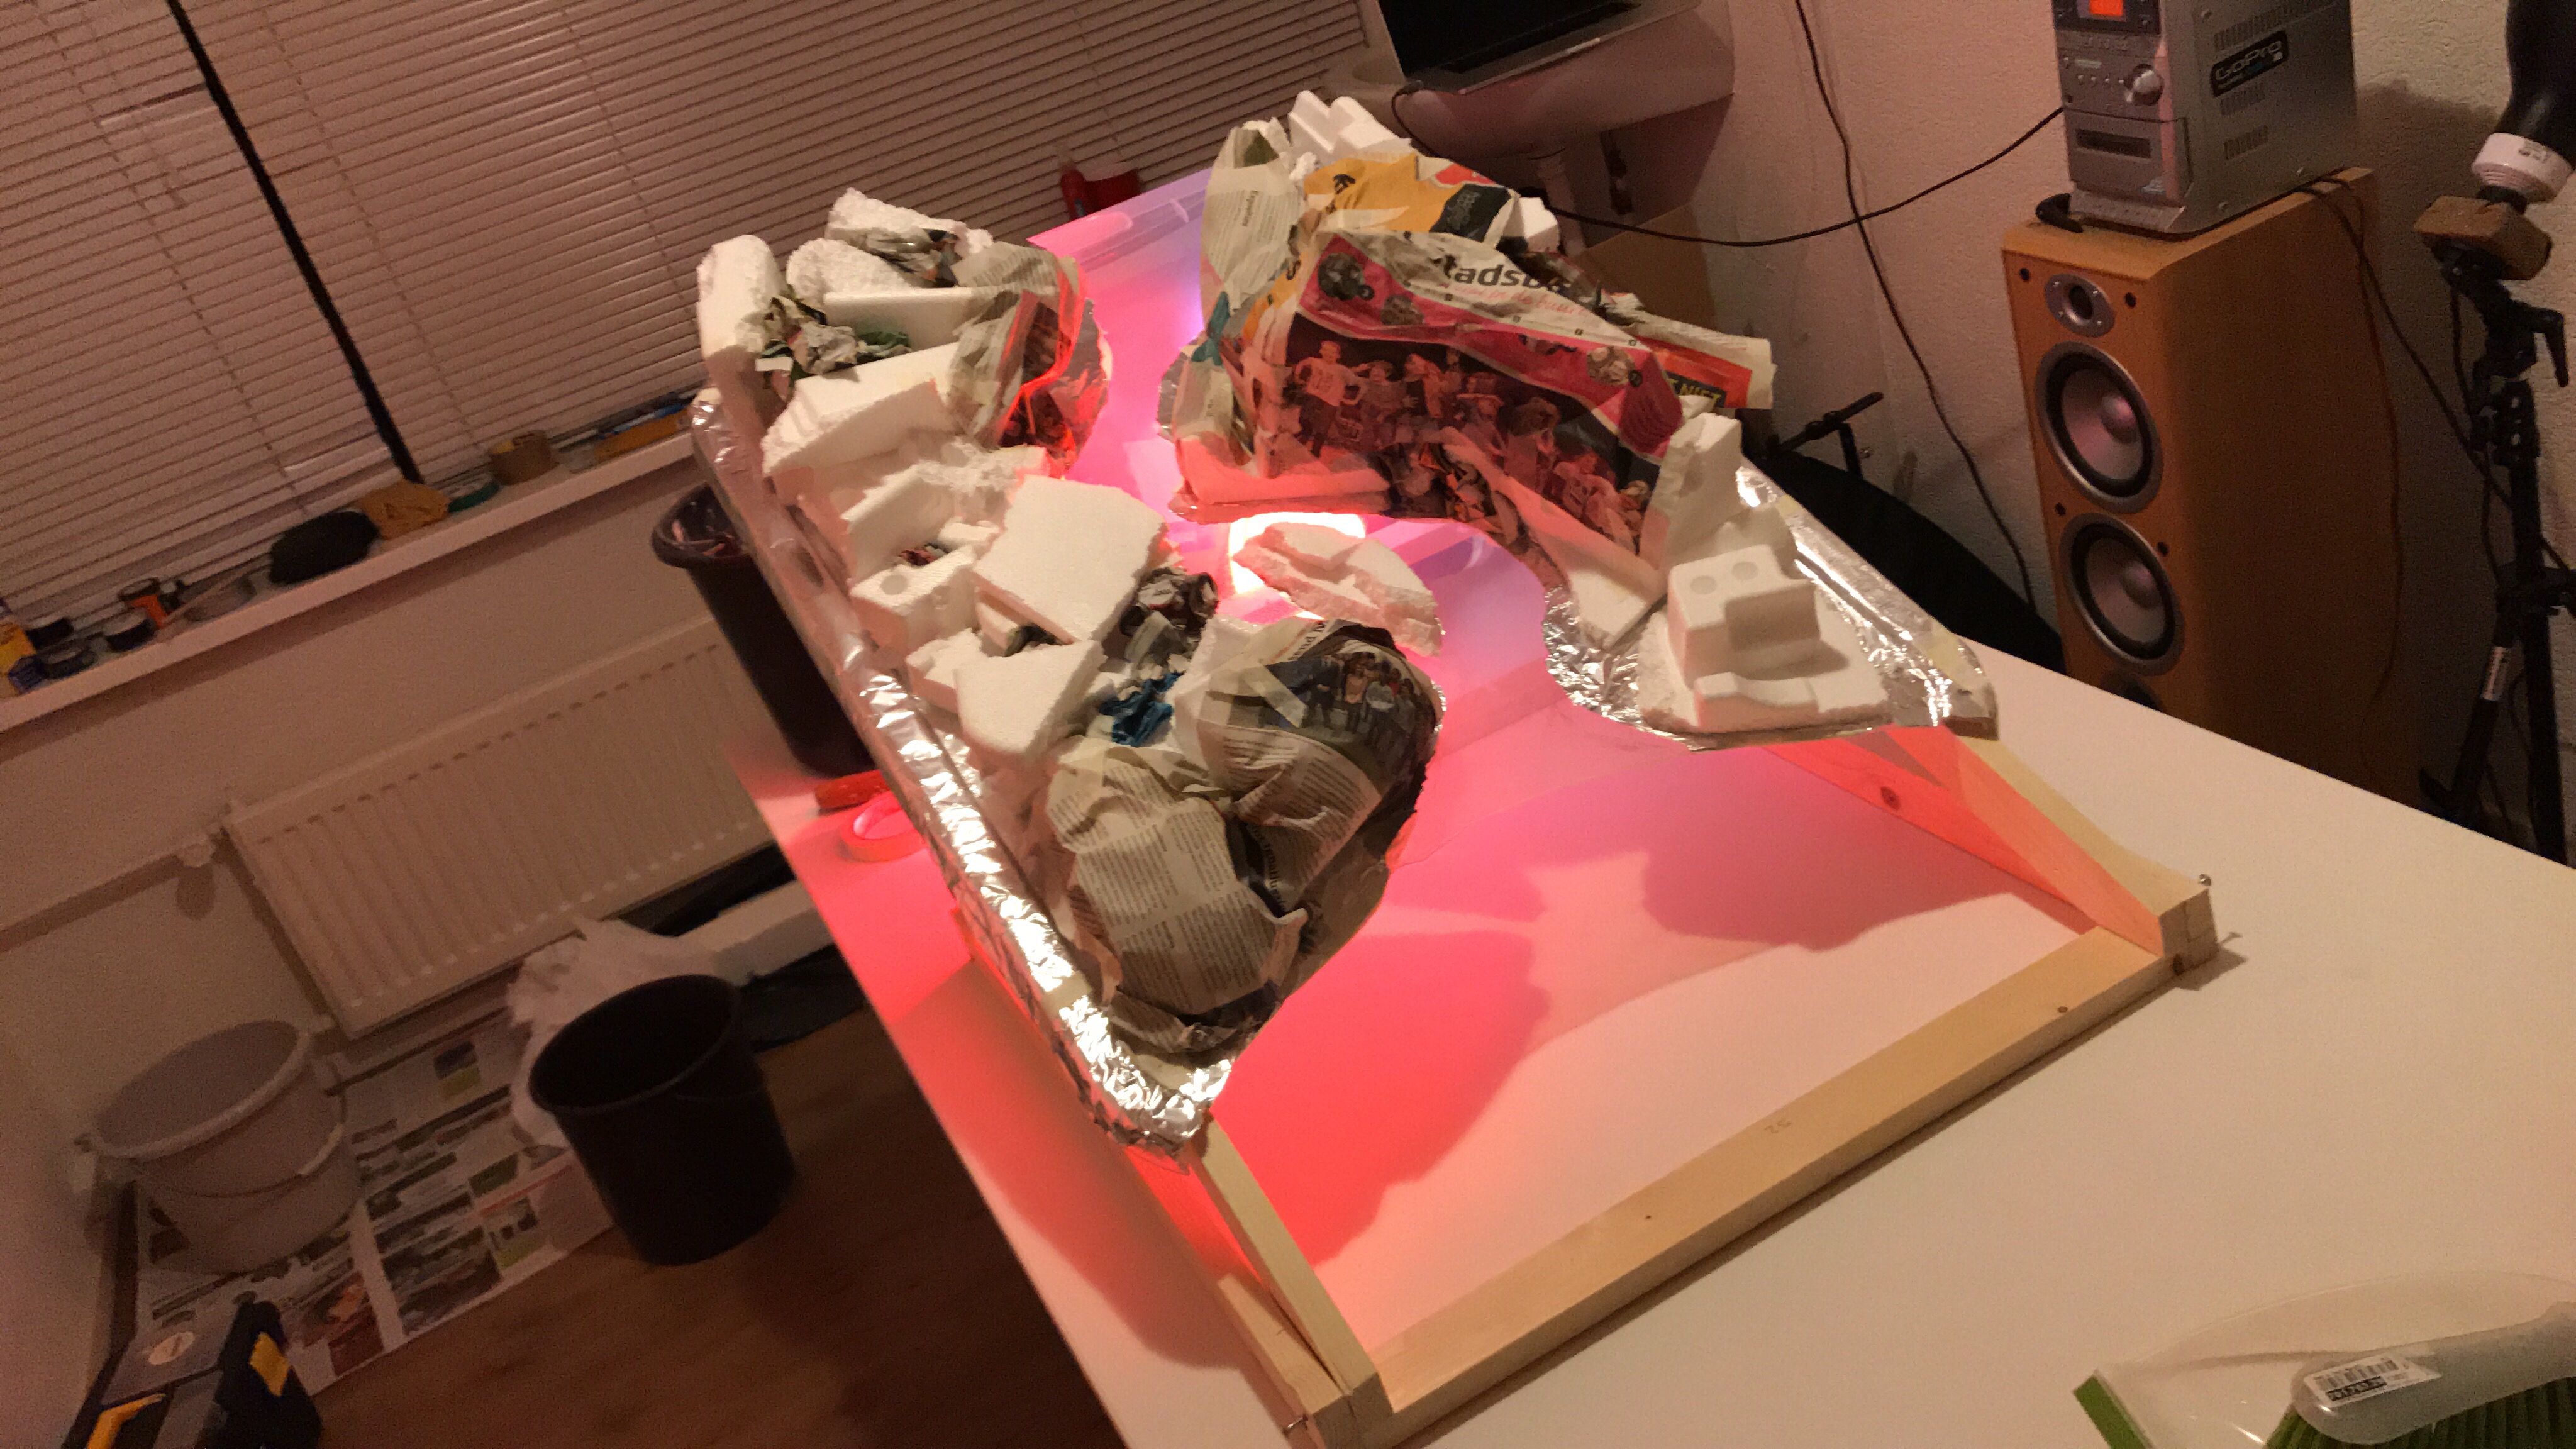
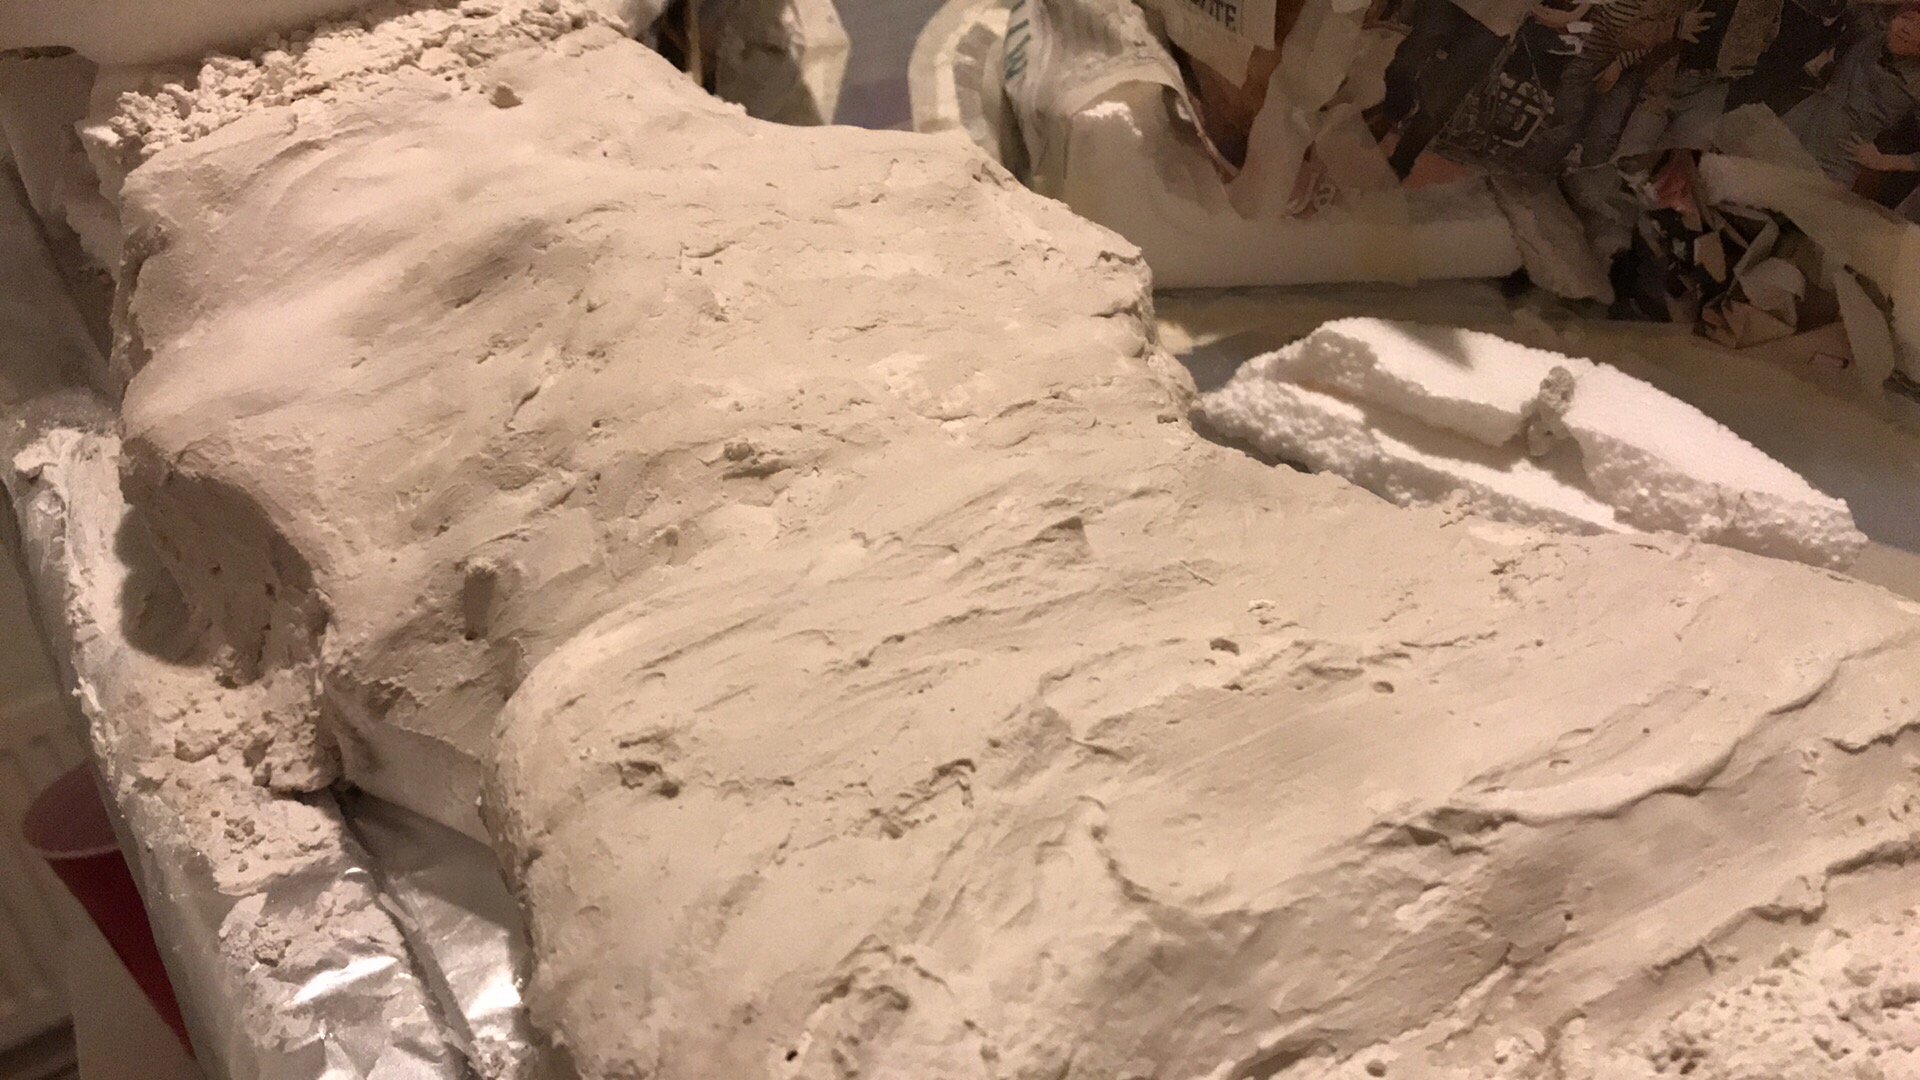
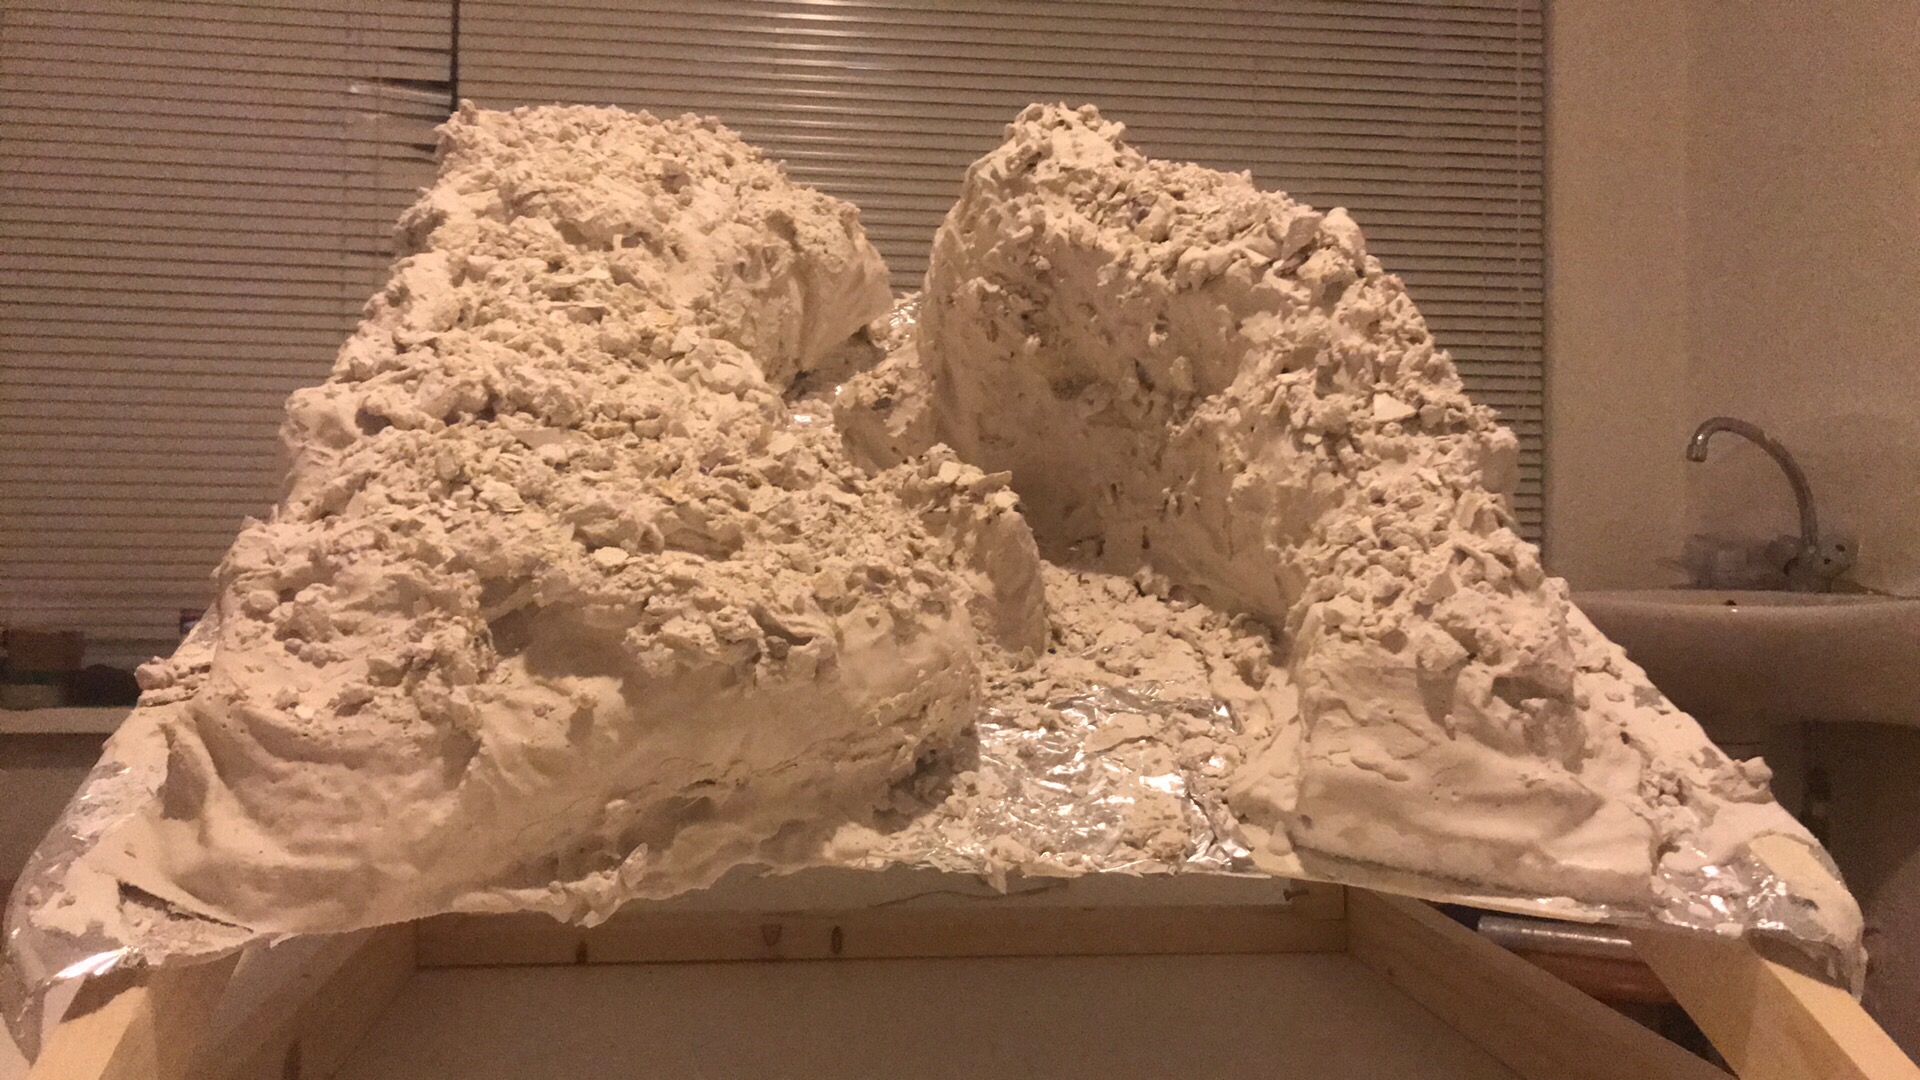
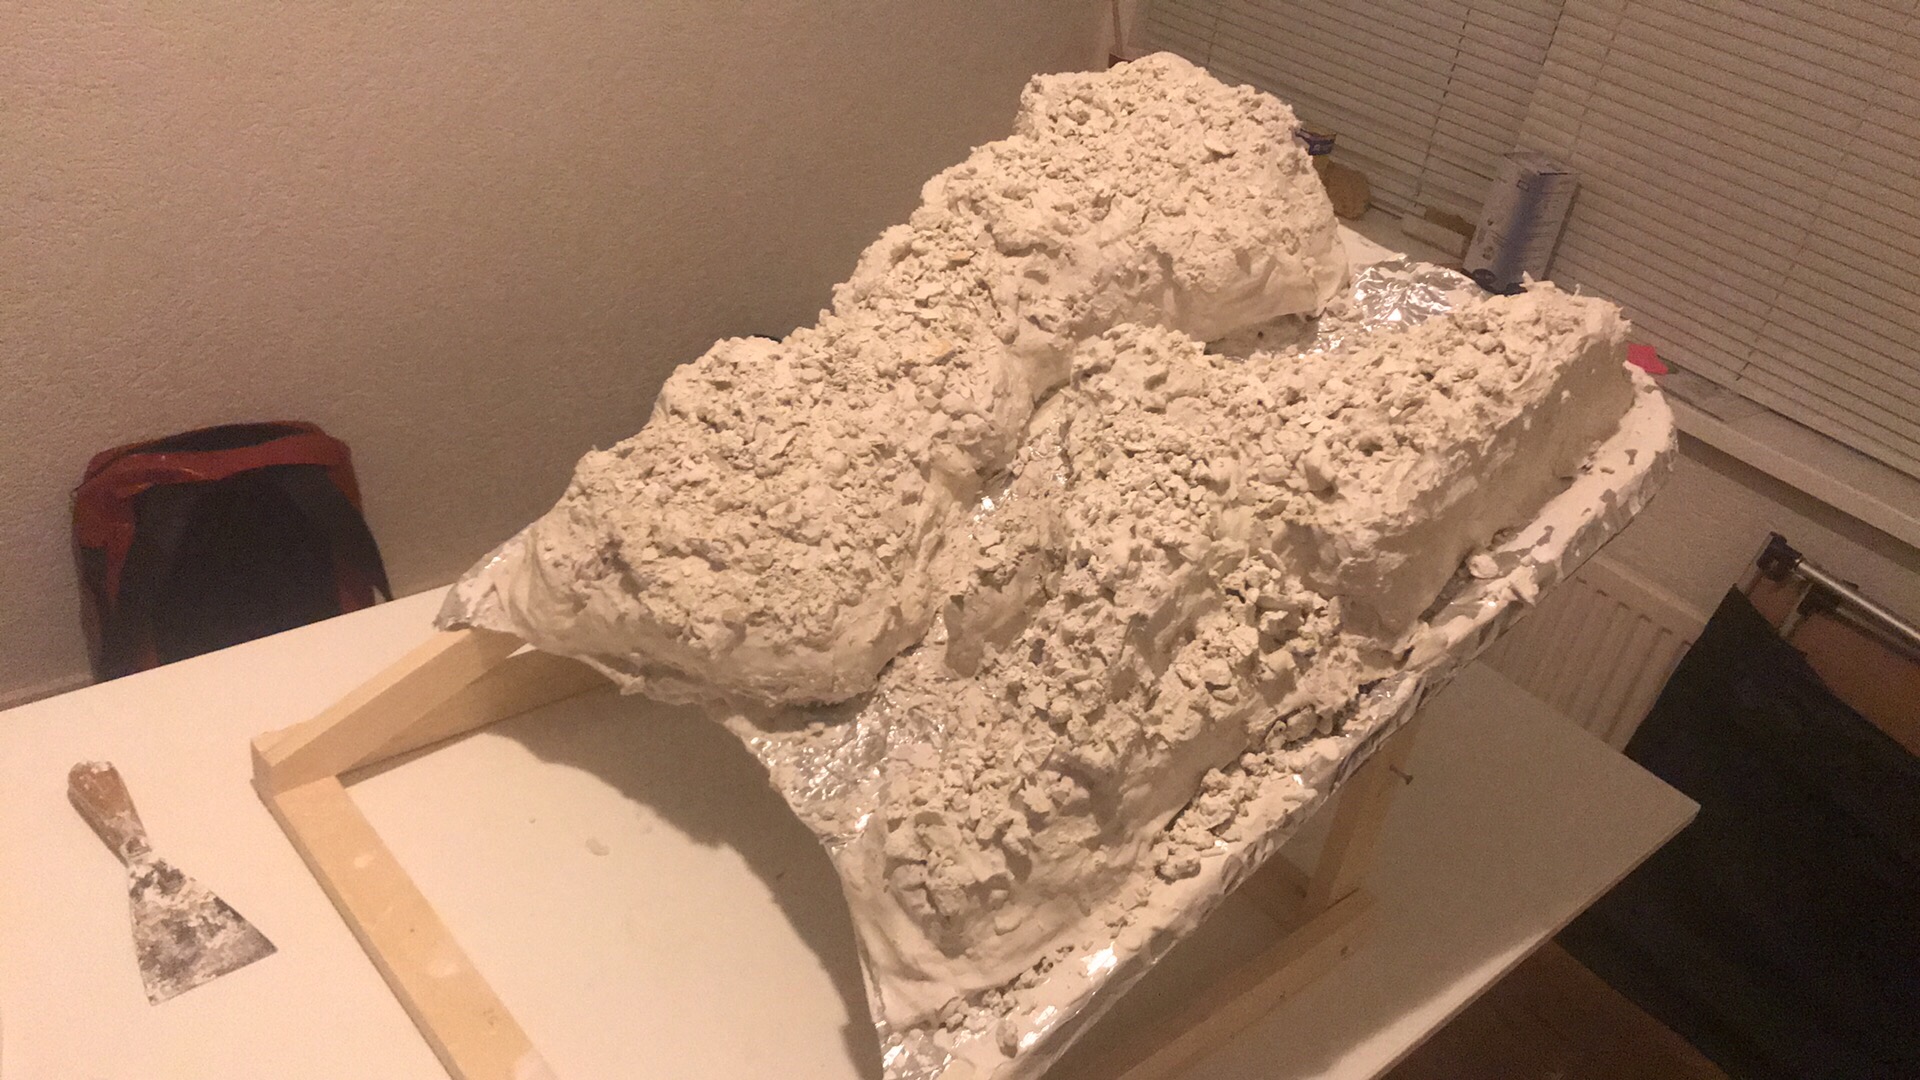
It was a simple beam construction with a cut out plastic cover which I screwed into the wooden beams. After I was done I drew where I wanted the Lava to flow. Then I pasted some tin-foil onto the spots where no lights should see through. When that dried up I pasted some plastic foam onto the surface an stacked and glued them like mountains. Now it was time for the newpapers to be cut up and to be glued on top of the foam mountain. When that was drying I got some cast and some cast wraps and wrapped the entire thing. Lastly pored the rest of the plaster on top and smoothed it out a little bit to let it dry quicker. For two final touches I added small stones and chunks of plaster and painted it like a real lava mountain with dark paint. It worked really well with a single light source underneath.

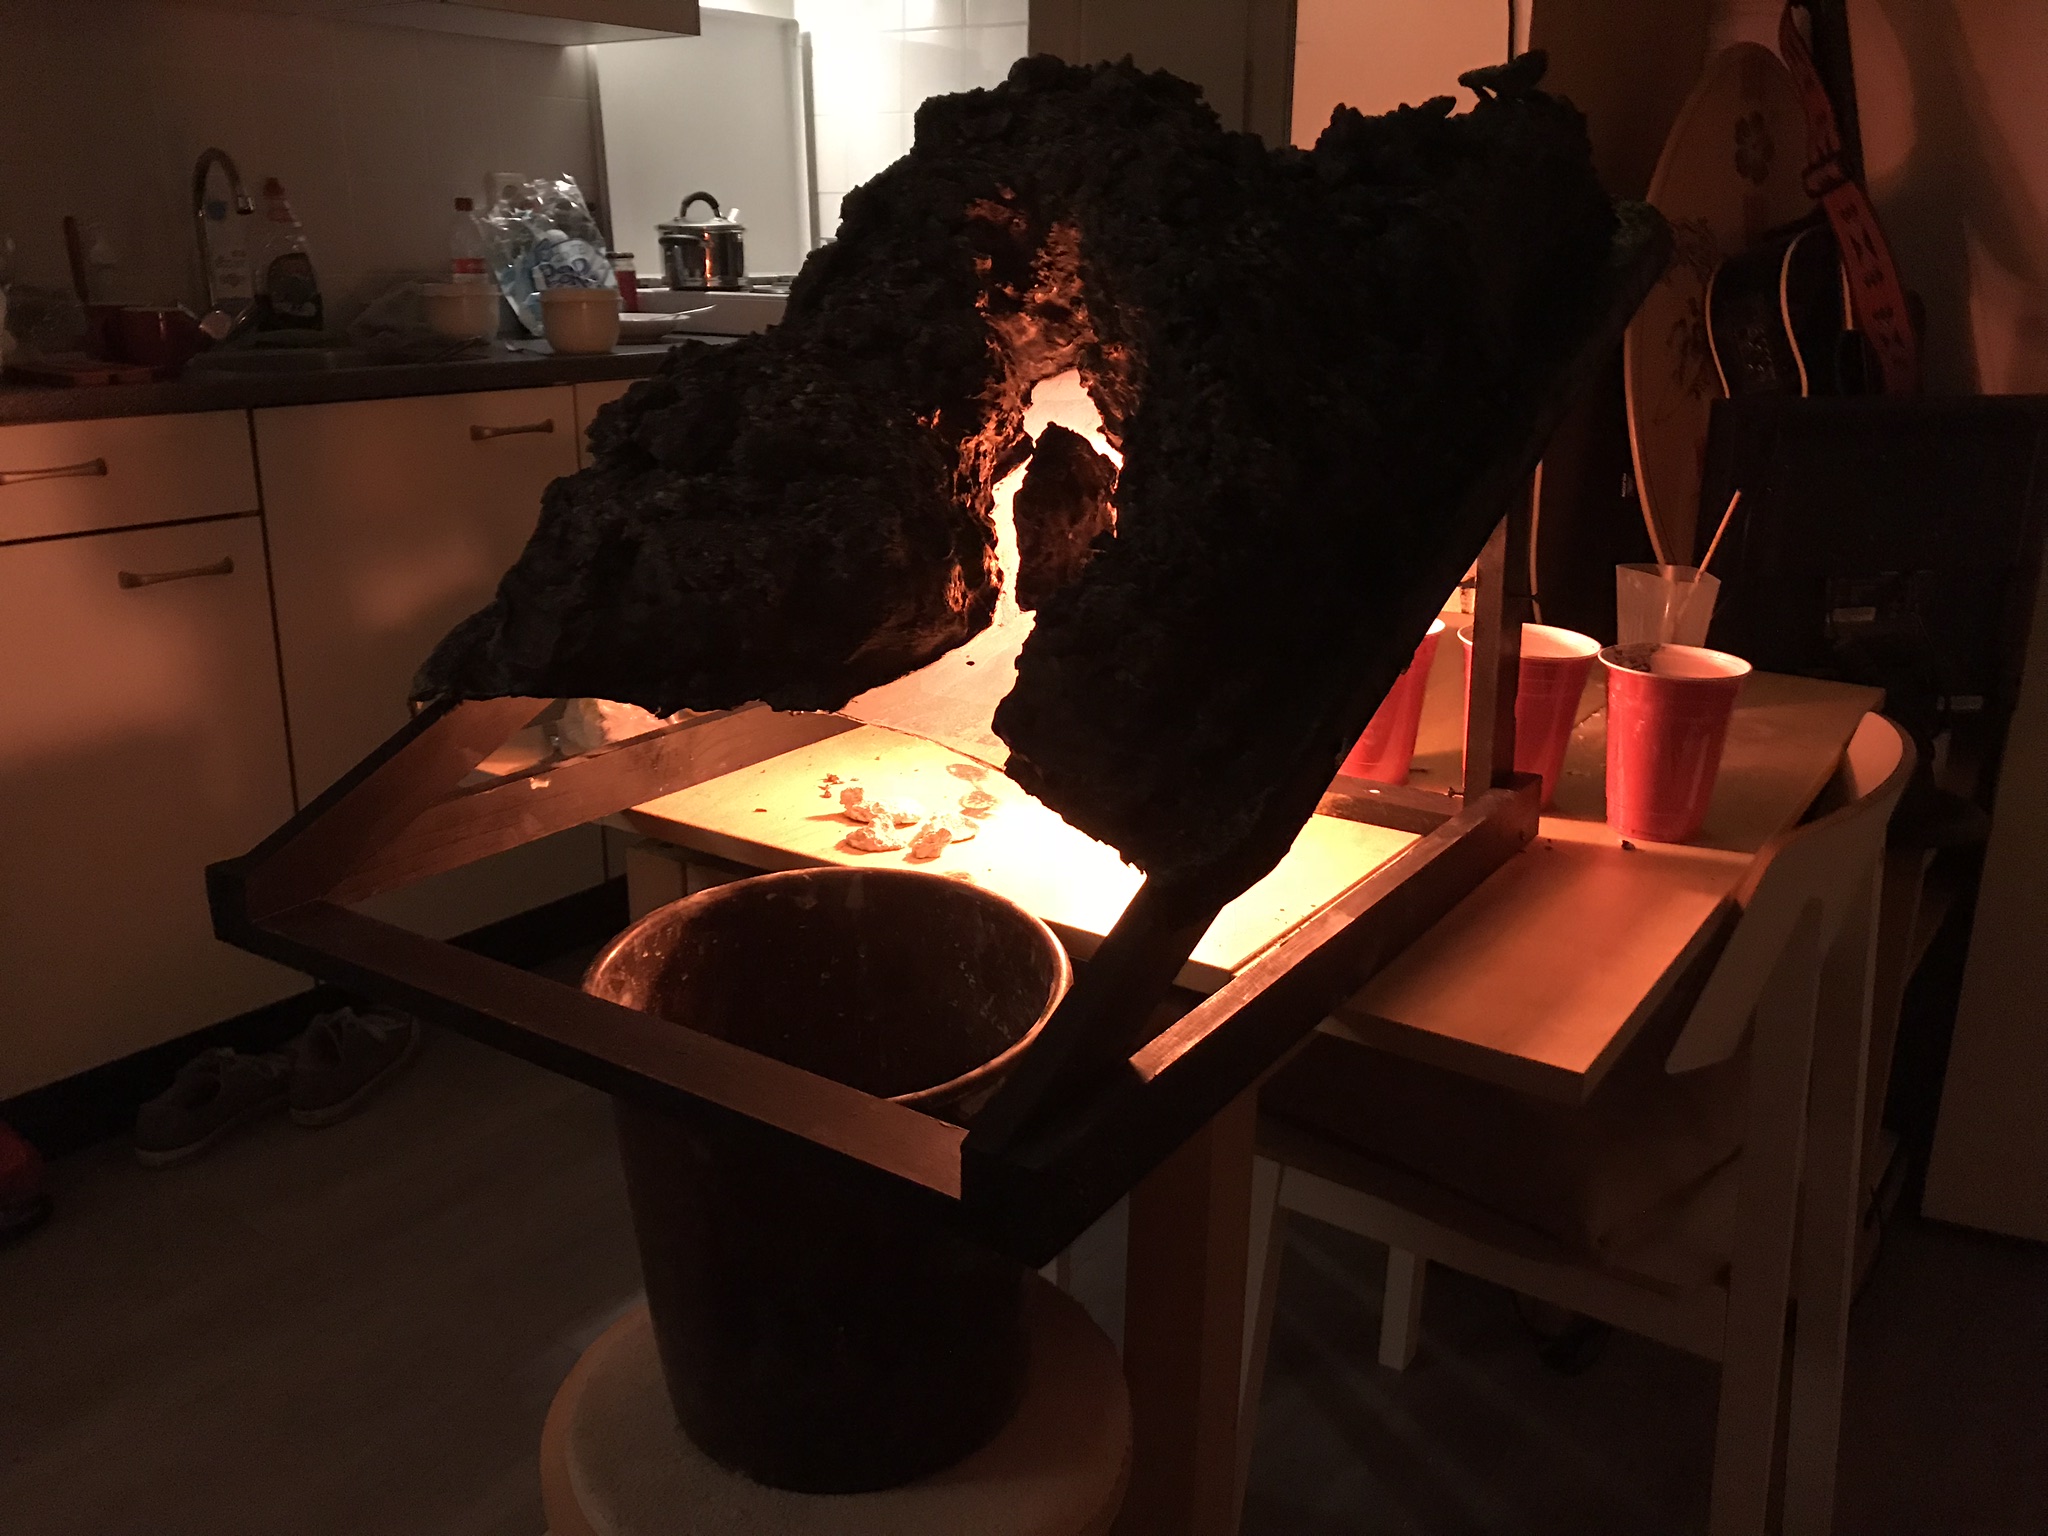
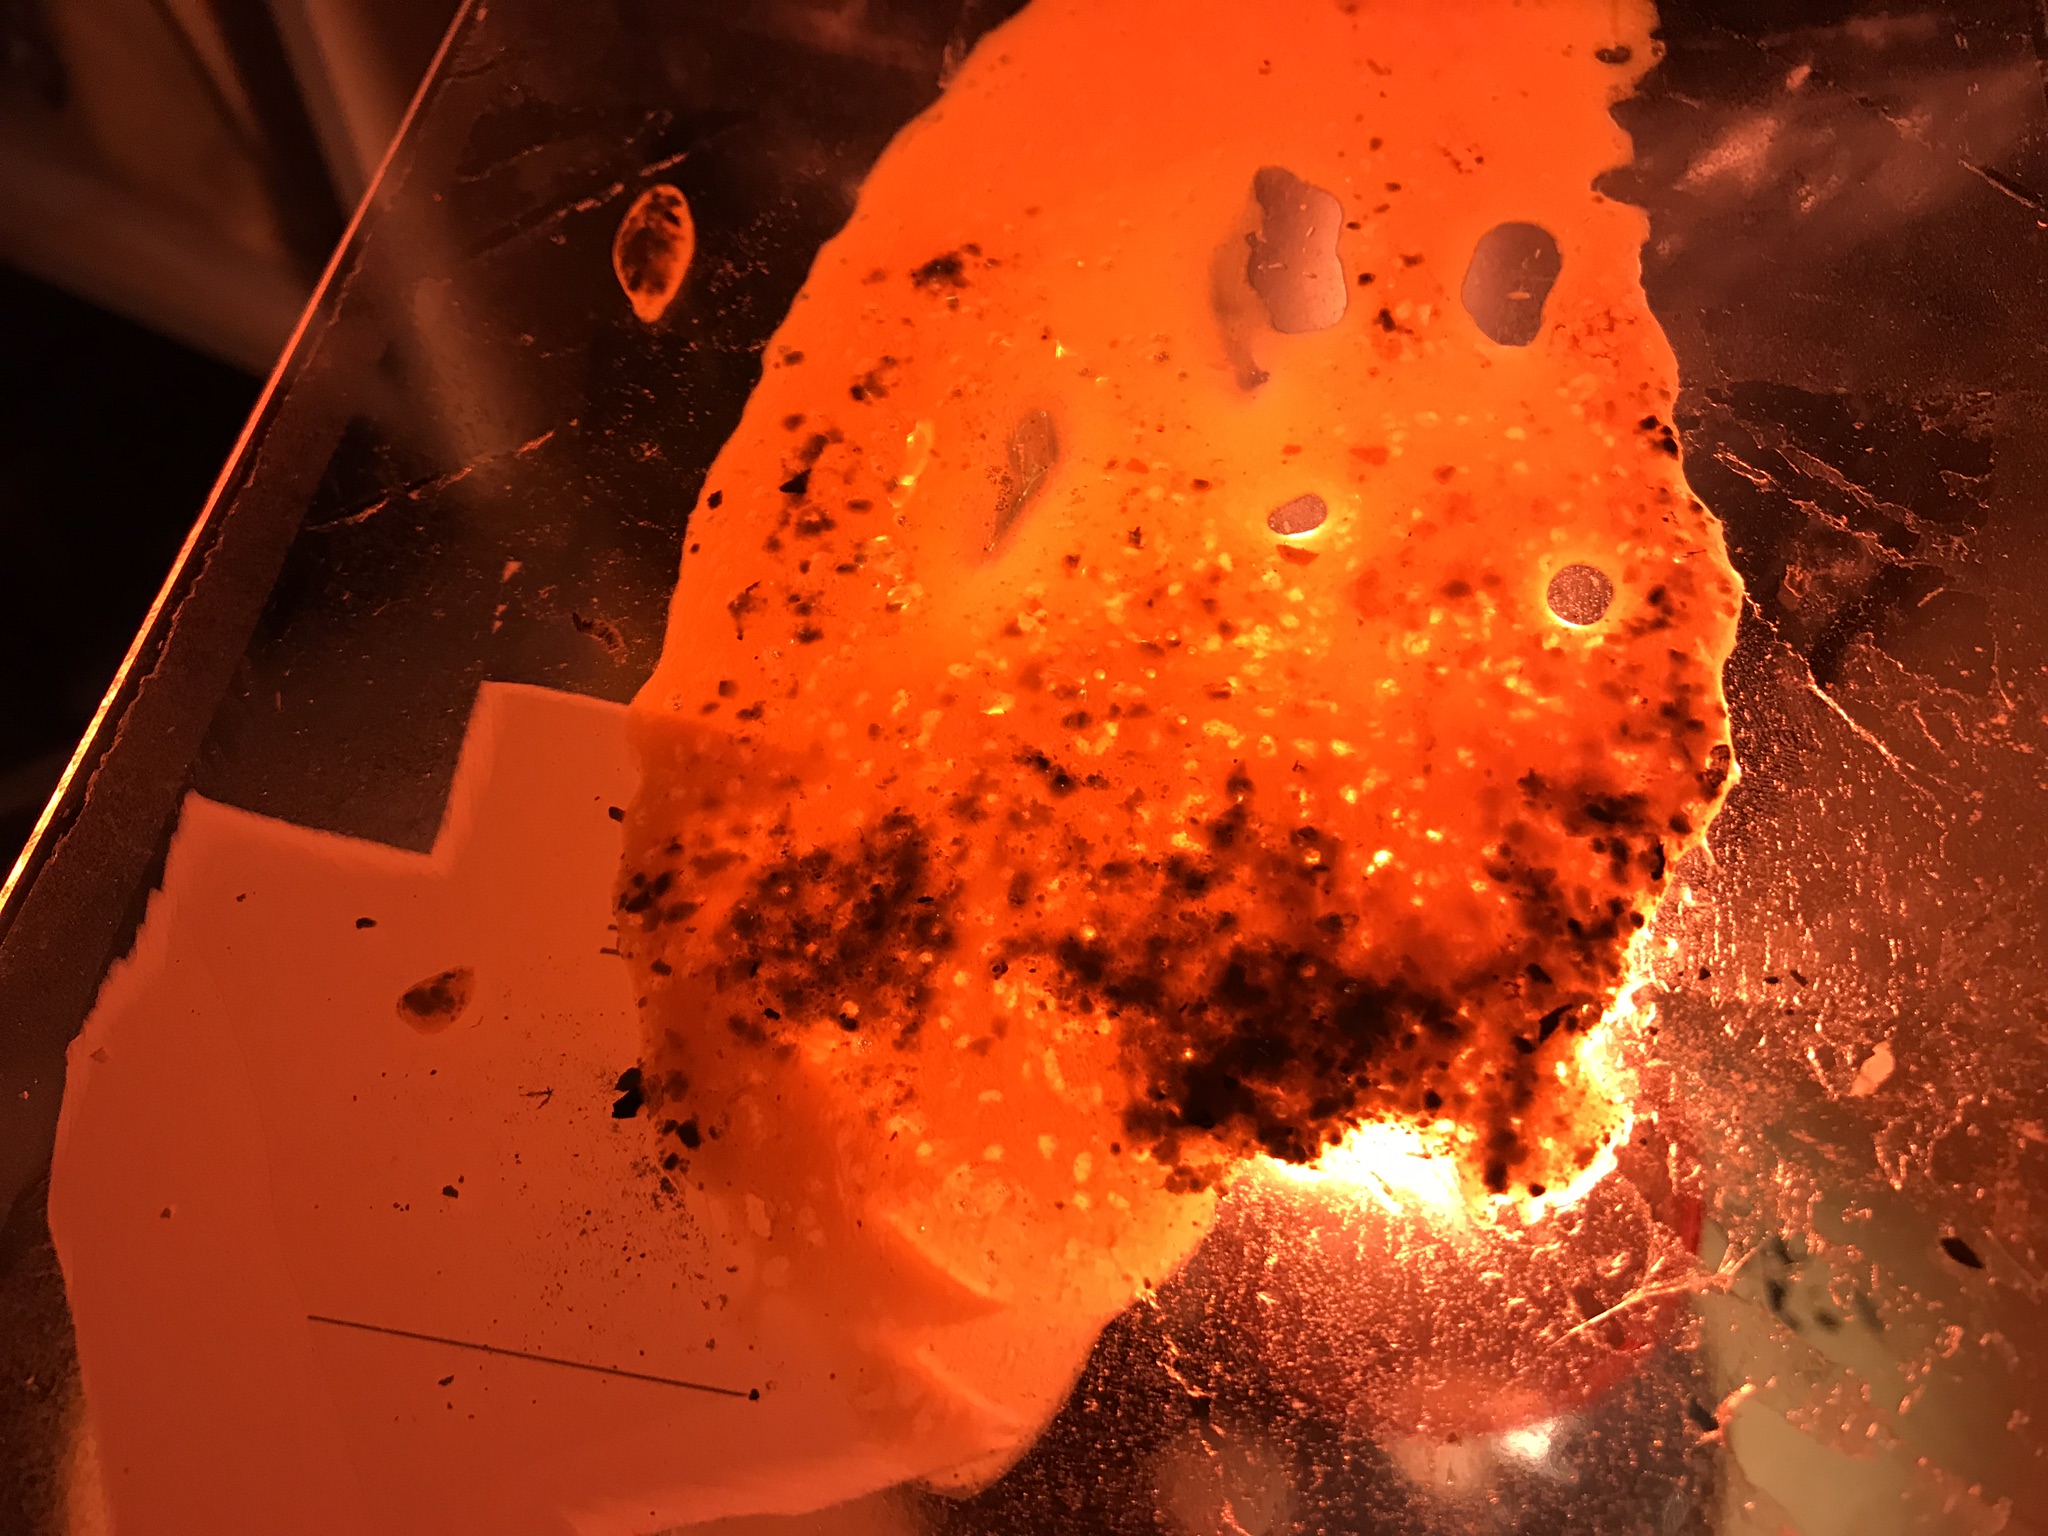
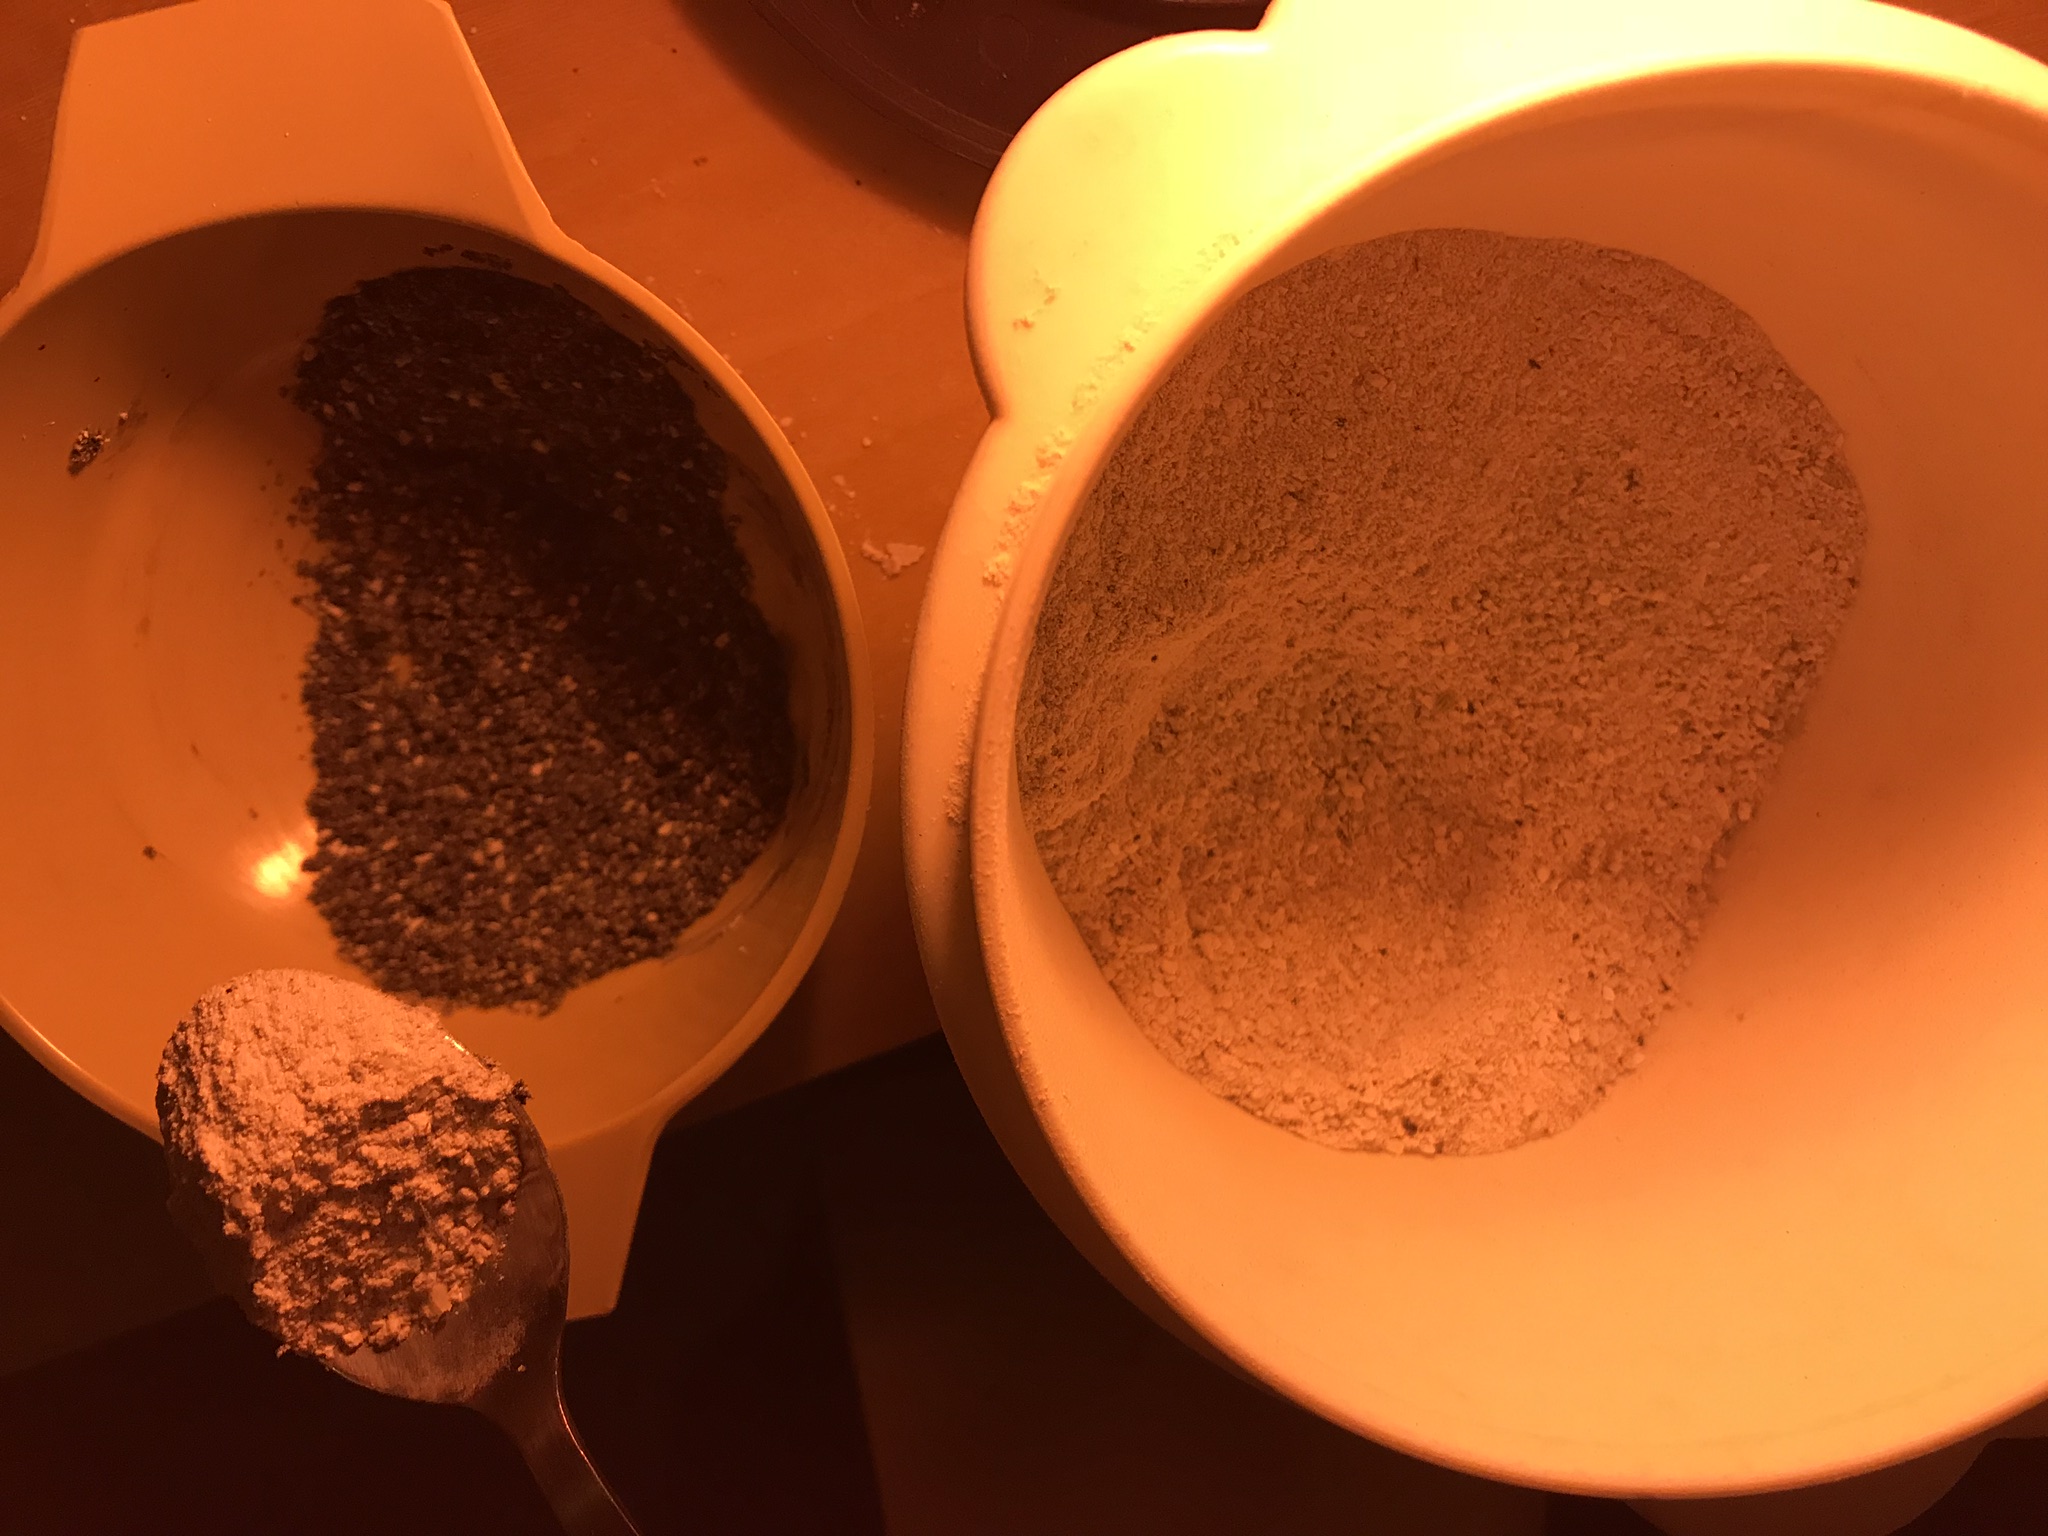
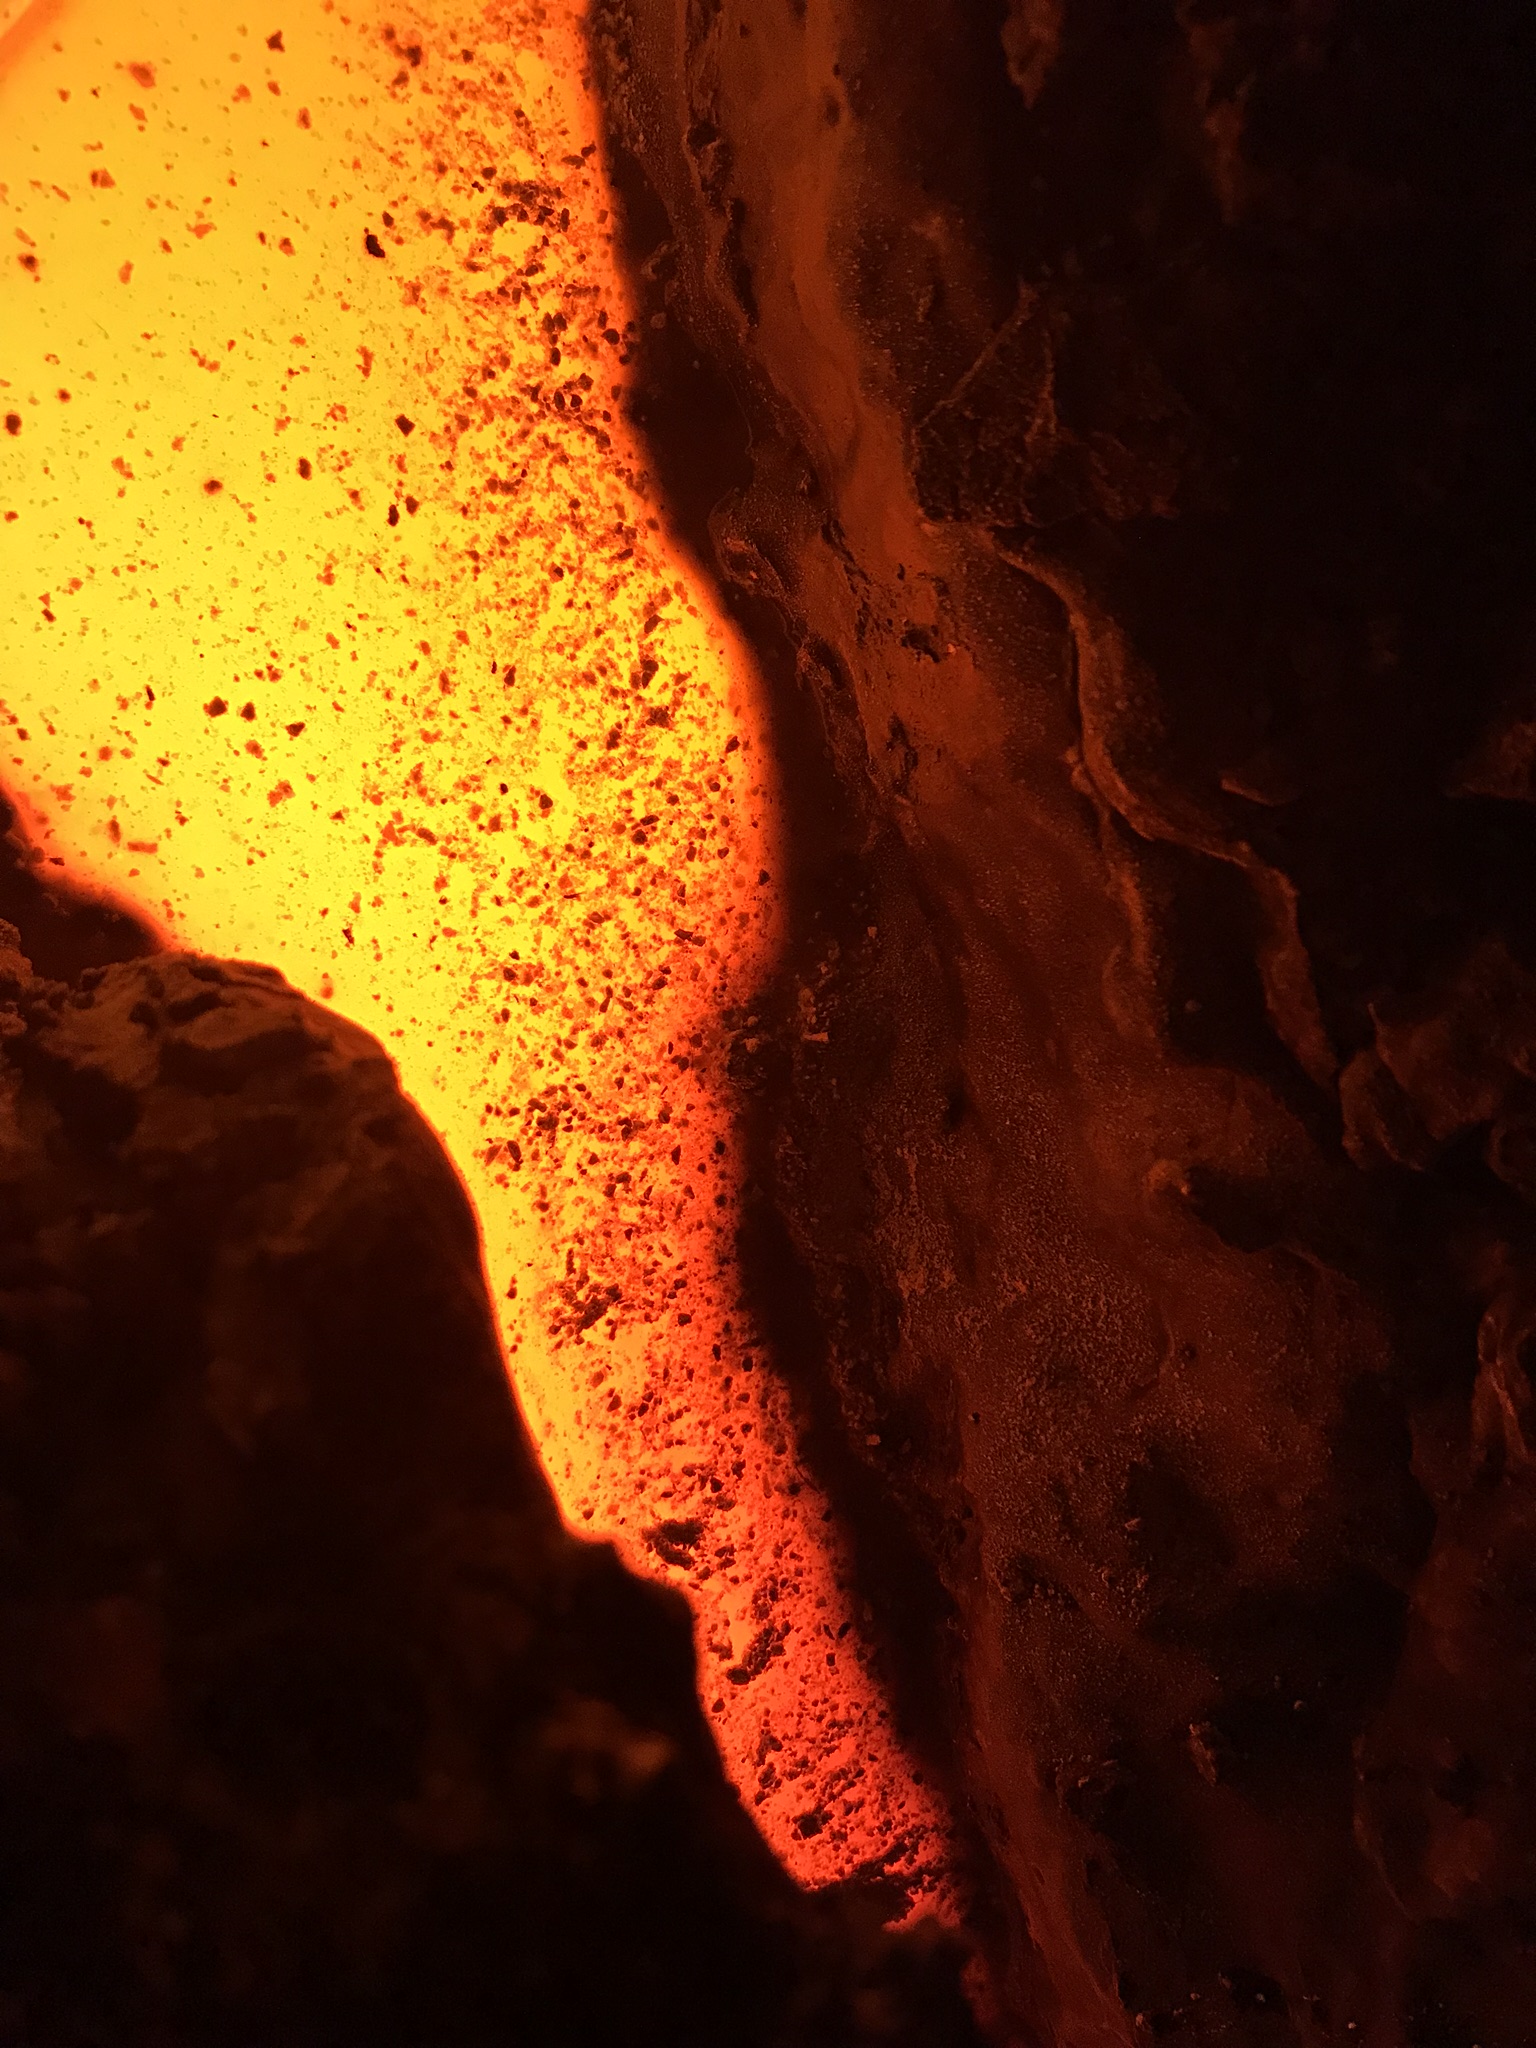
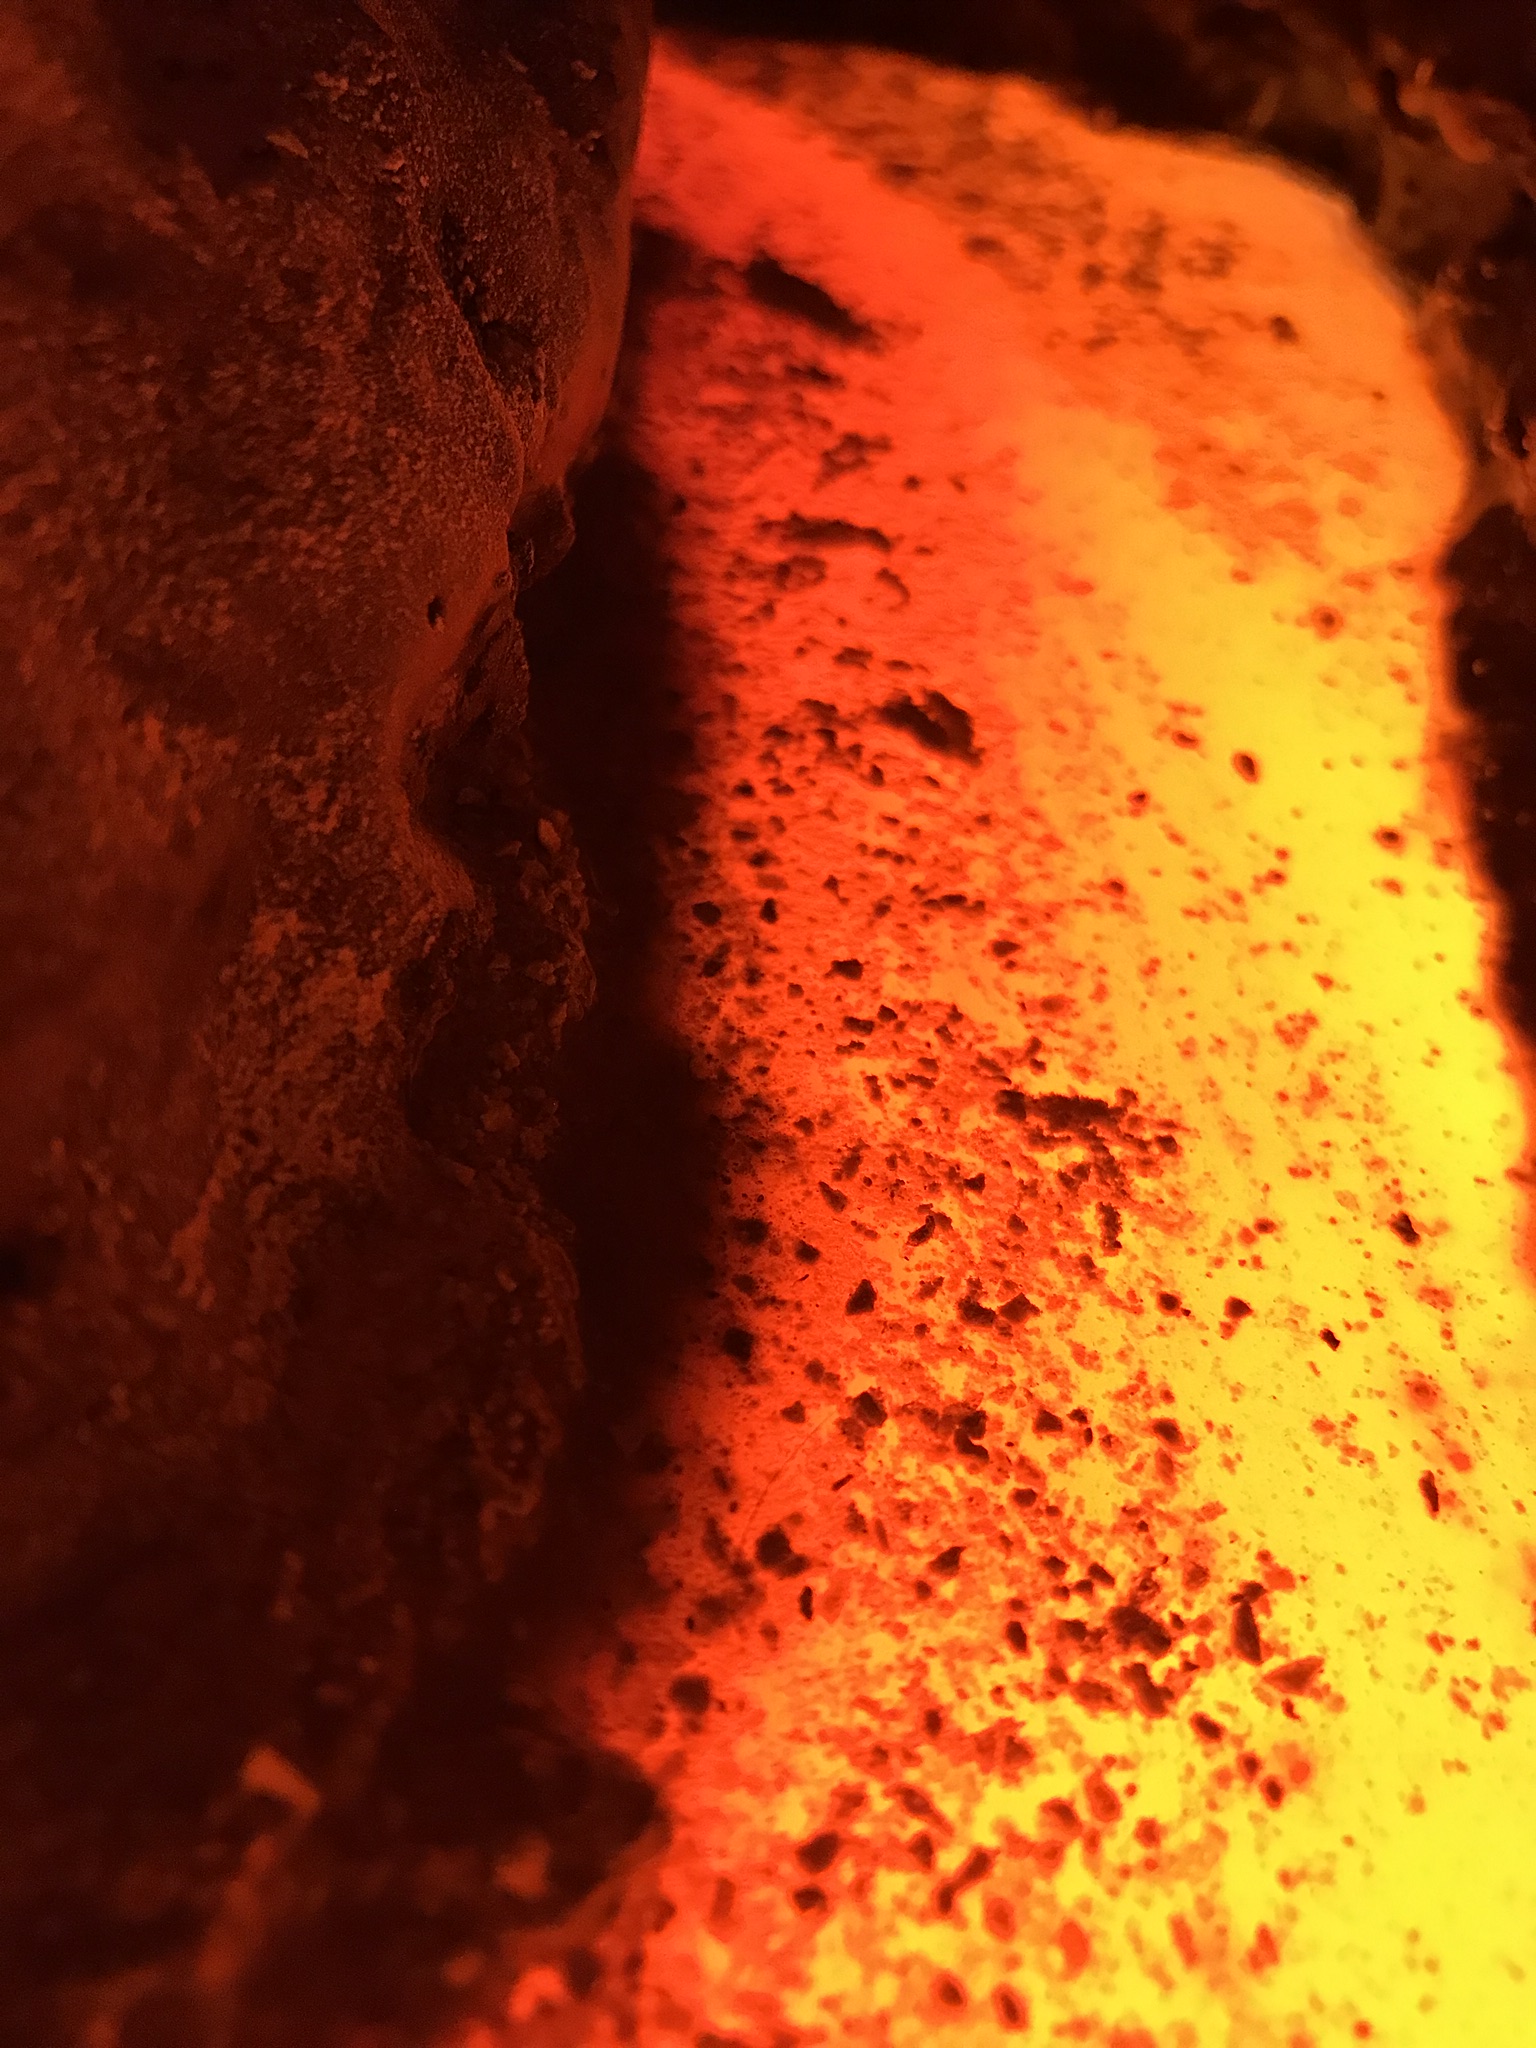
Creating the Lava
What I thought I needed to do was get some wallpaper glue and some concentrated orange paint and mix the two together. Then all the left over plaster was beat up to dust and also the black painted plaster the same. Now I had a filter that I could use to make the dust fall onto the flowing lava looking wallpaper glue. Of course I also had to take care of the flow afterwards so I worked with two buckets for pooring.
It was really film trickery and I loved doing this.


Inspiration?
Star Wars: Revenge of the Sith Episode III!

When I move somewhere bigger with room for acting then I'll do it again on a larger scale.
To Be Continued...