When I started my first rig I was still in College, it was so awesome. Back then I did'nt fully realized how much an animator relied on the riggs.
Fast Flash Forward and now I am seeing rigging again as a need to know skill before I can dream of animating anything.
Since 2014 or something I started to take my journey more serious. I could only talk about 3D and nothing else. This magazine has helped me so much throughout the years so big shout out!
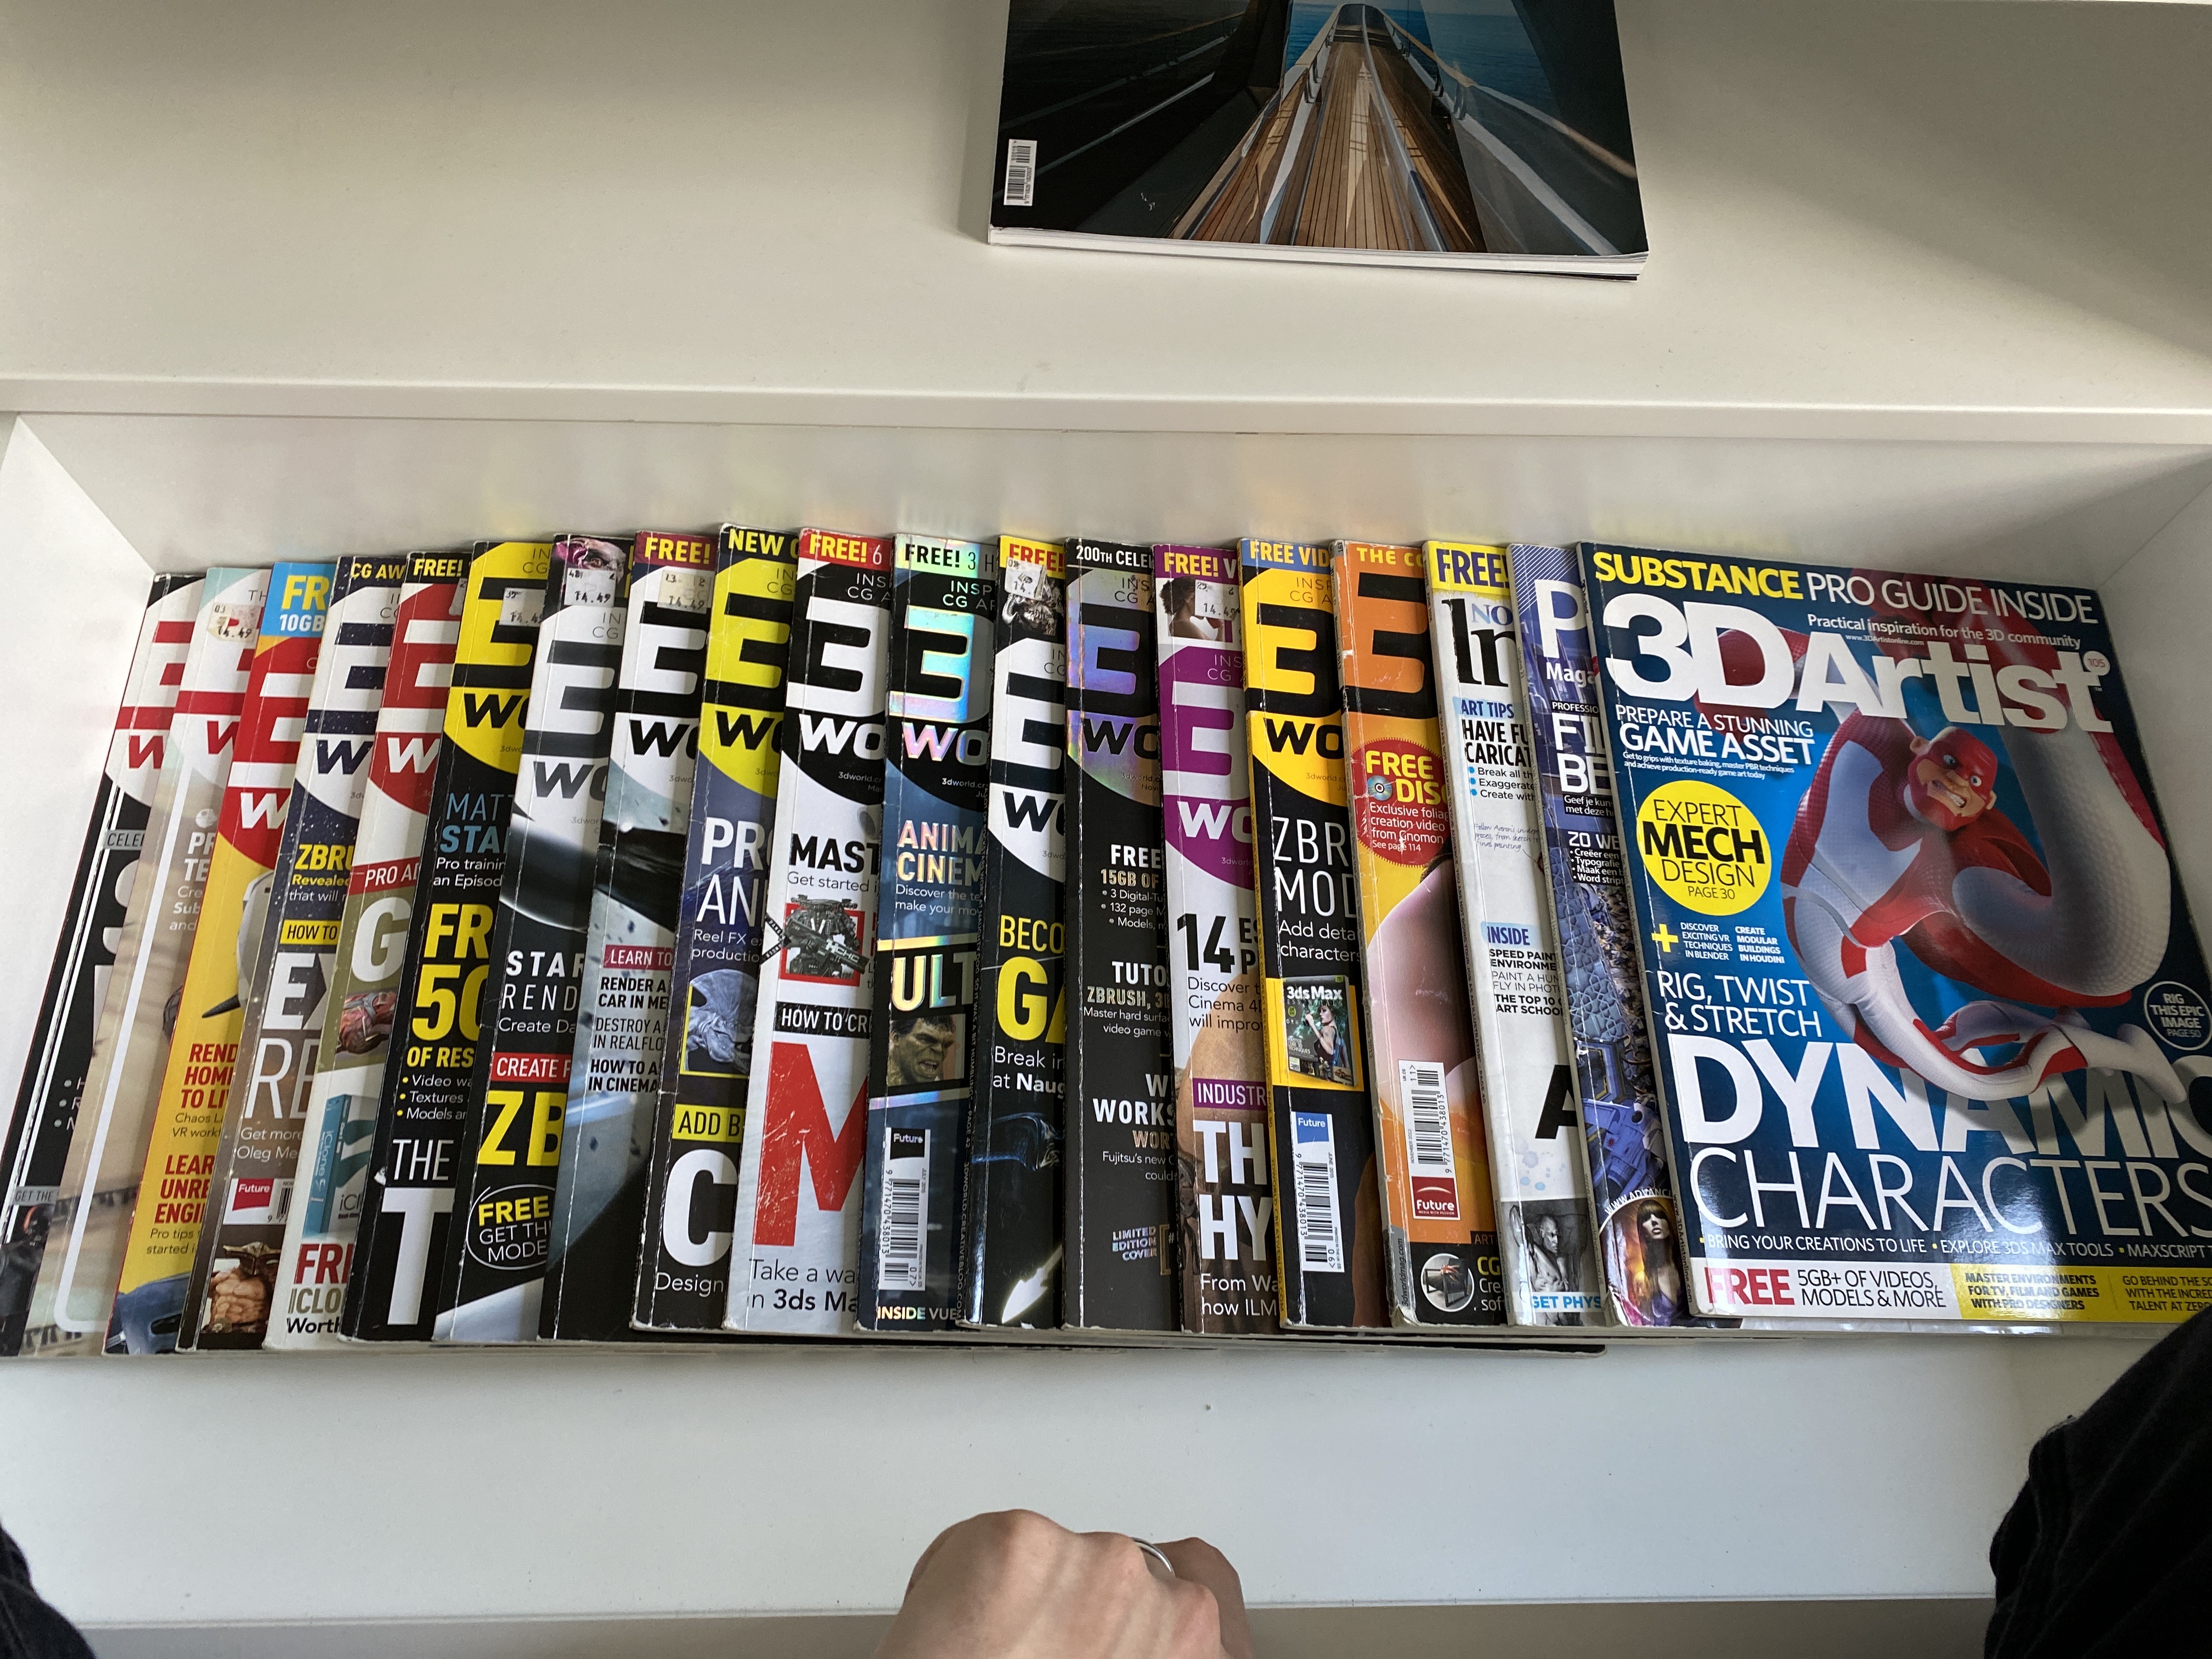
Where to Start
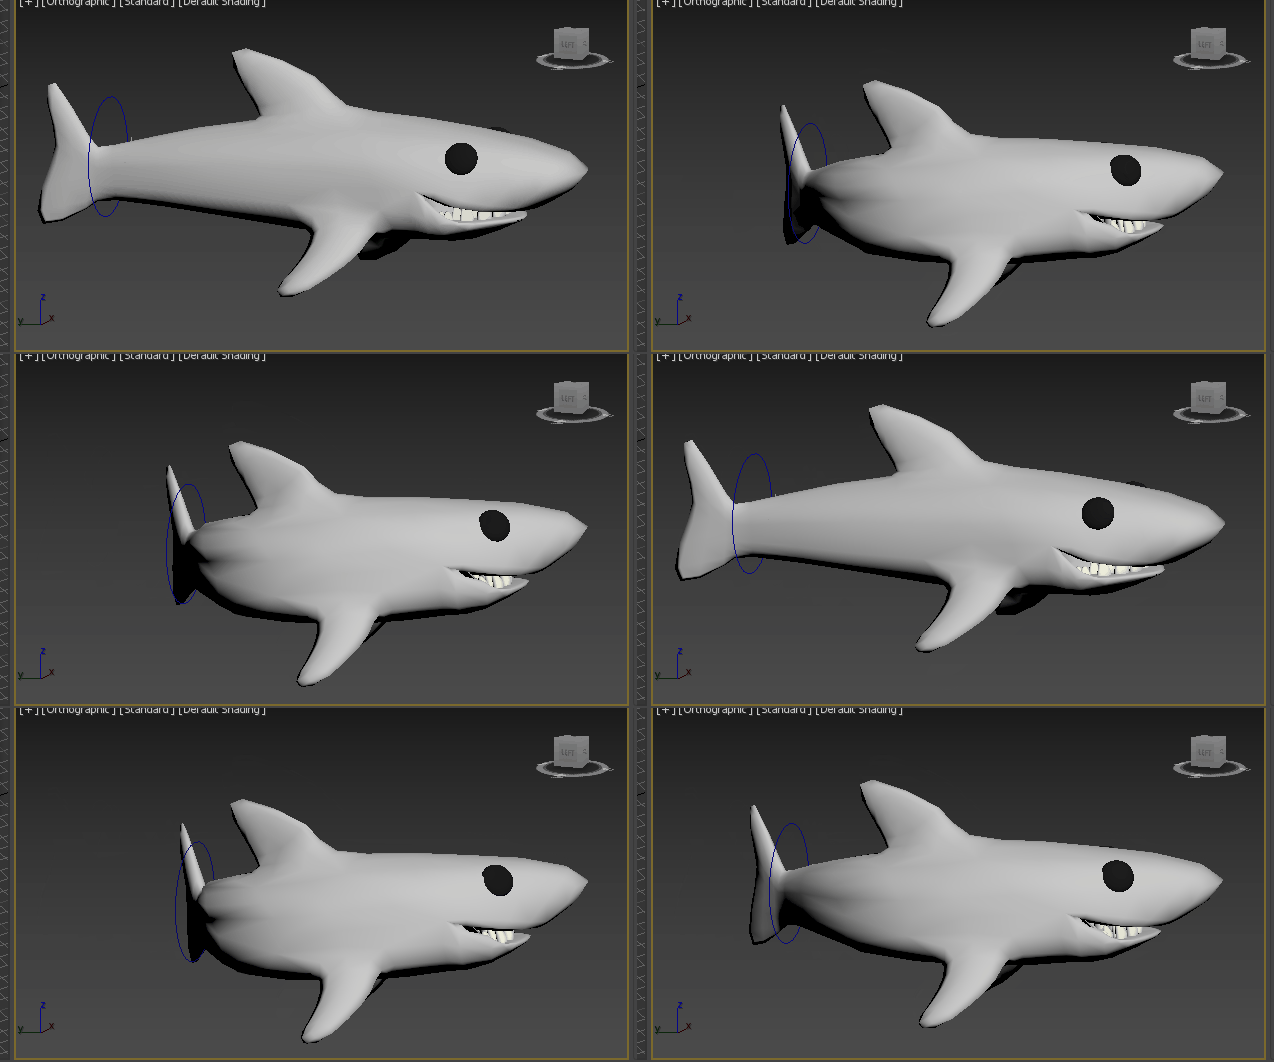
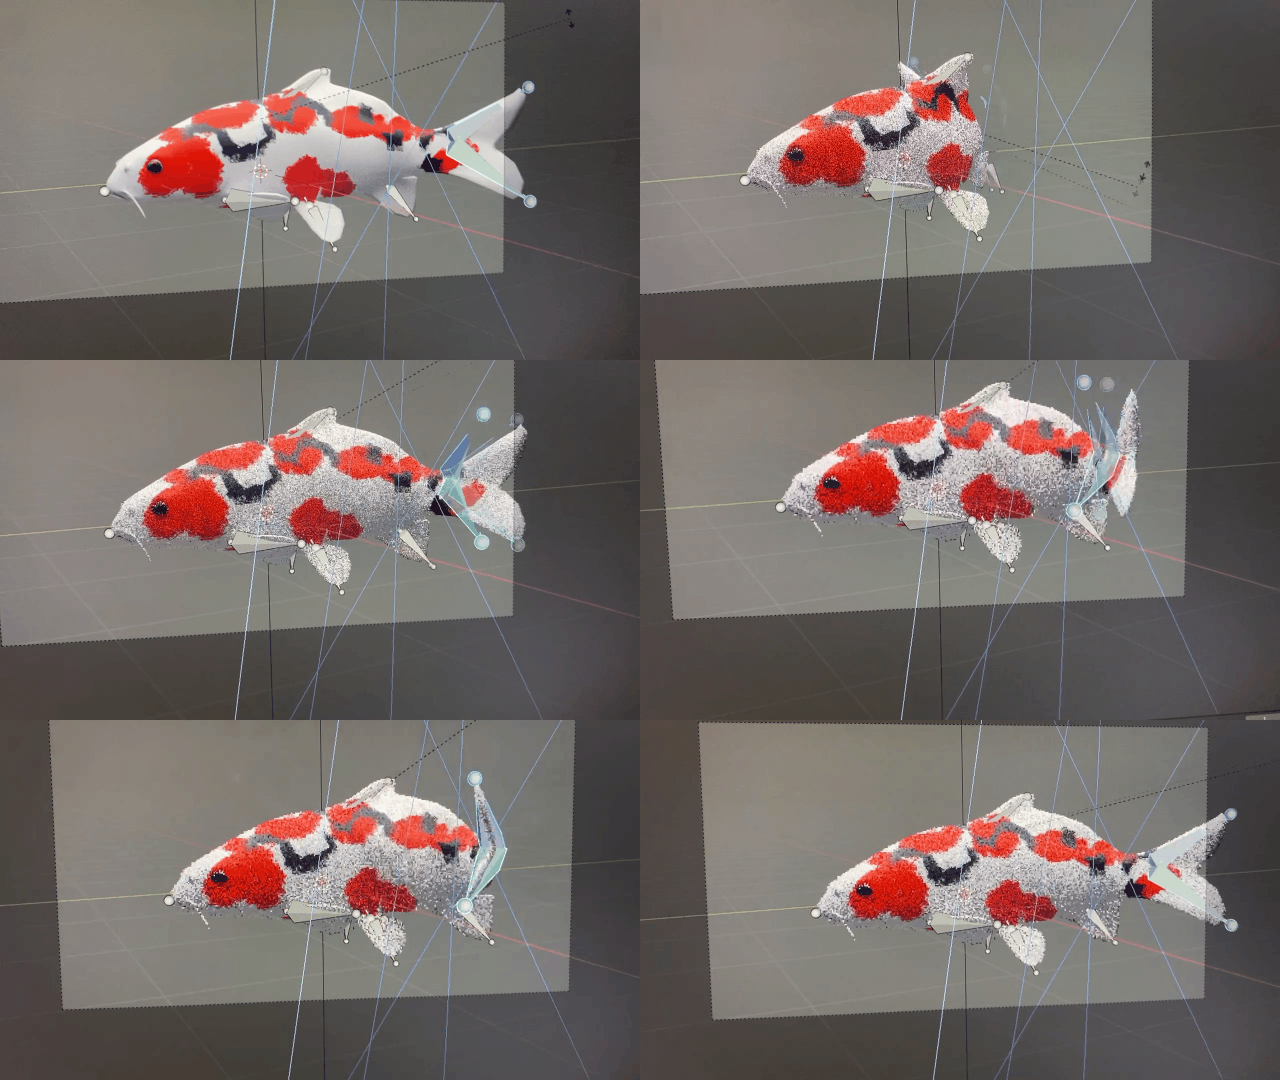
Since I could rig this fish I also did something for an old colleague of mine. A Carp selection, you can check that out under Substance Painter Posts.
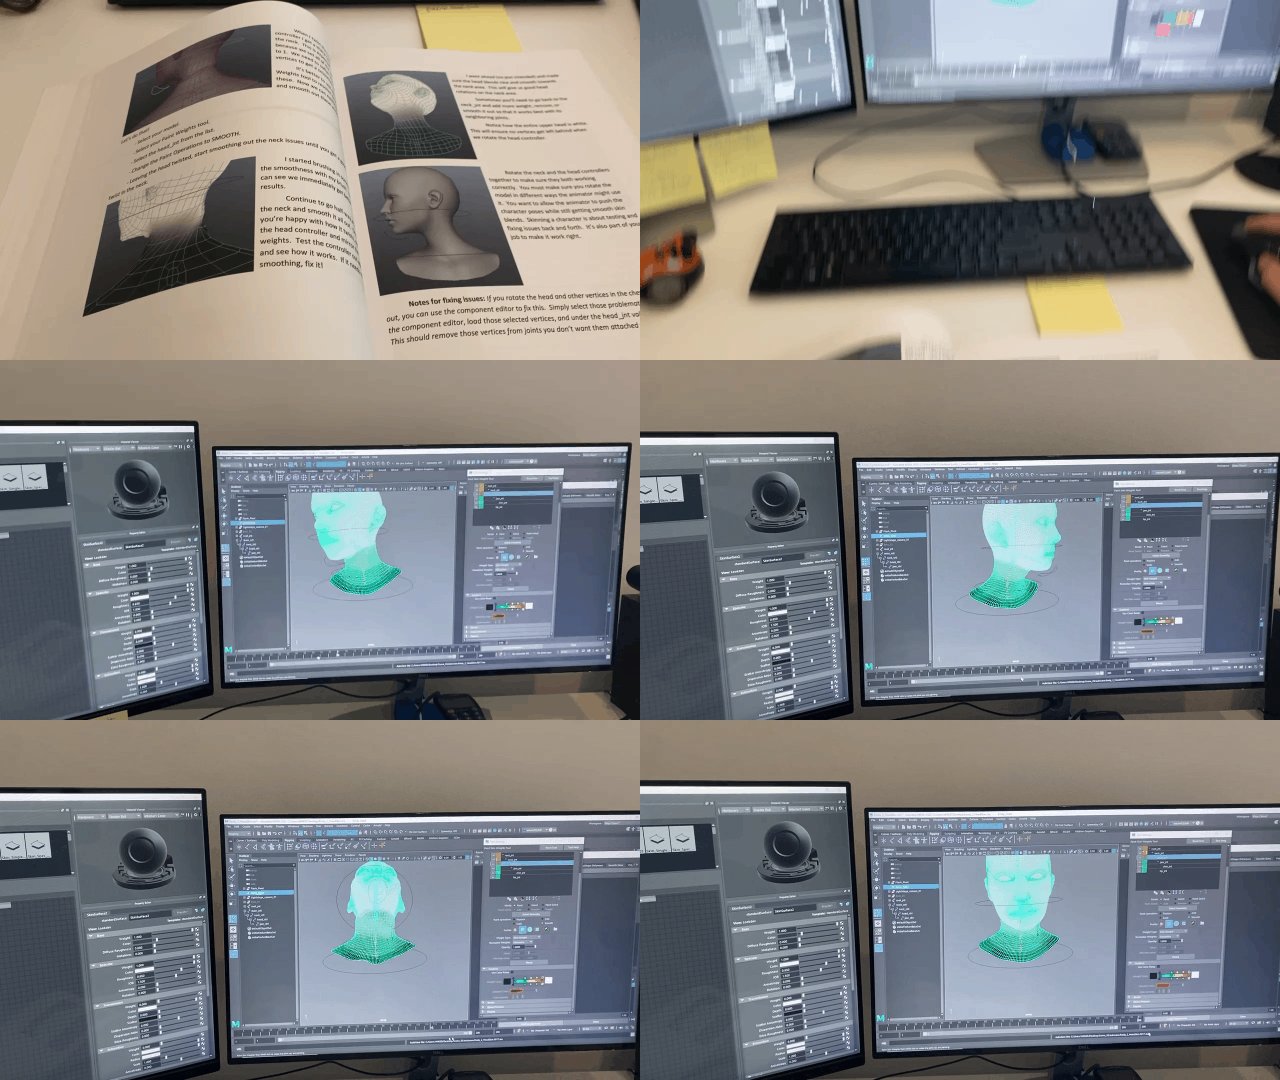
When I picked my rigging journey up again I started with the hardest part. The Face Rig!
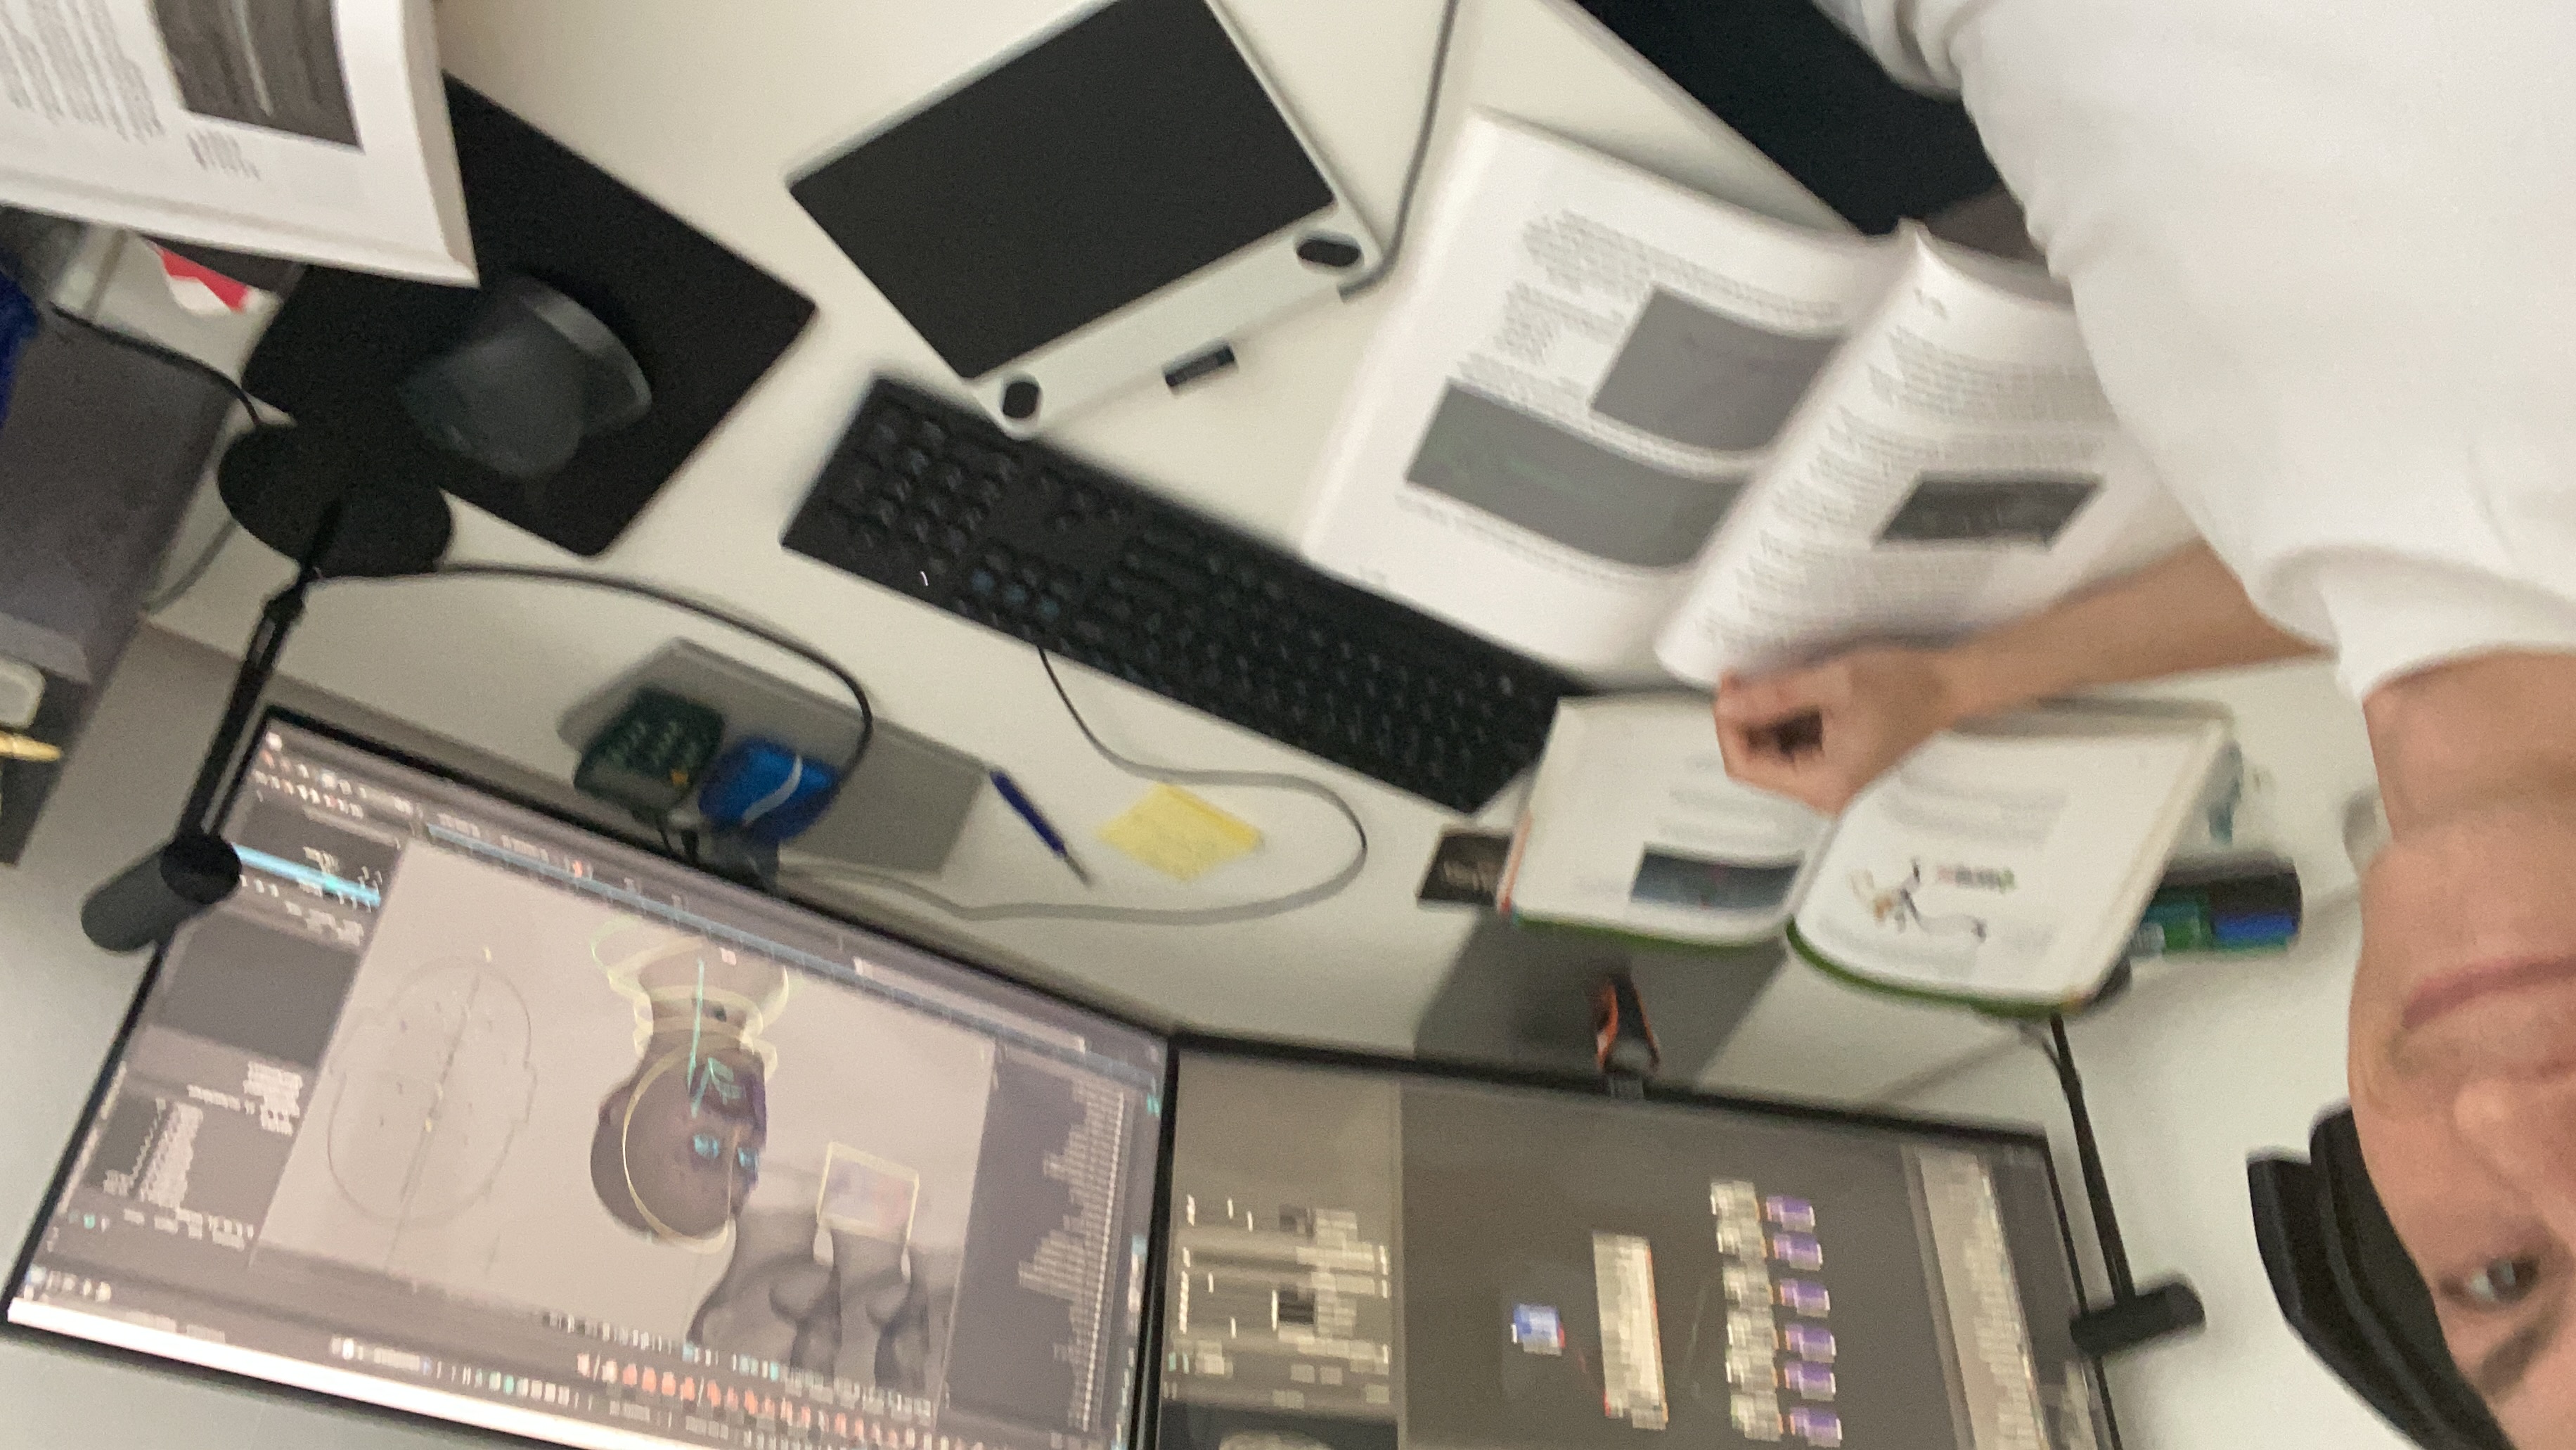
It didnt take me long to kinda figure out it was way too early to start rigging the face, however I did practise skinning with just a few bones here and there.
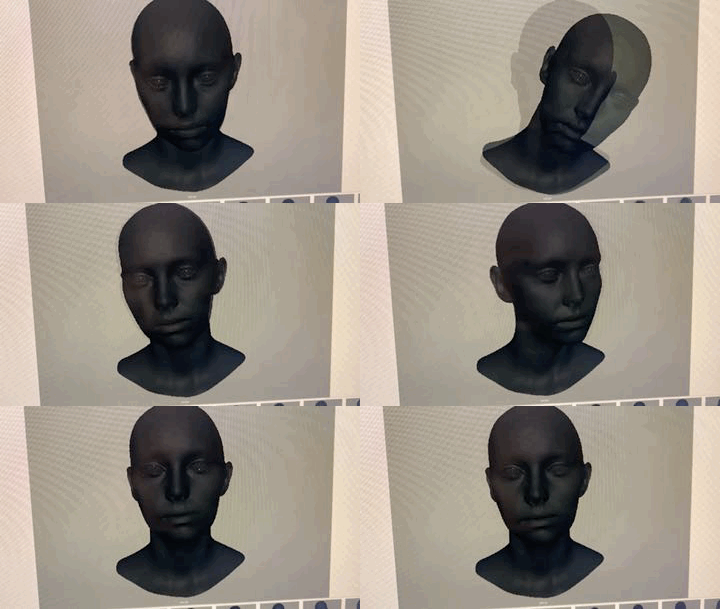
The model I used is for educational purpose only and was captured from a actress. But the head was not staight but a little rotated towards one direction.
AT-ST Walker Rigging
I don't know who the artist was that made the model, but thank you very much for putting it online.
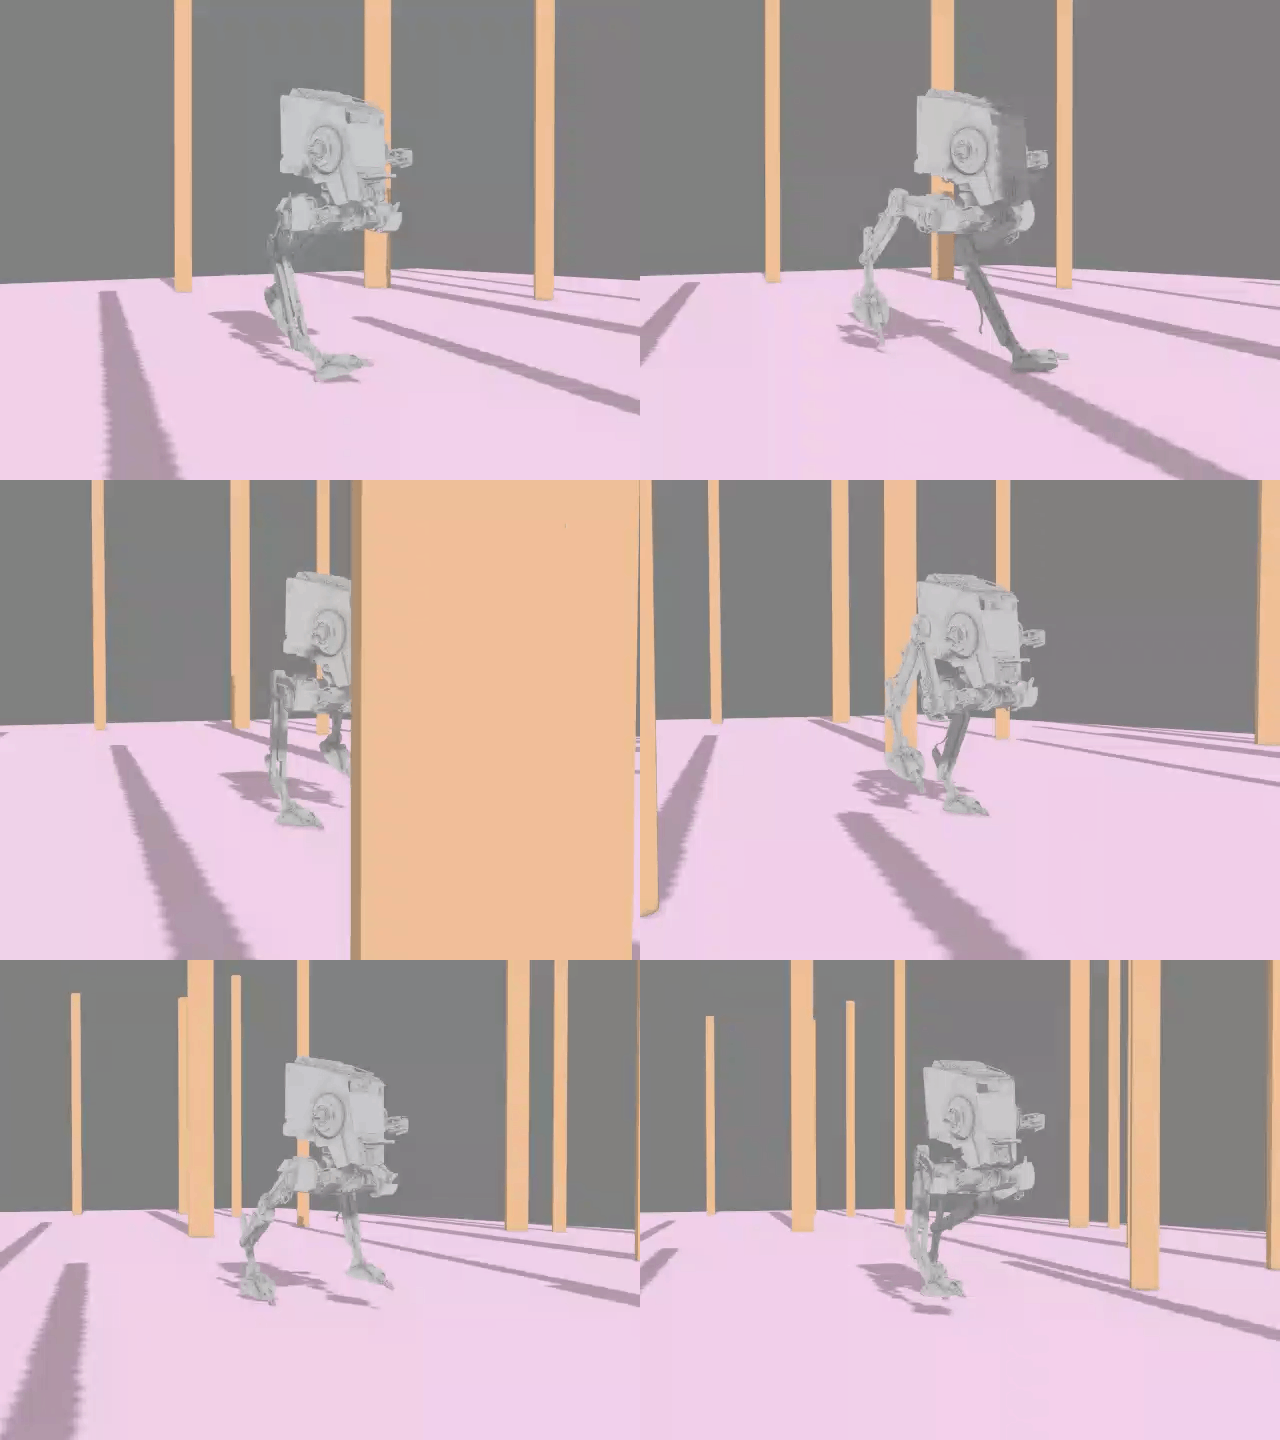
Who doesn't like Star Wars, I was busy learning to rig in 3ds Max and I needed a nice model to try out Mechanical rigging. This was what came out.
Since I didn't know how to animate a character yet, I used a CAT object to make the character run. But the walker was fun to rig and funny to play with.
Afterwards however, I found out that the walker I had animated duh... I didn't use reference, just based on what I thought the weight was. But I did follow the rules of Erik-Jan de Boer. The monsters are faster in the movies.
Drone Workshop for 2nd year College
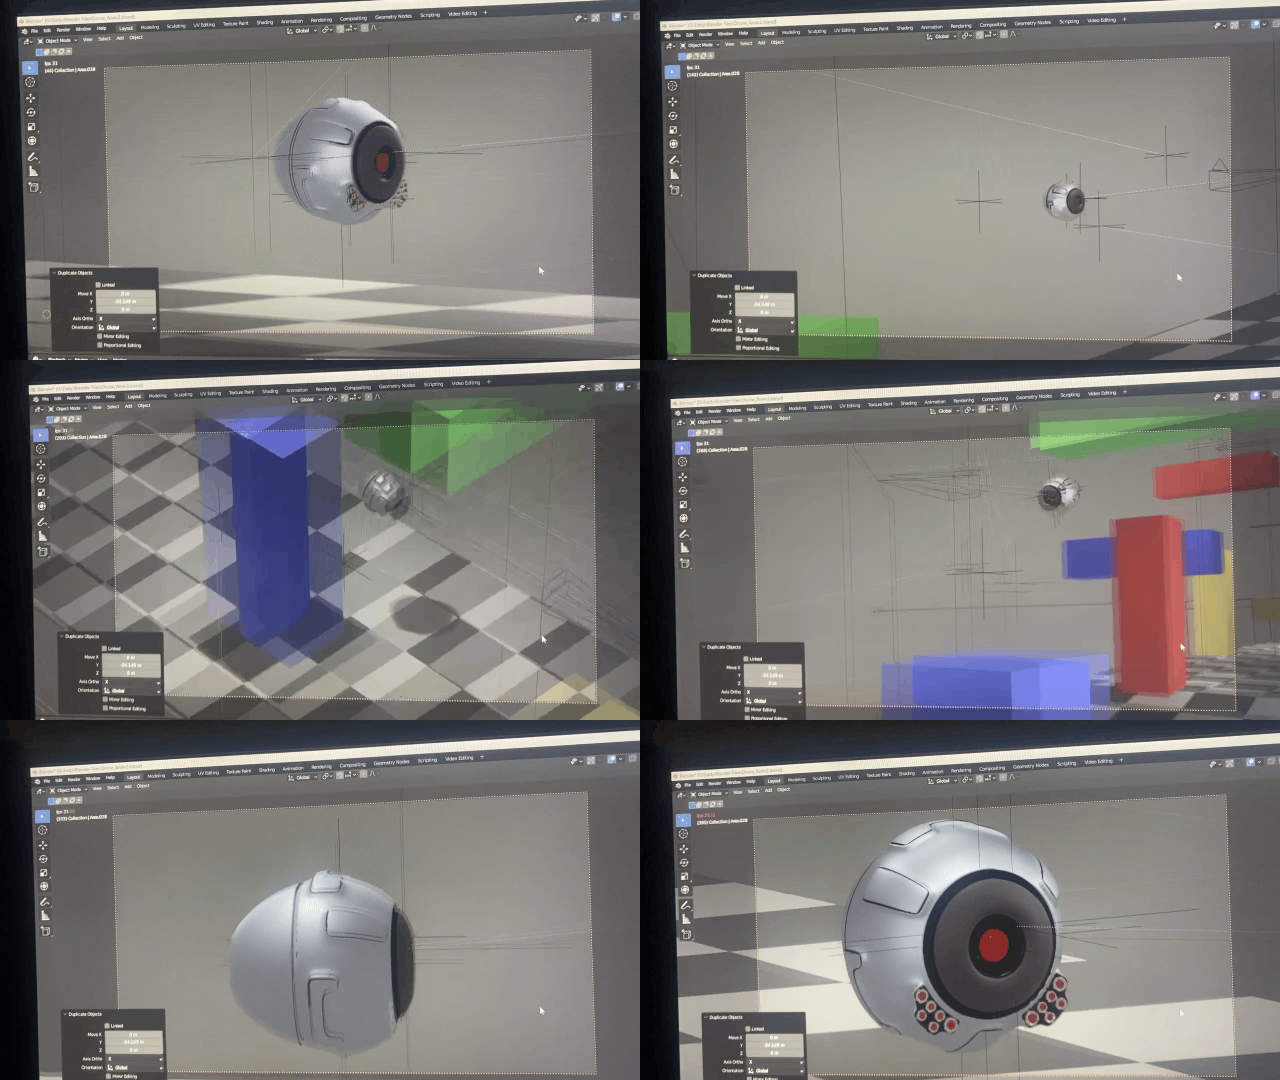
In meantime I have done a 2 day workshop in creating a drone. First day was for modeling and and Second day was for animating.
This was used for the course material. A drone that I had modeled the the week before, simple rig and could even extend with extra parts. But for this animation I decided it was best for the class just to keep it simple.
3D Print Prepping
It was very helpful that a friend of mine has a 3D printer and asked me to help him with changing the pose of his 3d model. So because of that I got to practise my rigging and skinning again.
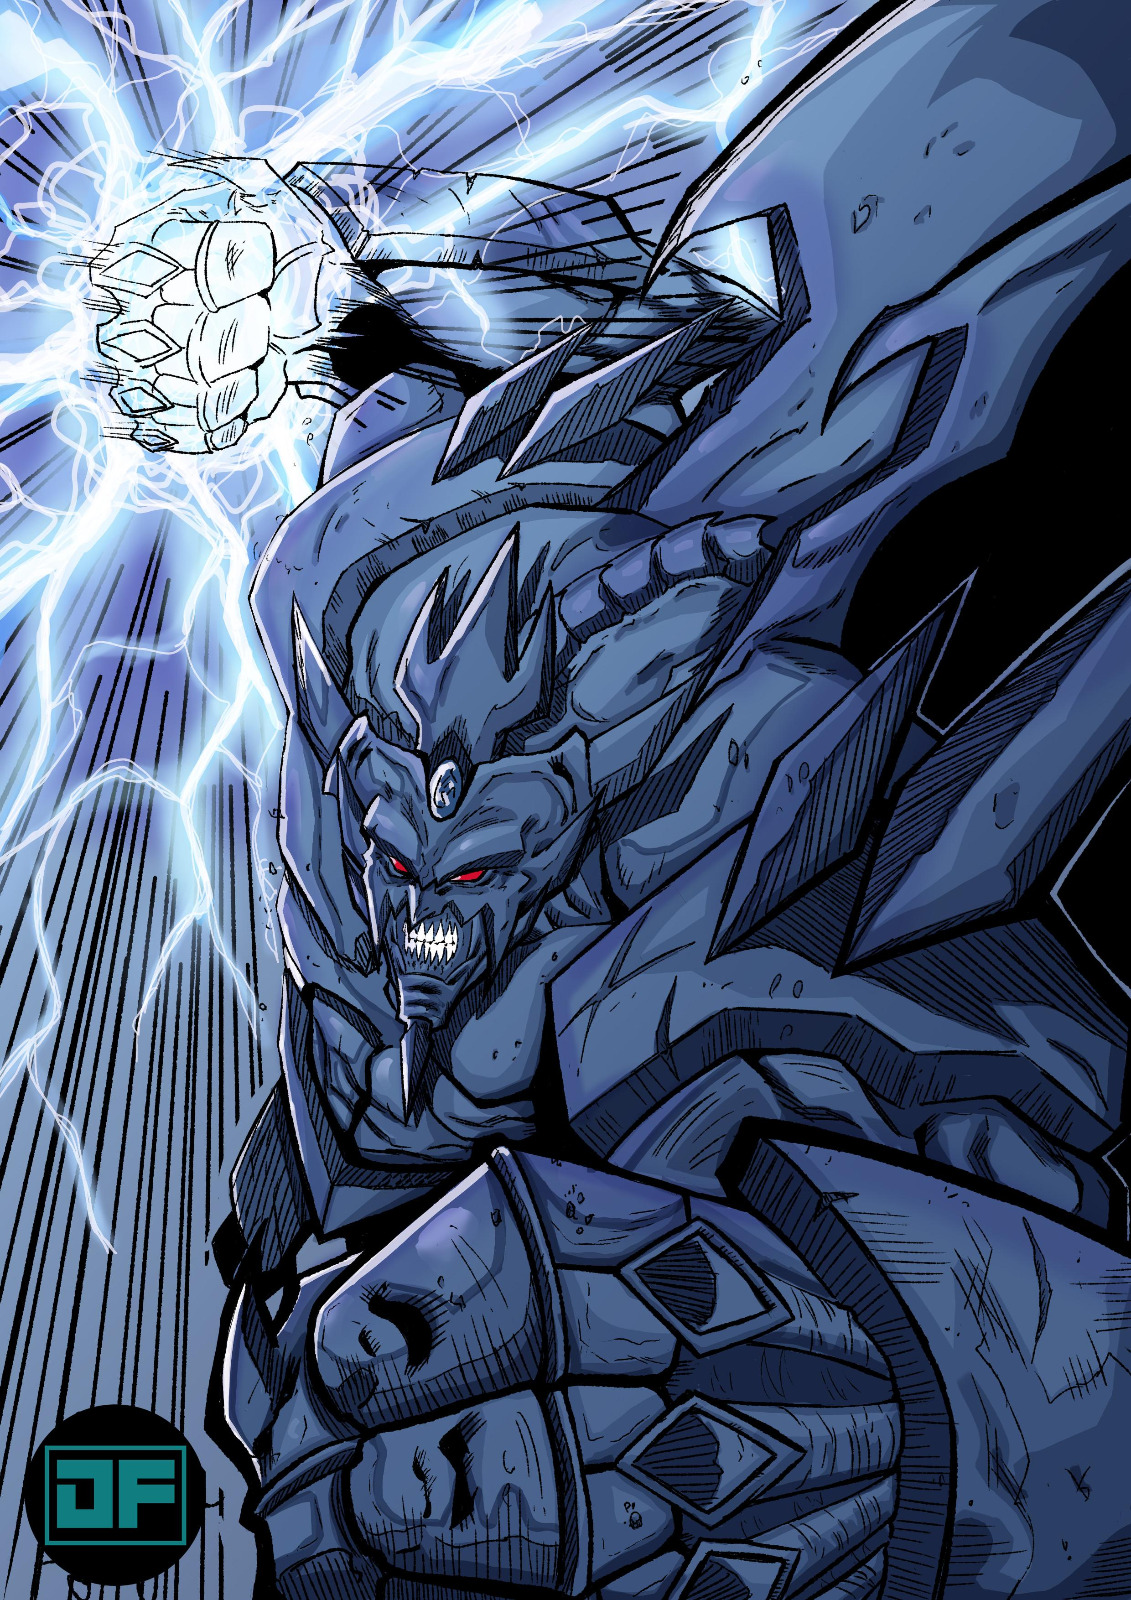
At first when I received the Reference image of the model I thought it would be quite some work, but then he sent me the initial model and I felt relieved since it was smooth.
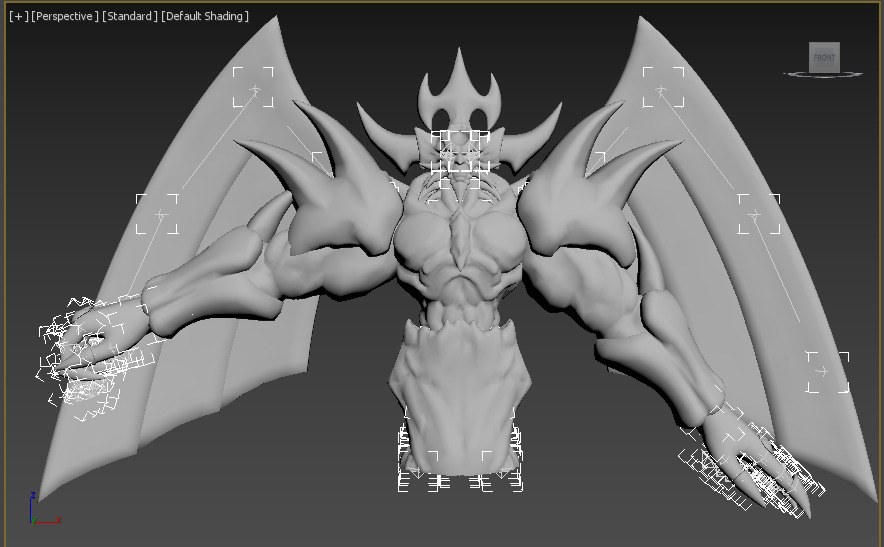
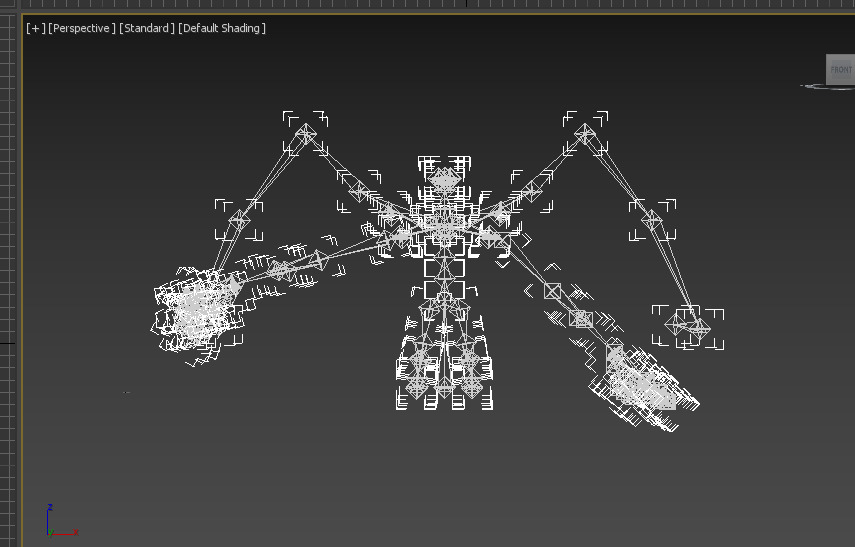
After rigging and skinning the model I sent it to my friend, who gave me one revision cause of a faulty mesh. Probably had some open faces somewhere, so I cleaned it up and sent it off again.
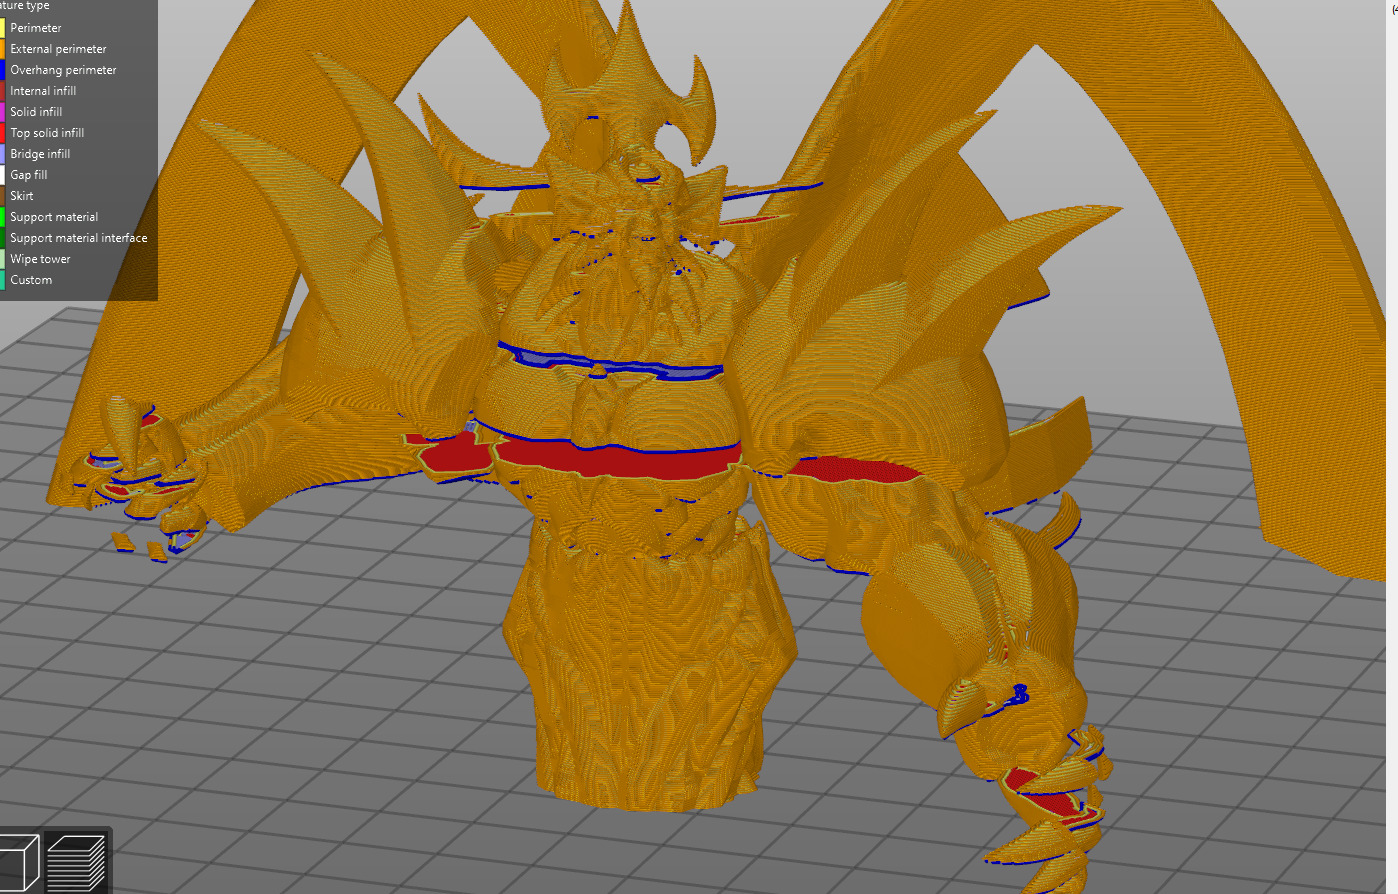
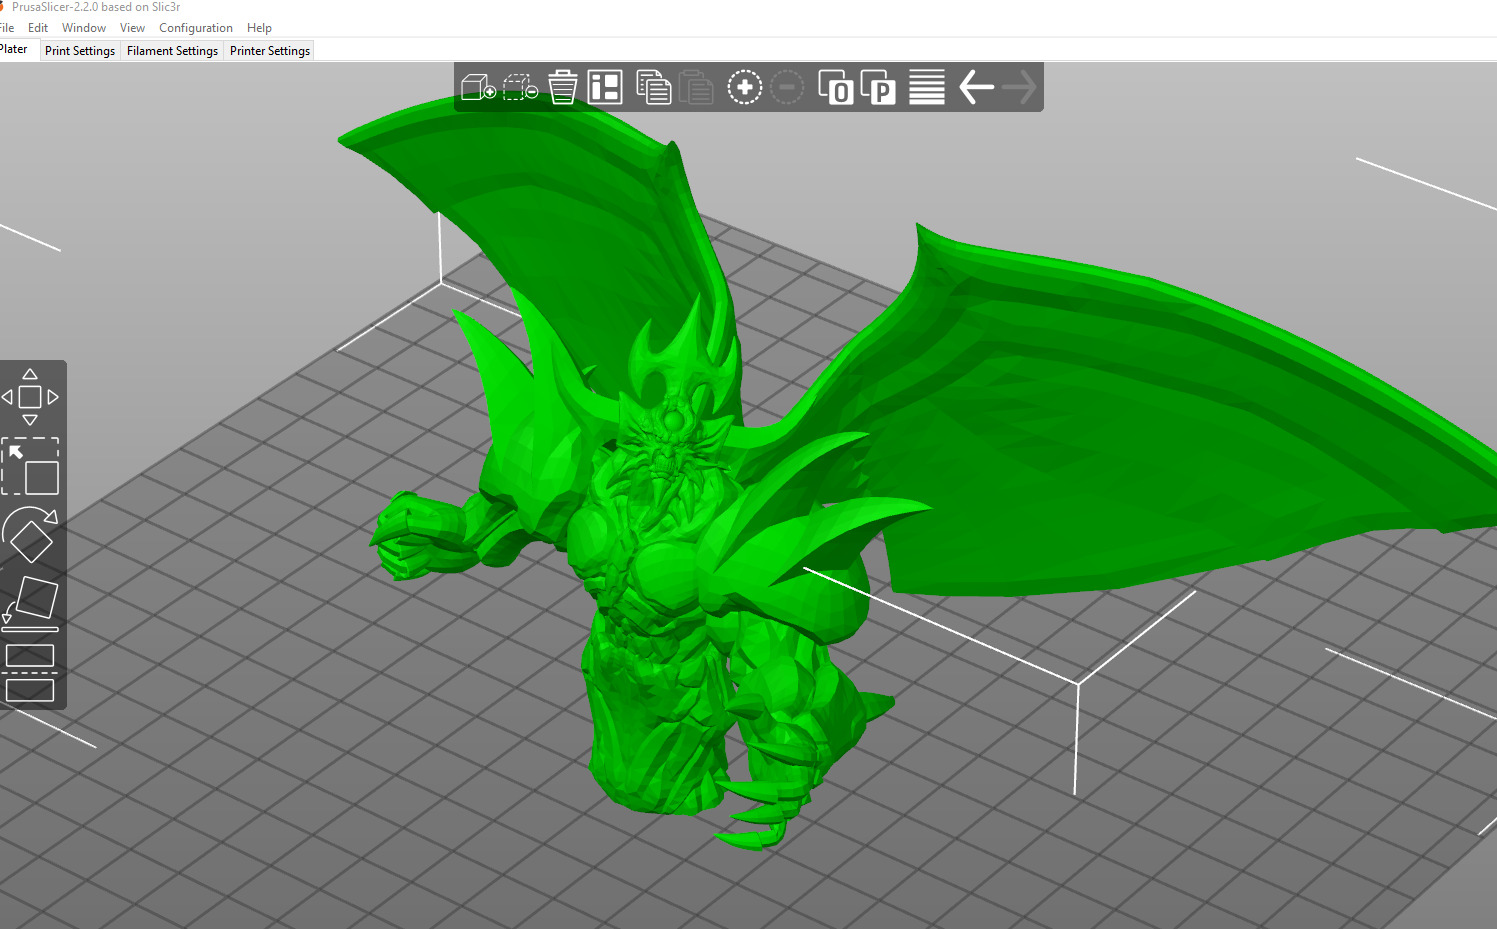
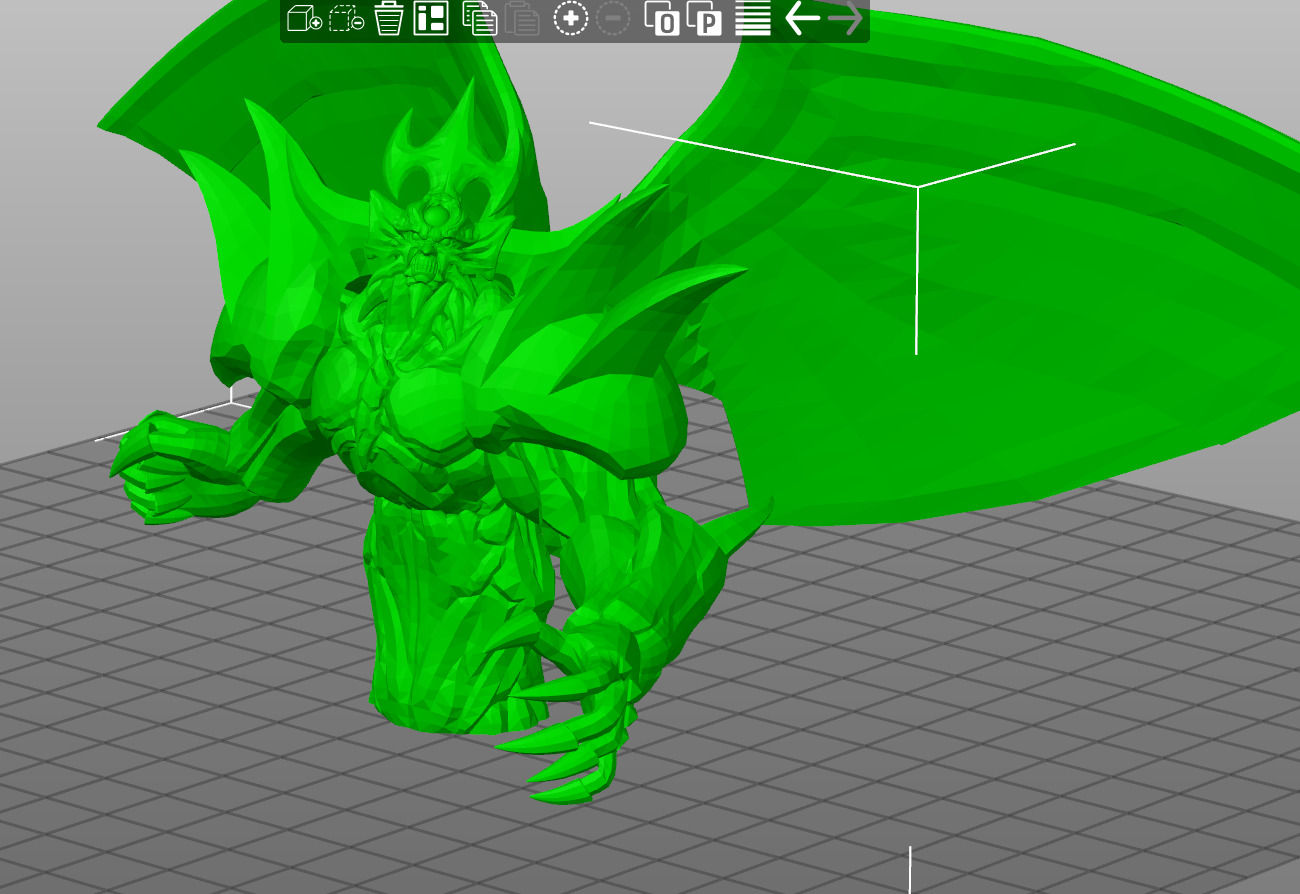
After printing the friend was happy and could finetune his 3d printer settings to be ready for similar or increased detailed models.
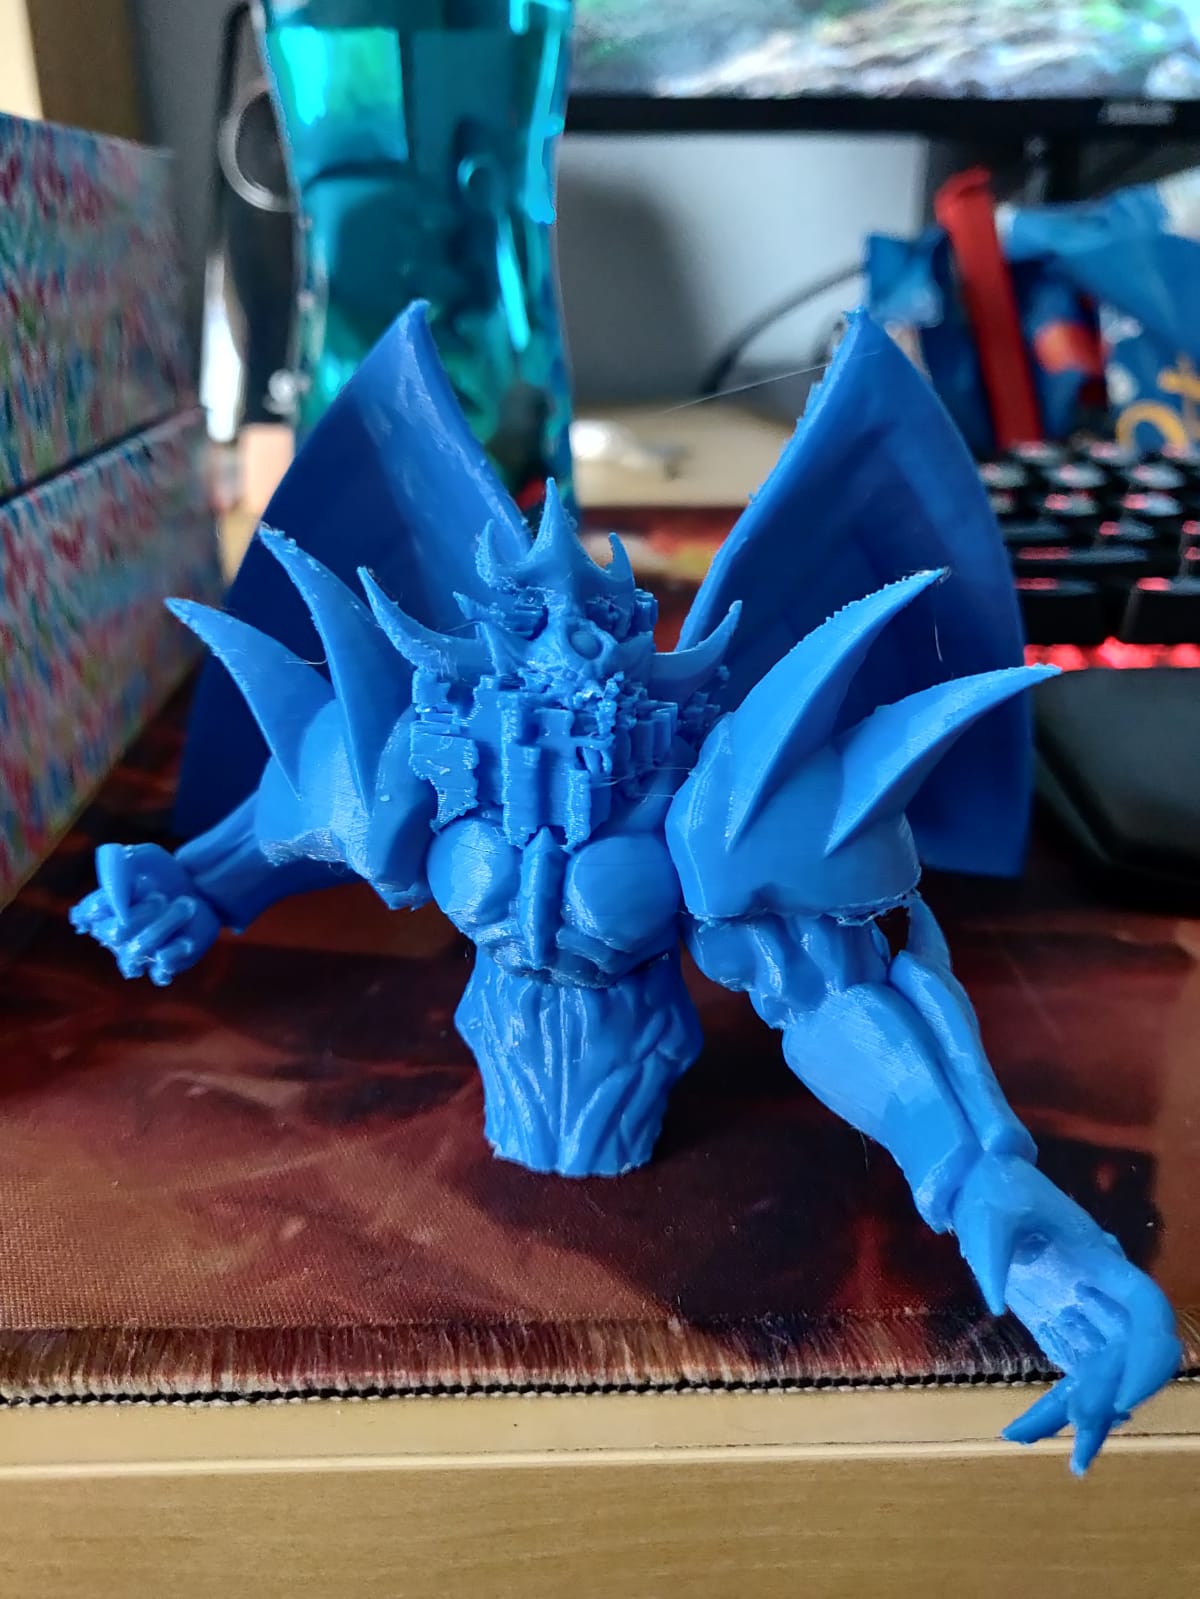
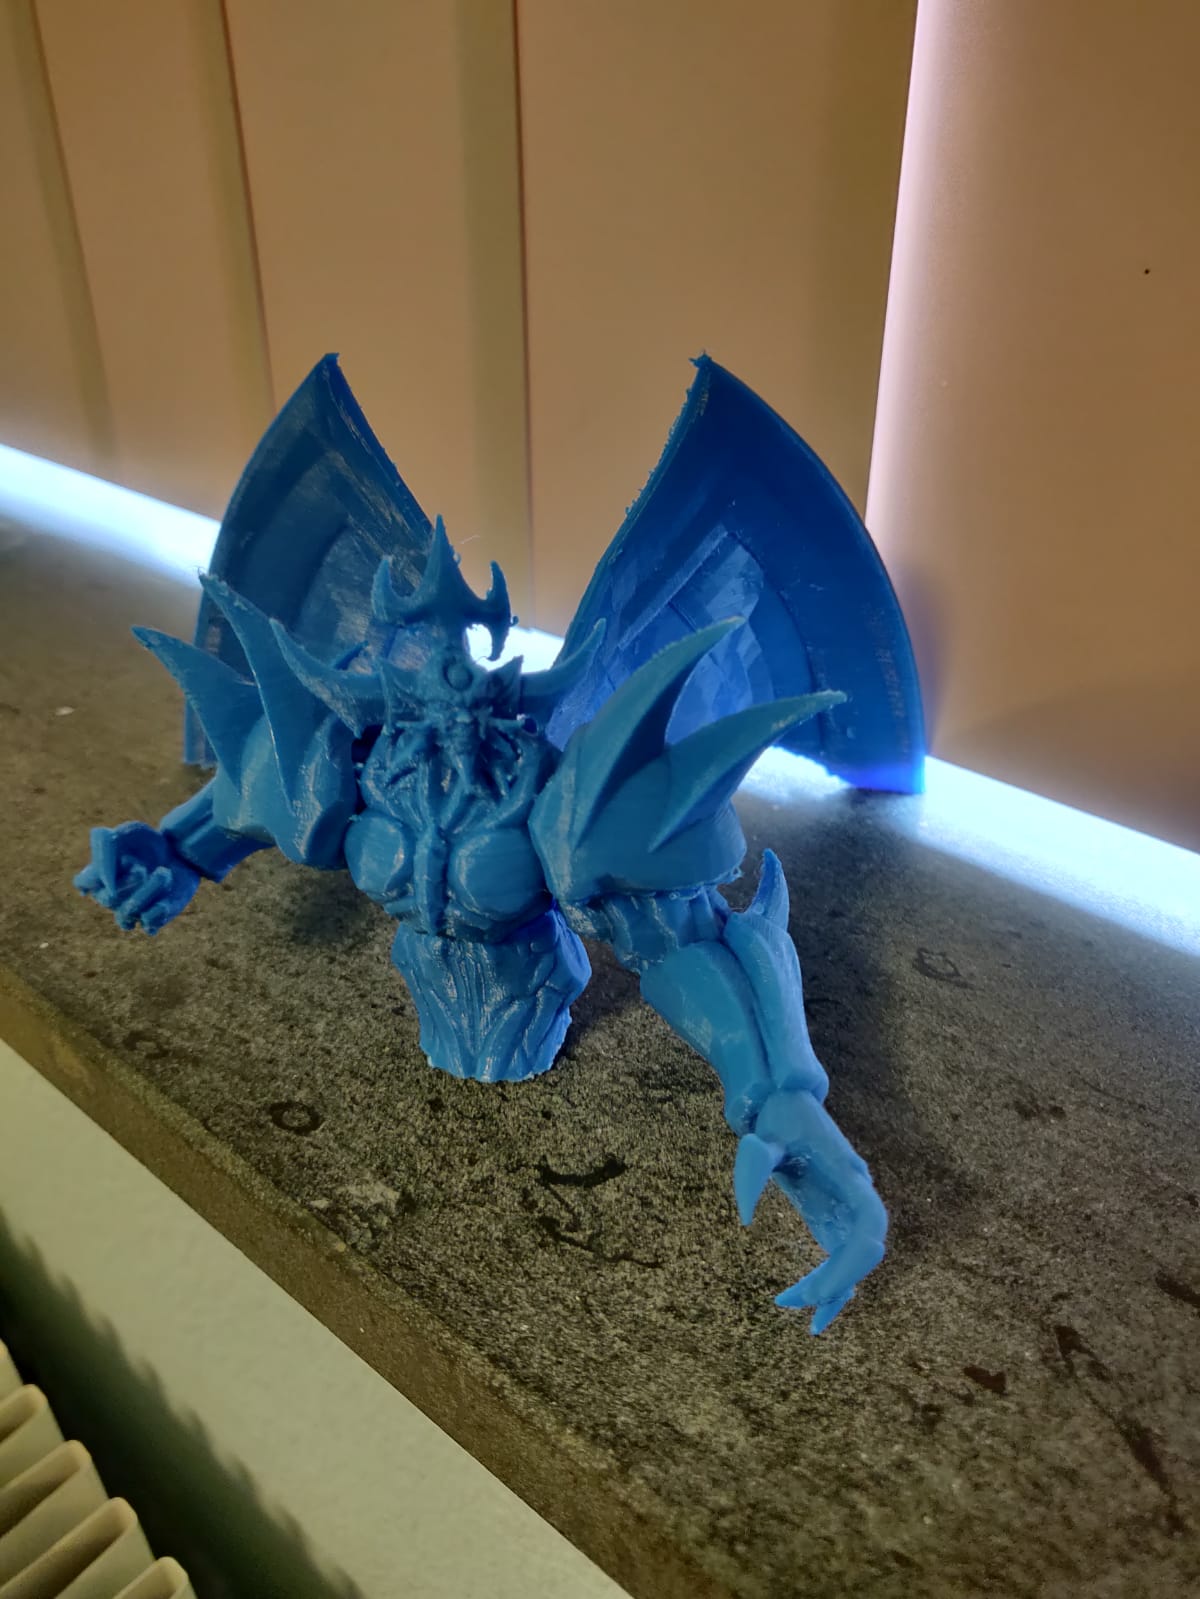
Thoughts: This was a very nice exercise before I jump back into learning about Rigging again.
Human Rig
Back to the course I was following for human rigging IK/FK which stands for Inverse Kinematics and Forward Kinematics.
It is the way you can move your skeleton rig in positions and constraints.
Really looking great, the rig worked out amazingly!
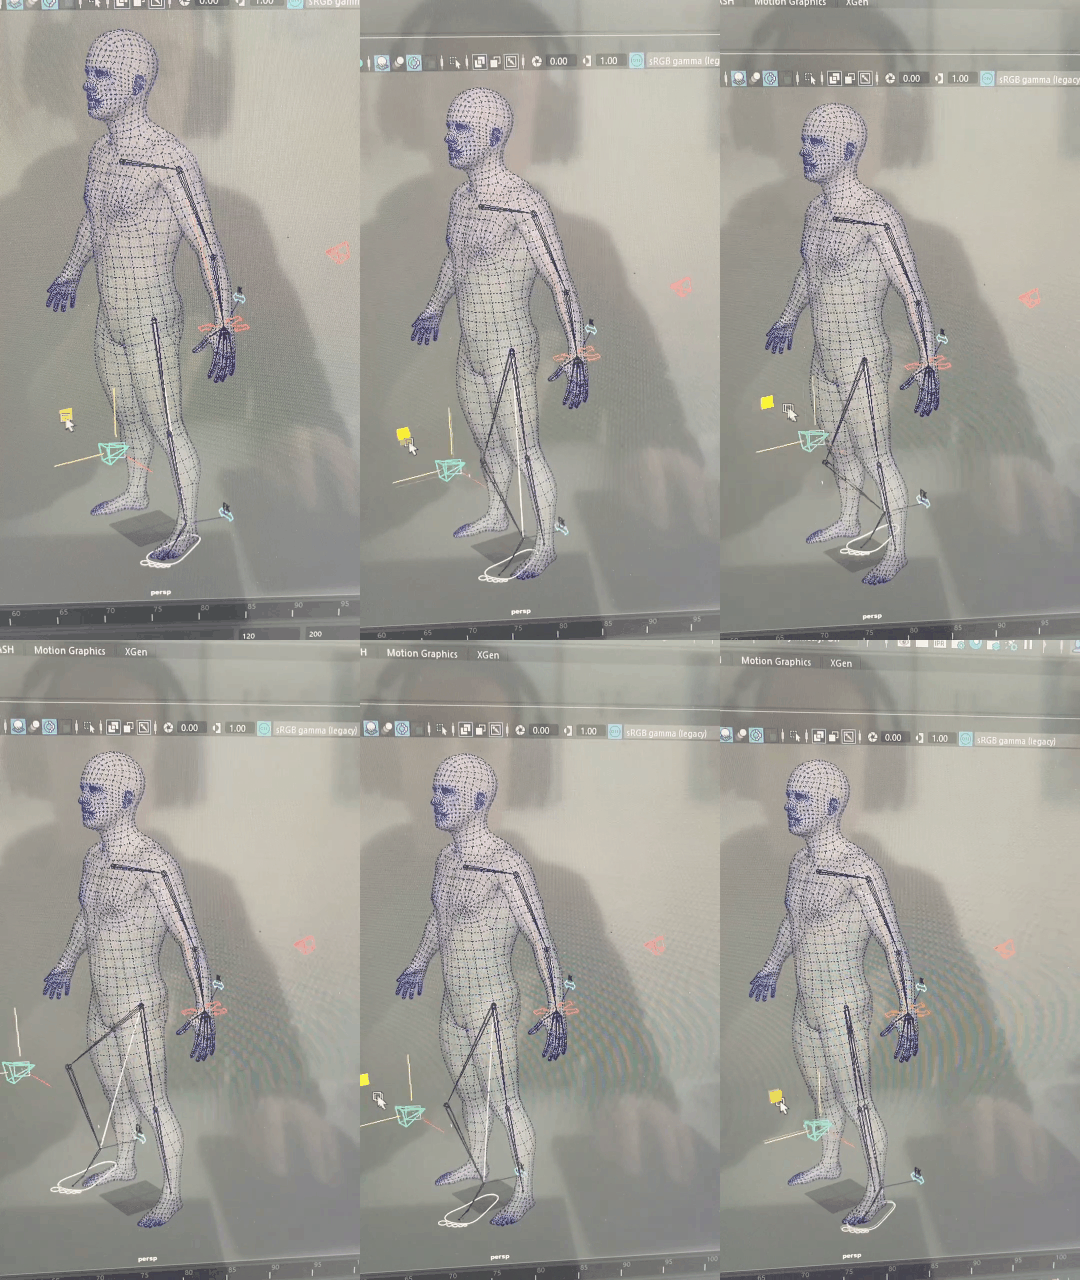

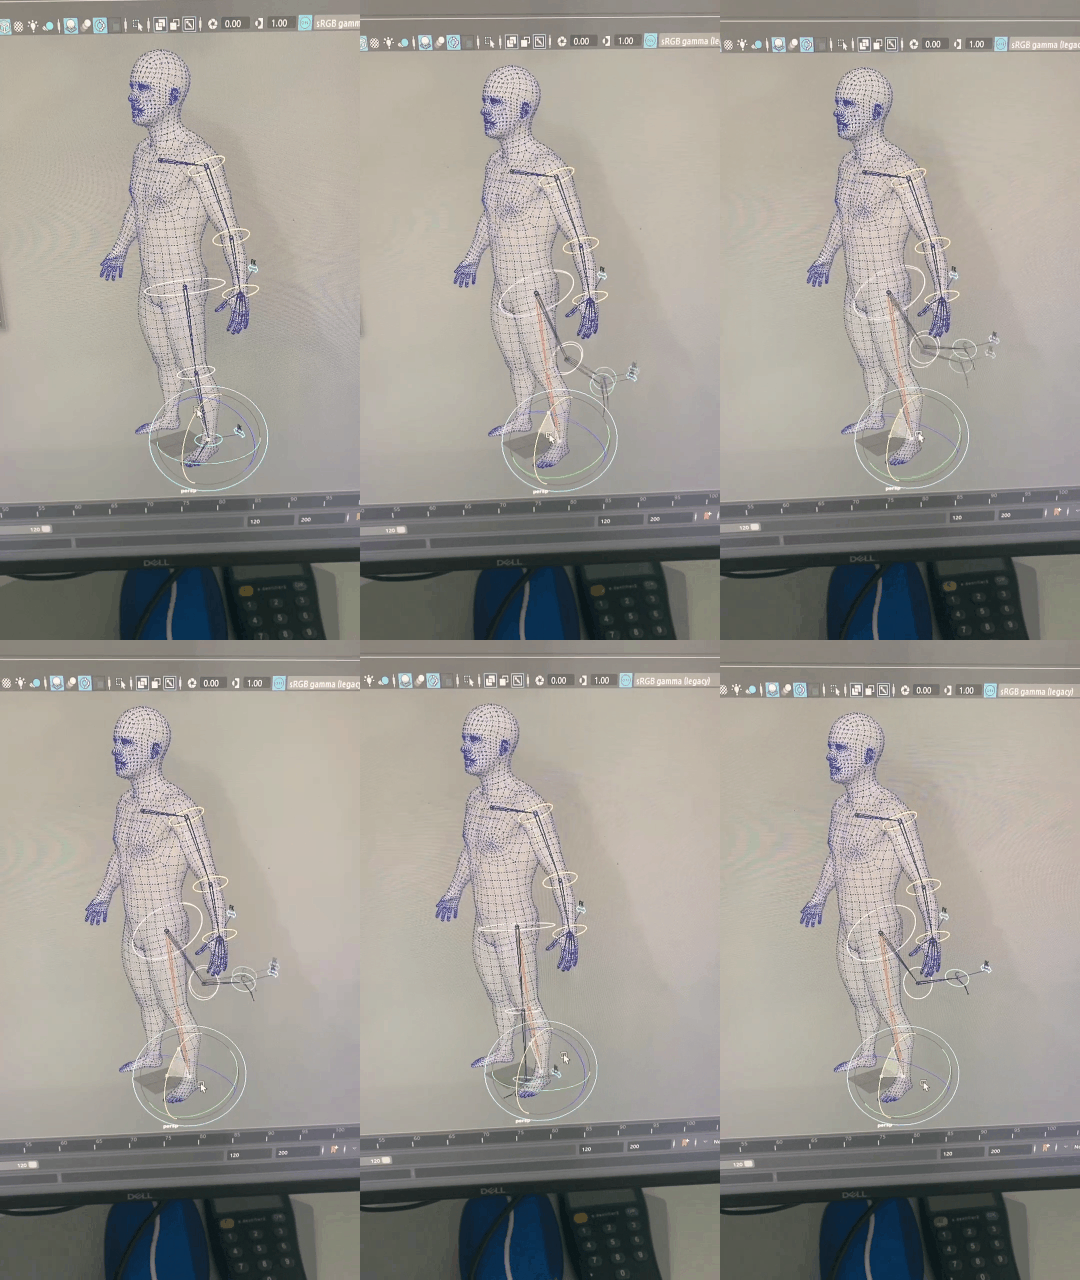
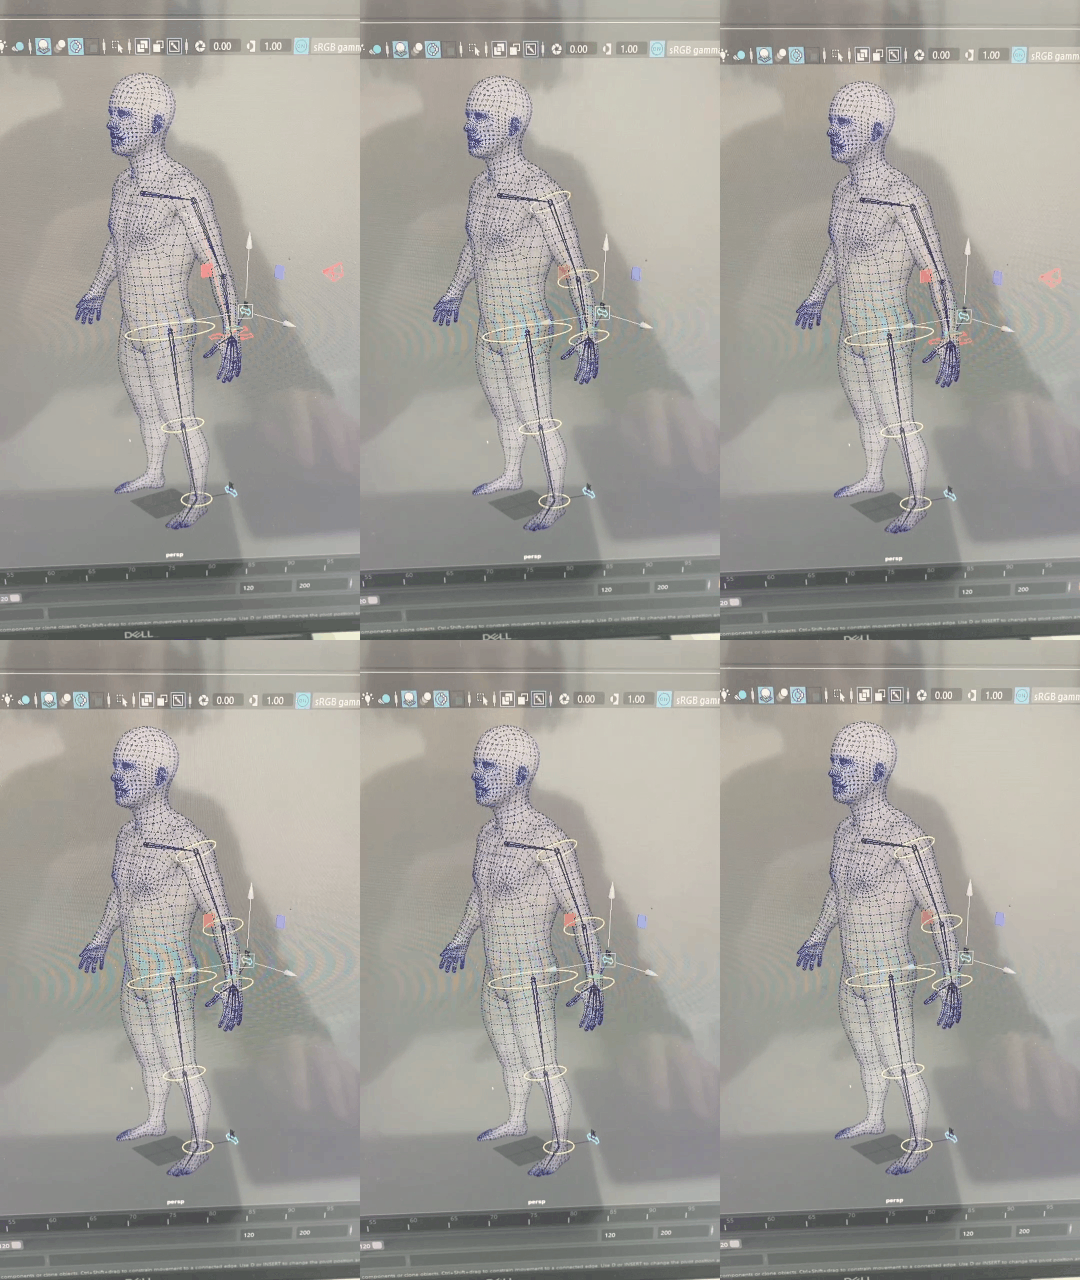
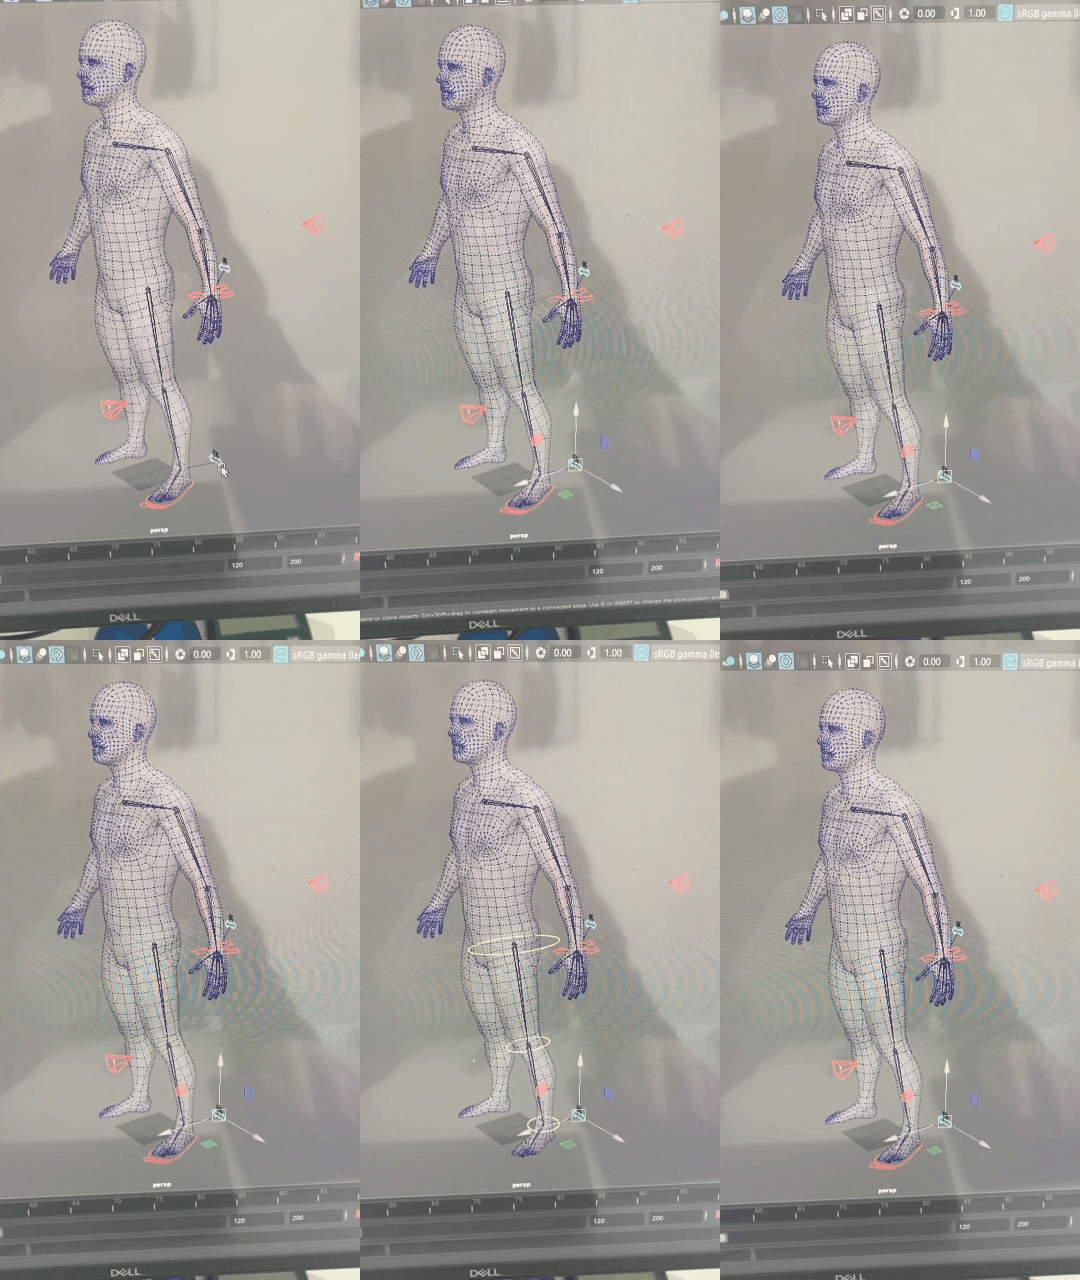
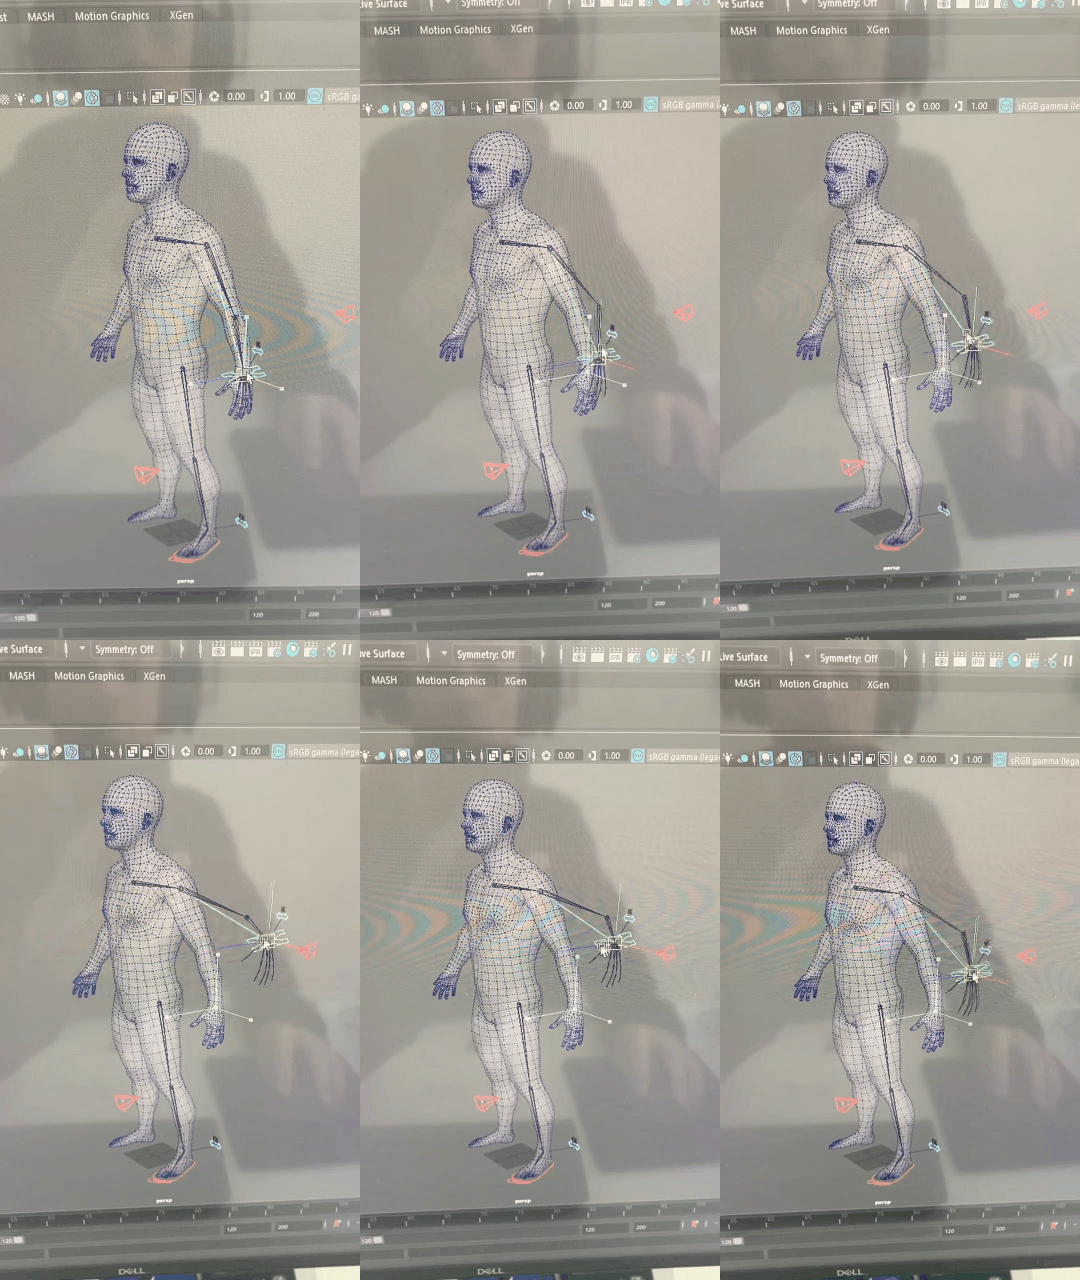
At this point it would be nice if I focussed on an own character creation.
Rigging Maya
Now that I have some fundamental understanding of rigging including some exercise I wanted to create a rig for the human body.
Model and reference provided by Samuel Solla to practise.

The end-result would become the same pose as the reference as you can see here.
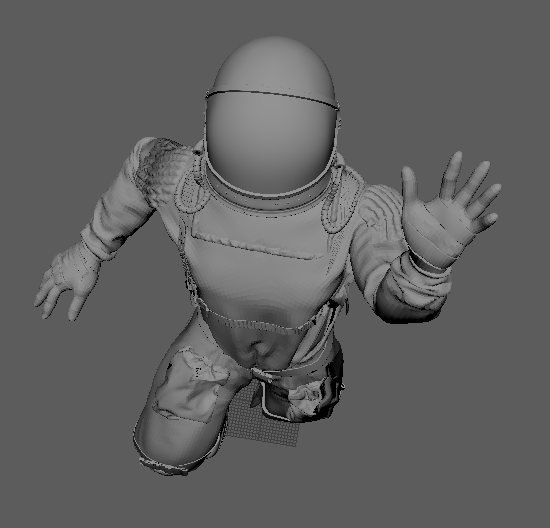
After being provided a model and a reference I started buidling the rig.

It is important to mimic the rotations of the humand anatomy and it was quite a journey to get it working.
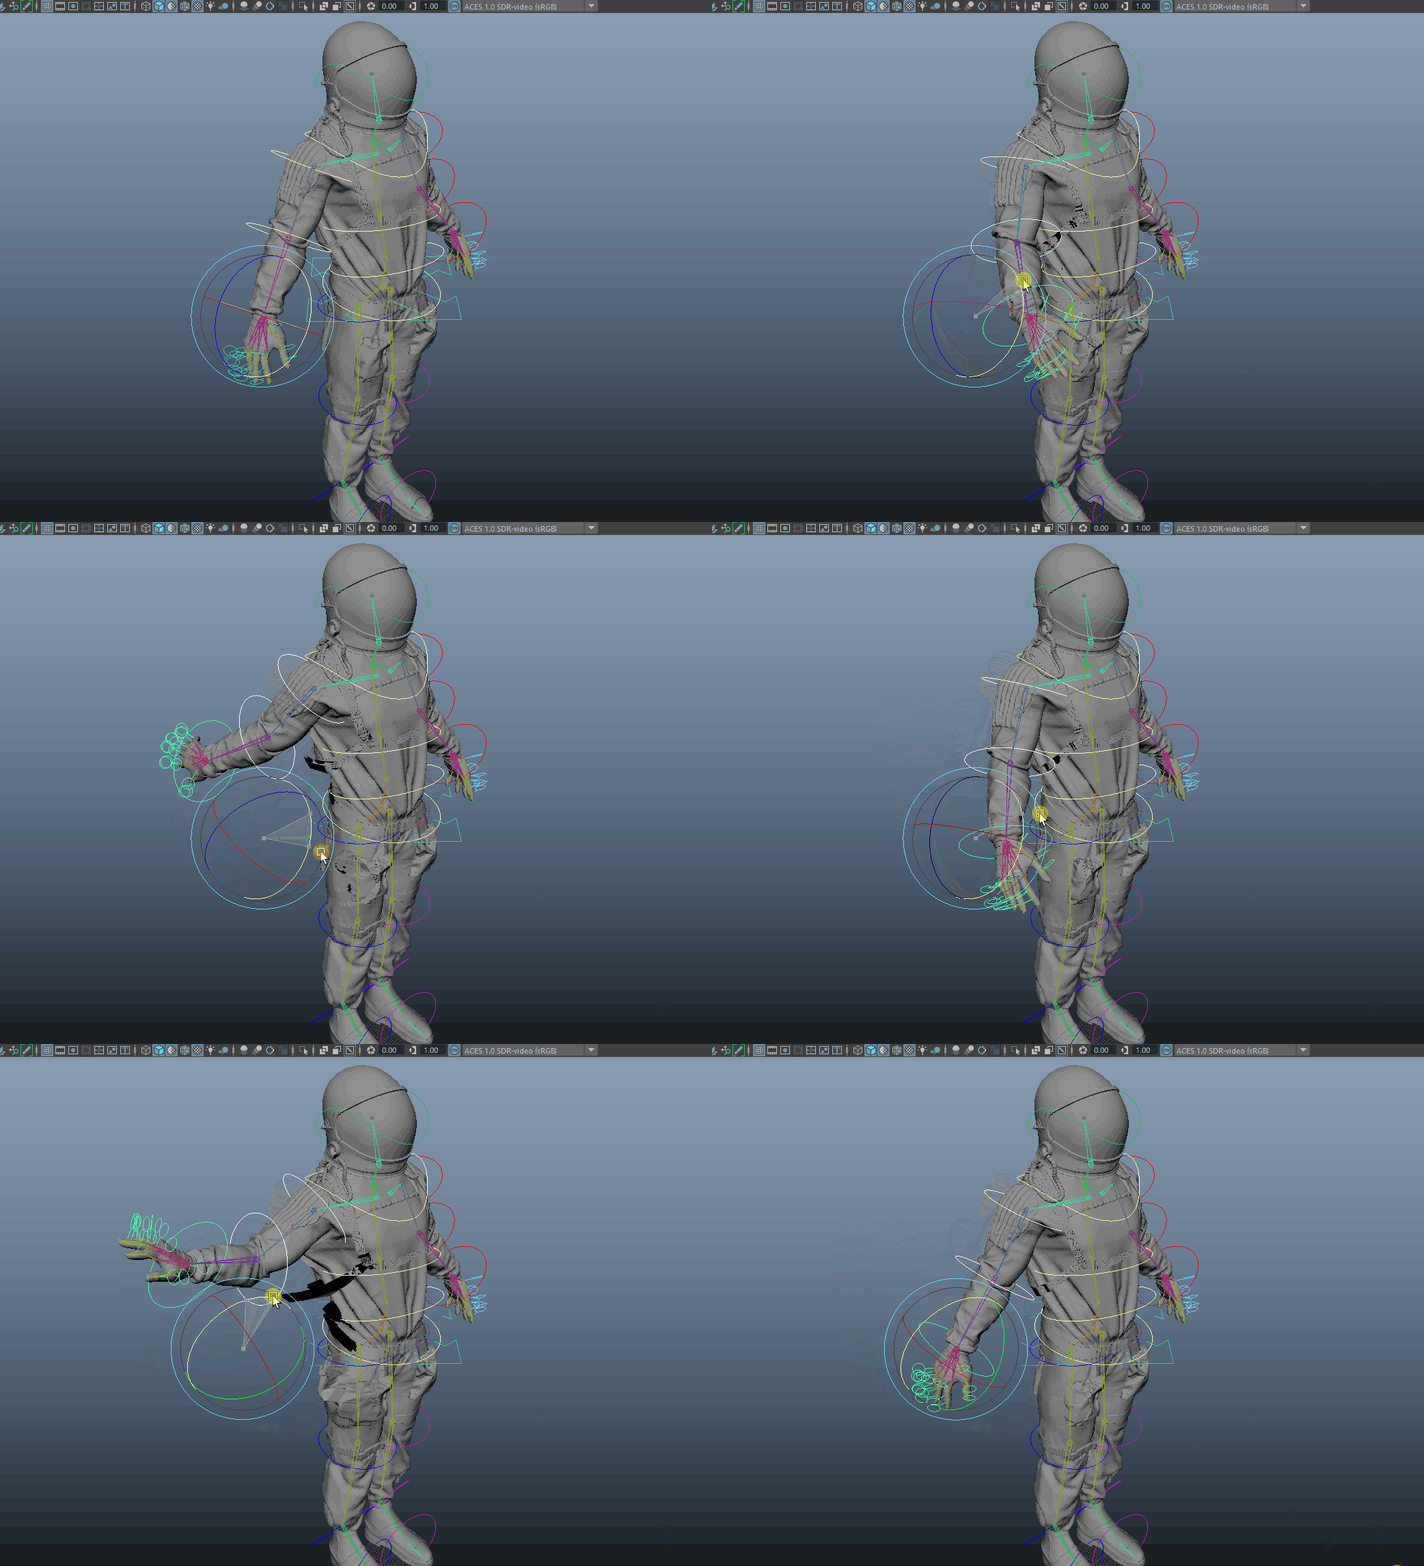
So the model was created with marvelous designer and was not retopologized so the skinning as you see in the above GIF. Ofcourse I could work for hours on the skinning but the practise was just to get a head start in rigging.
And hey, at least I got the rig right! Look at those fingers!
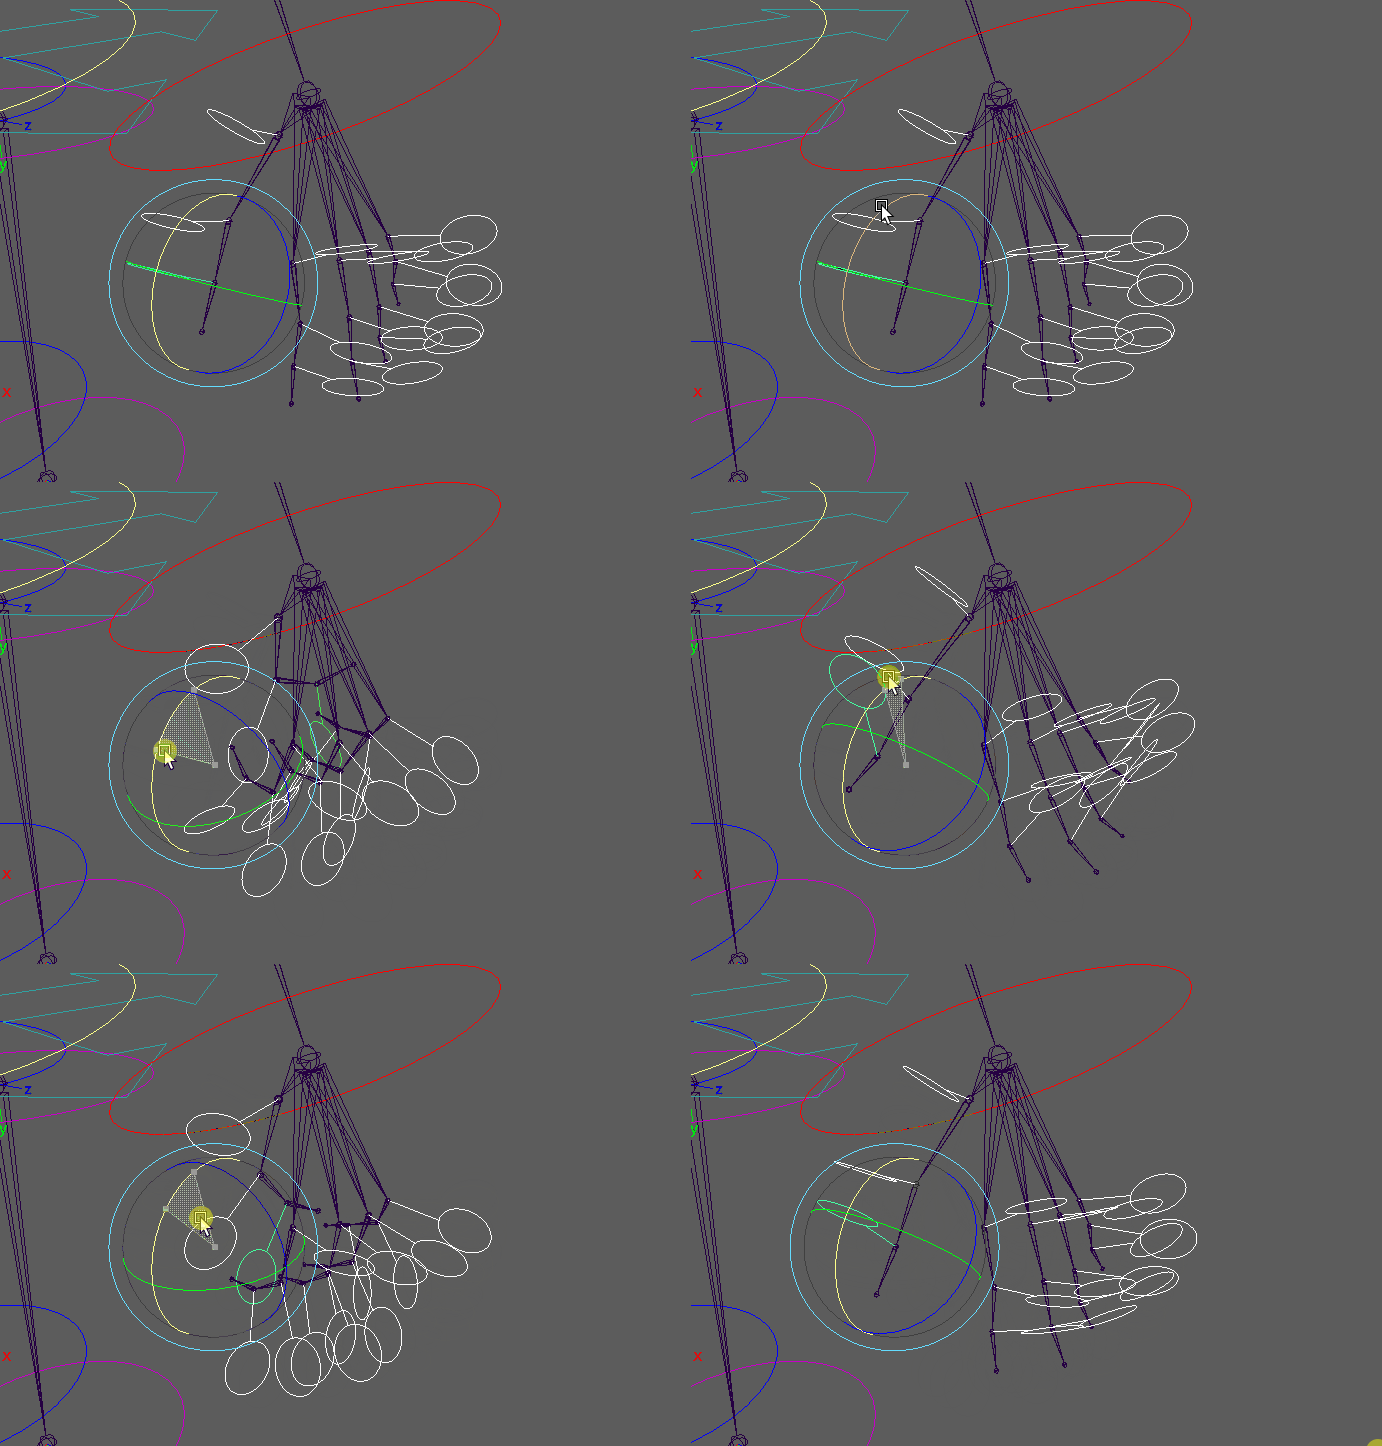
Even with the skinning pretty bad it does look awesome. The reason why it is'nt done perfect is because i did'nt rig the accessoires.

I definitely learned a lot here.
To Be Continued...